Strained Greek Yogurt and Yo-Cheese

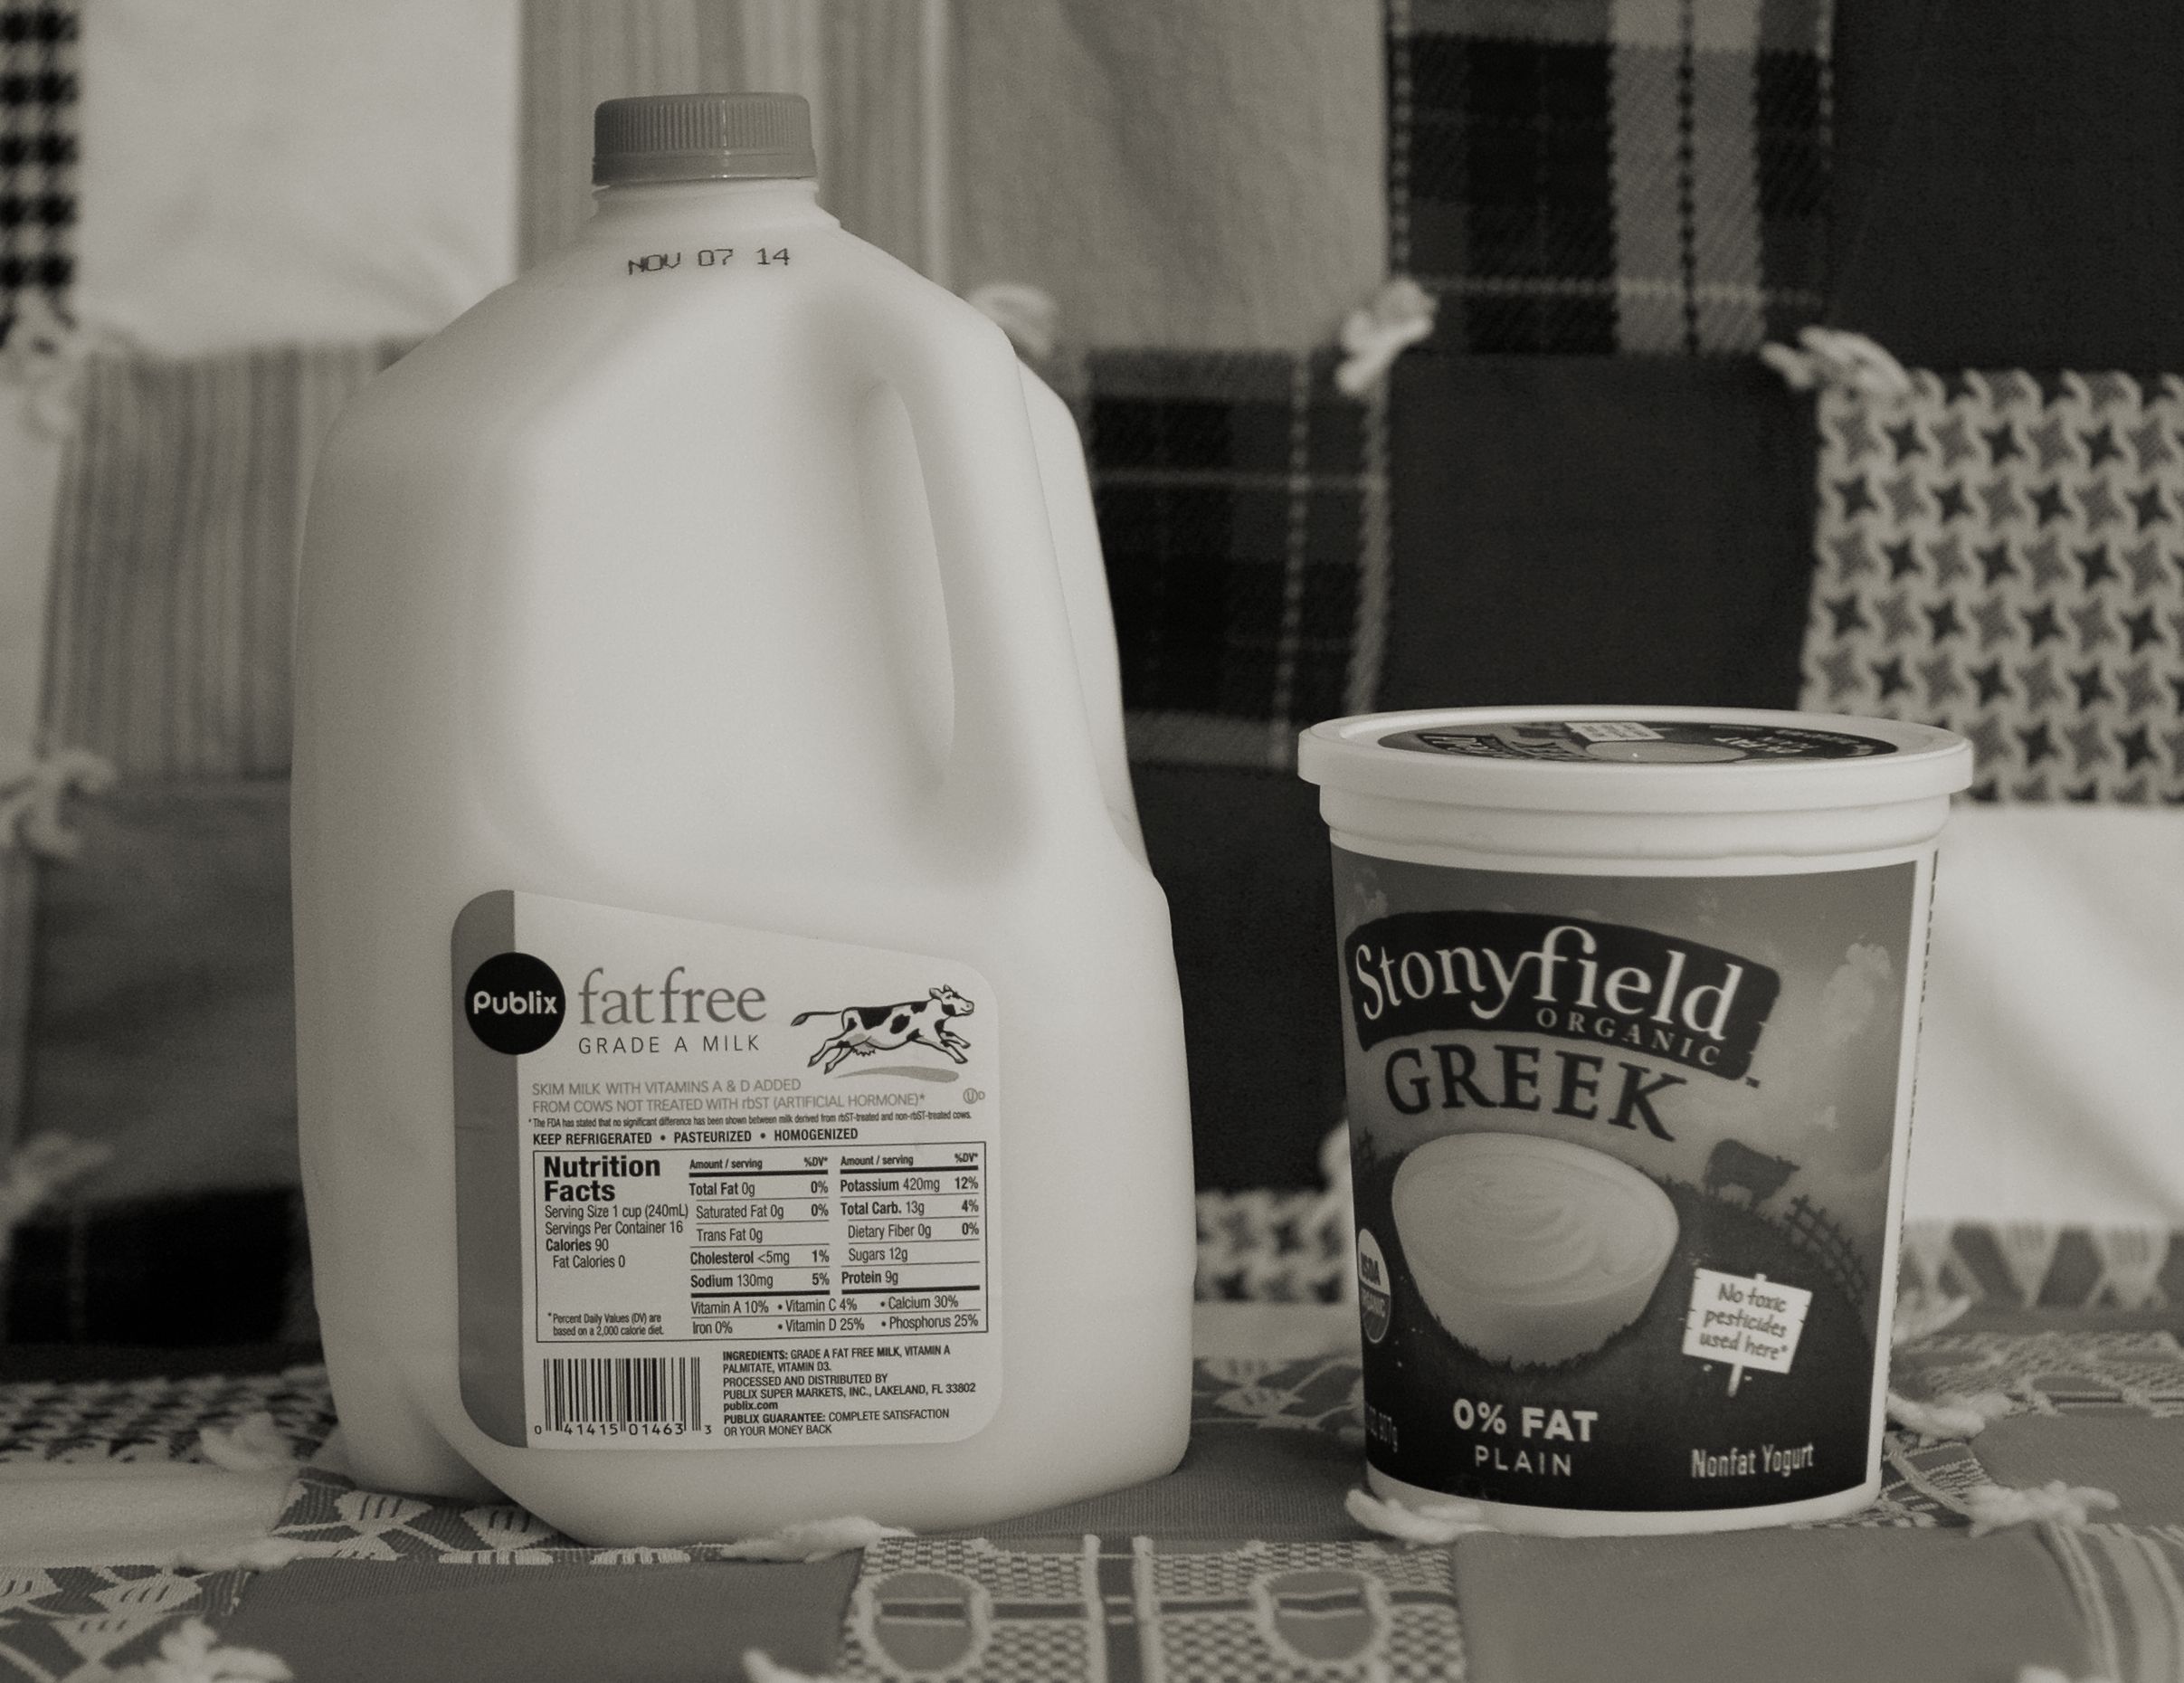
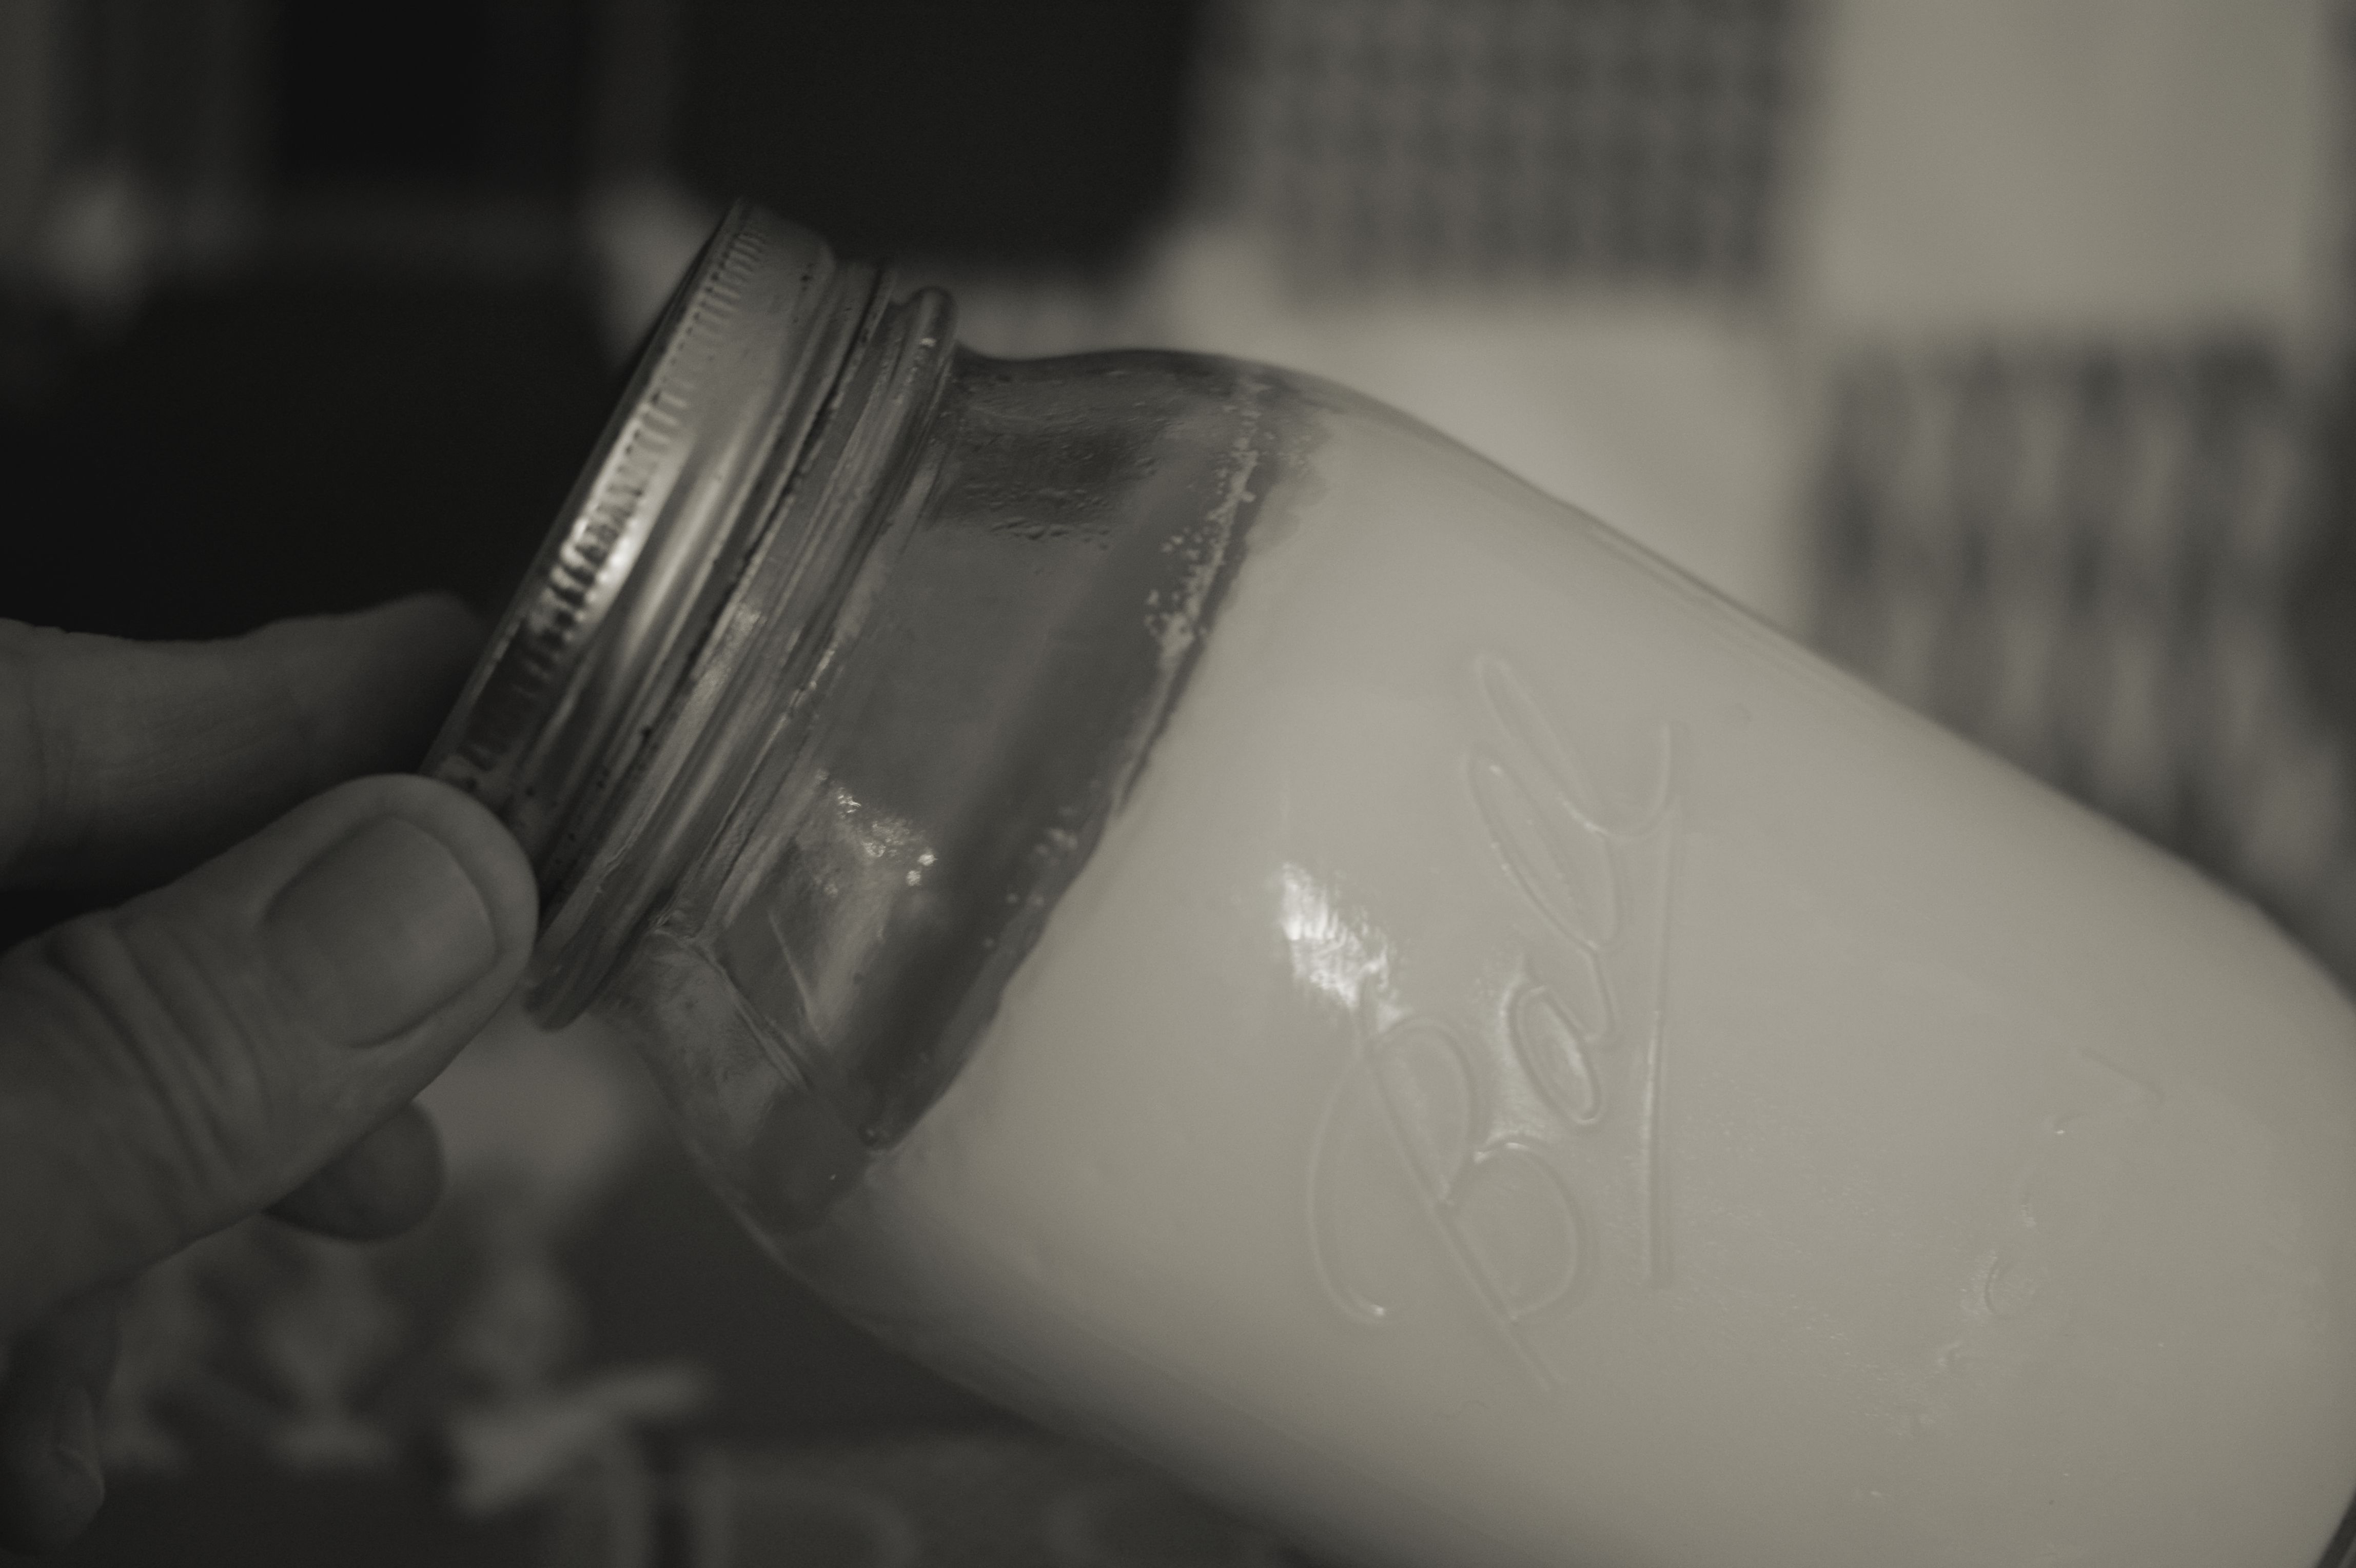
Homemade strained Greek yogurt and Yo-Cheese! Use your own homemade plain yogurt or a quart of store bought plain yogurt. If you use store bought yogurt, make sure it is cultured yogurt and not a yogurt-like product that contains gelatin.

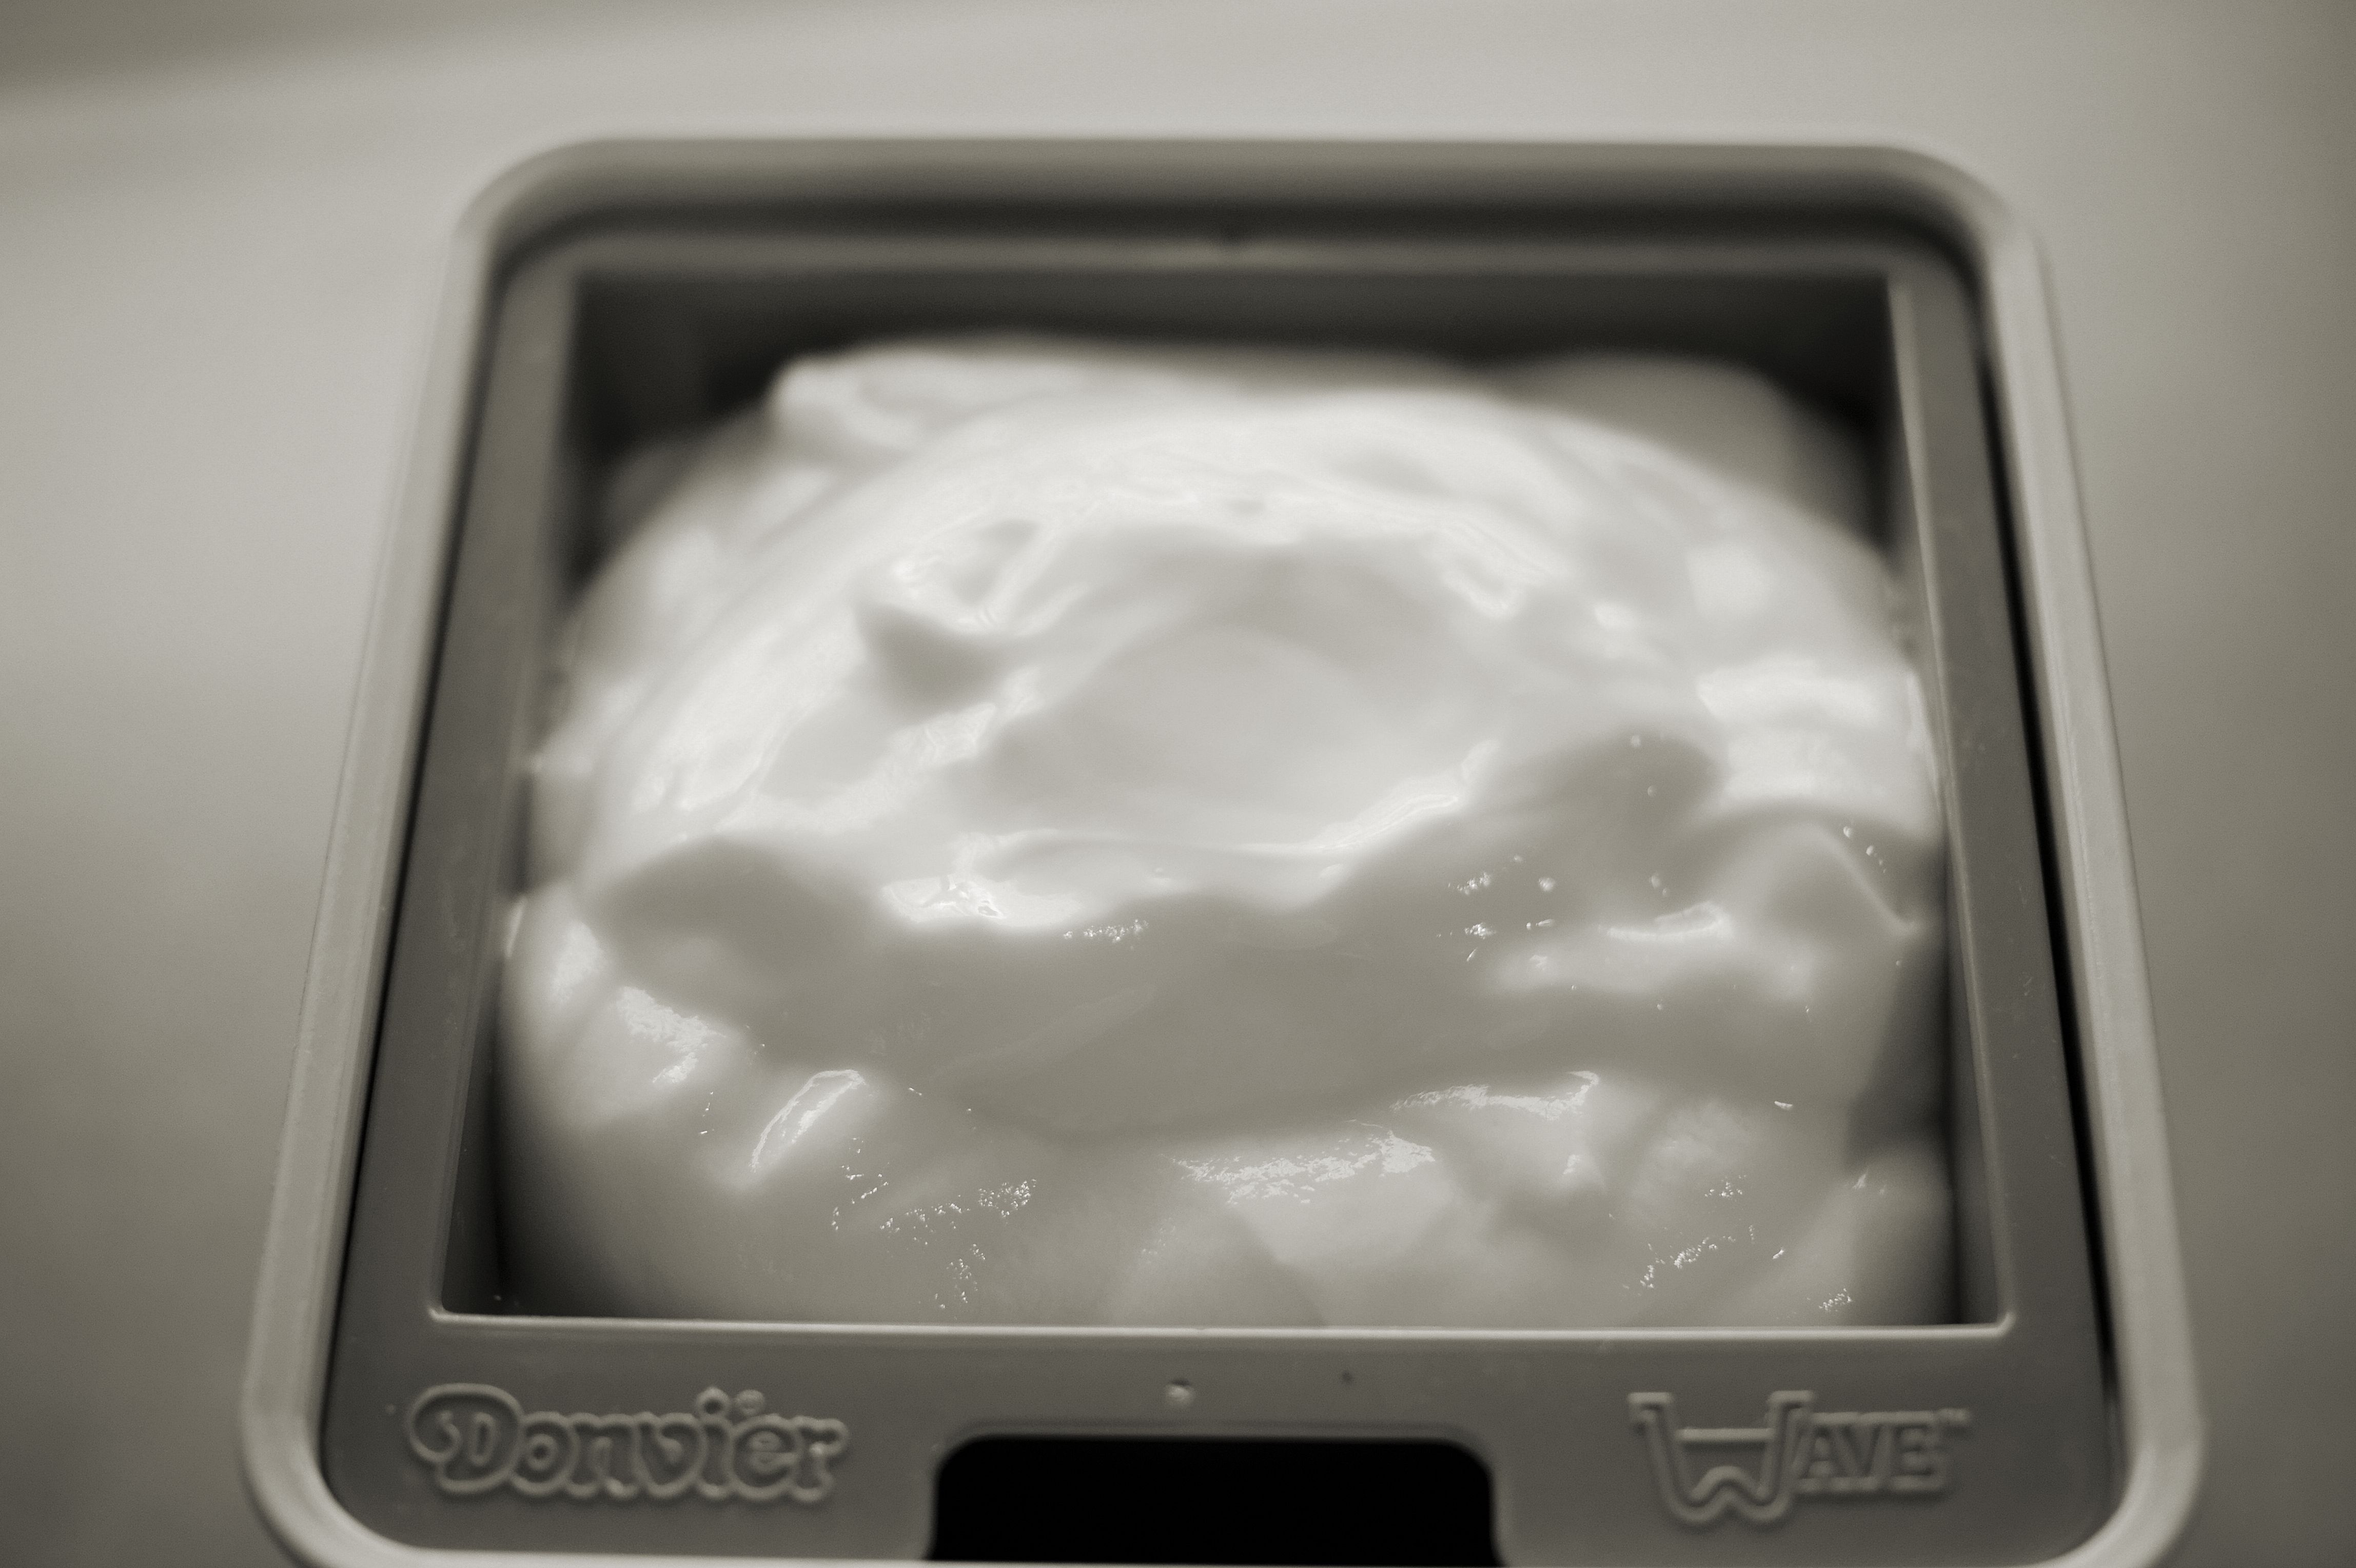
To strain the yogurt, you can use a cheese cloth lined strainer or a specially designed yogurt strainer. I have done it both ways and prefer using a Donvier Wave Yo-Cheese maker. Search online and you’ll find several stores that sell it for $20.00 or less.

SONY DSC

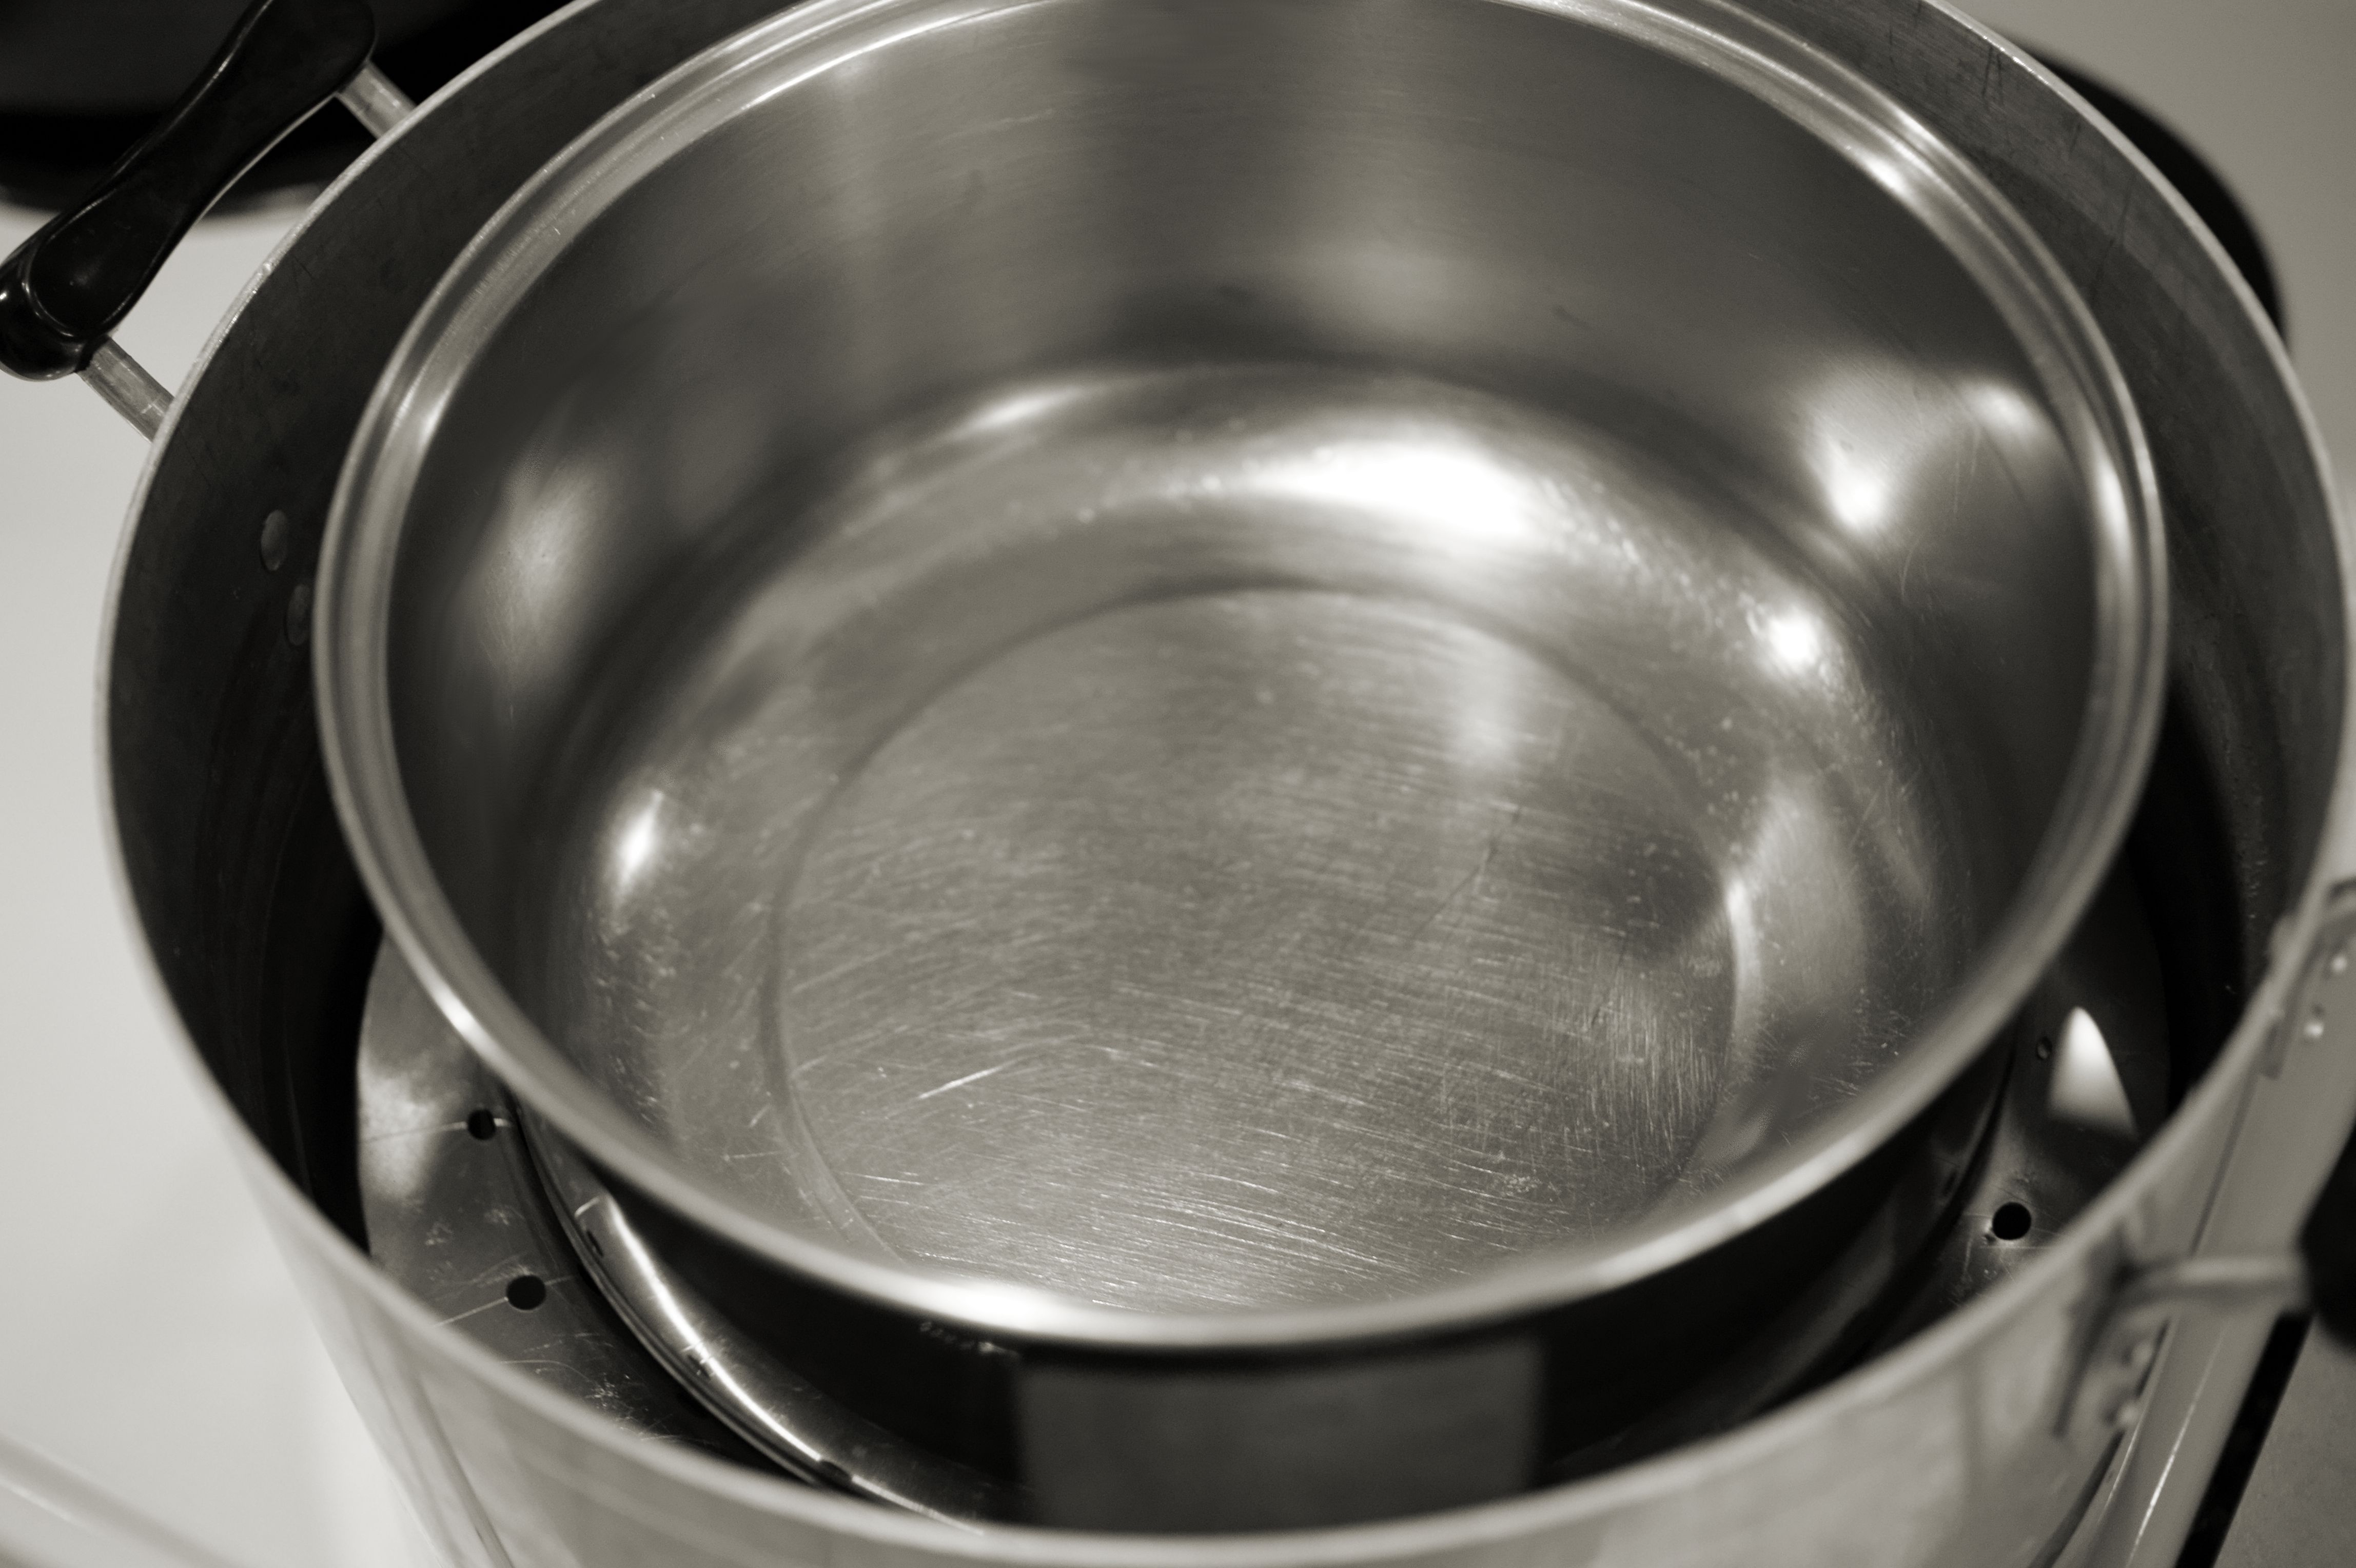
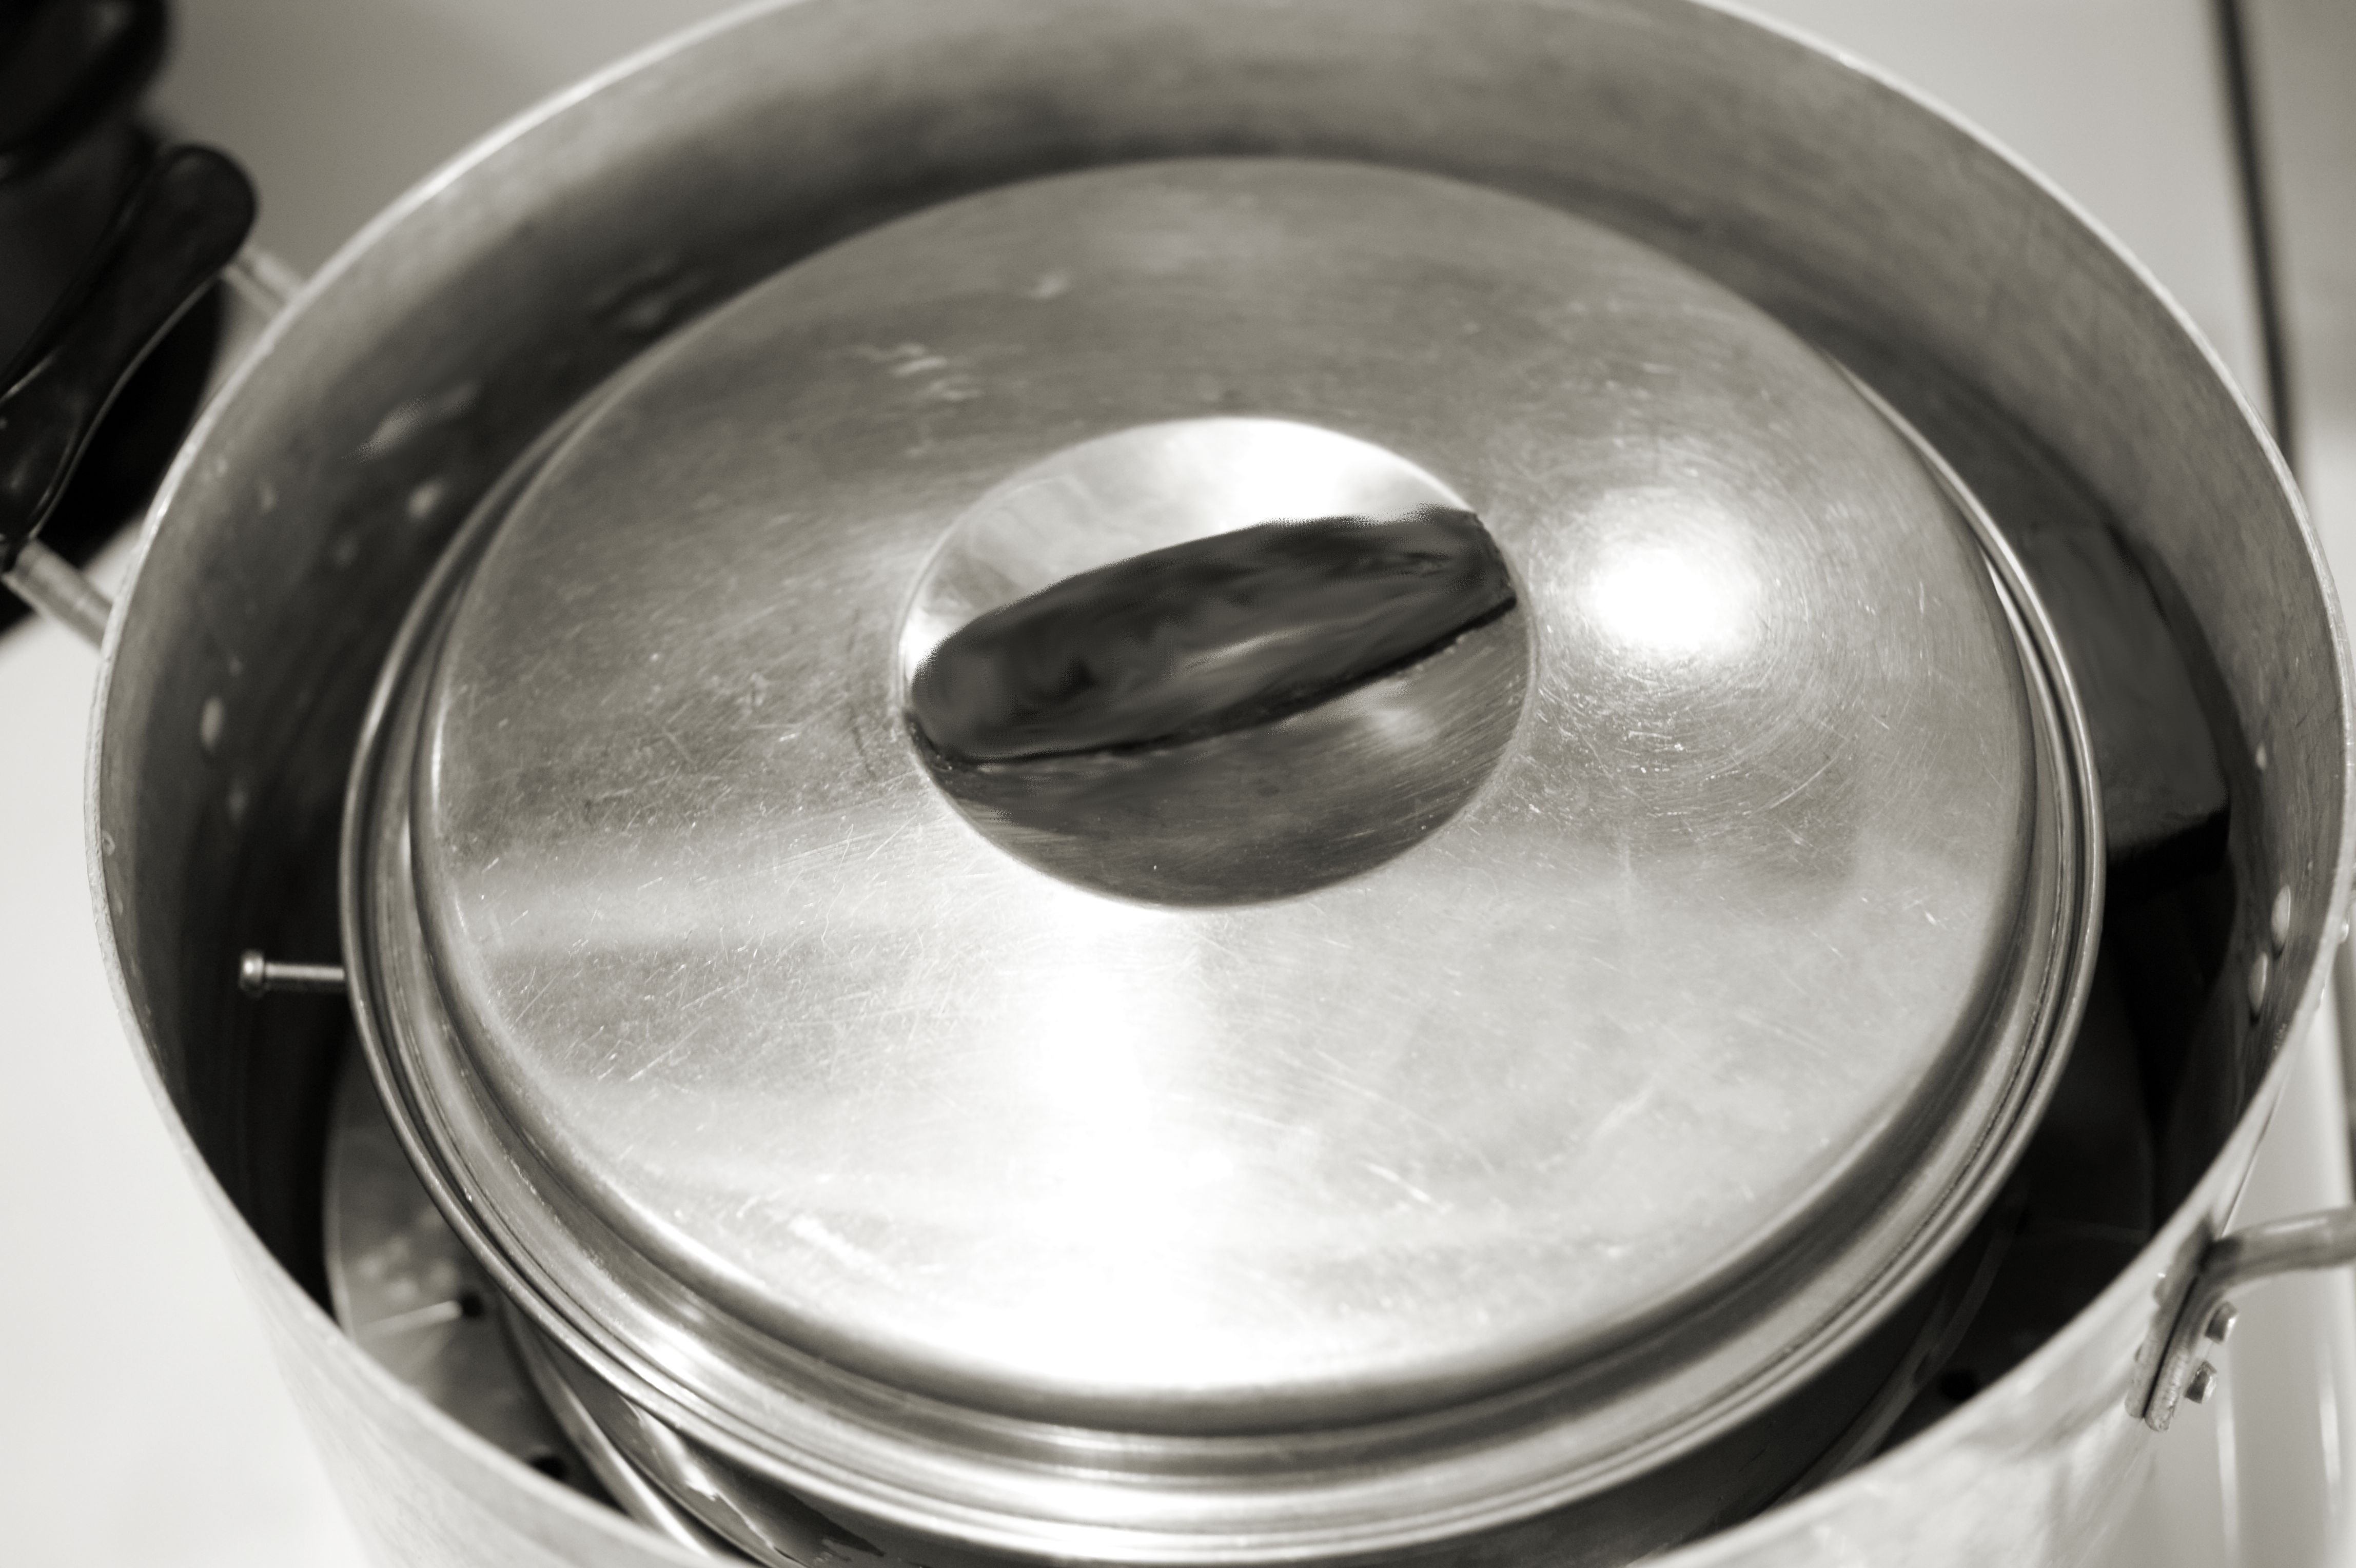
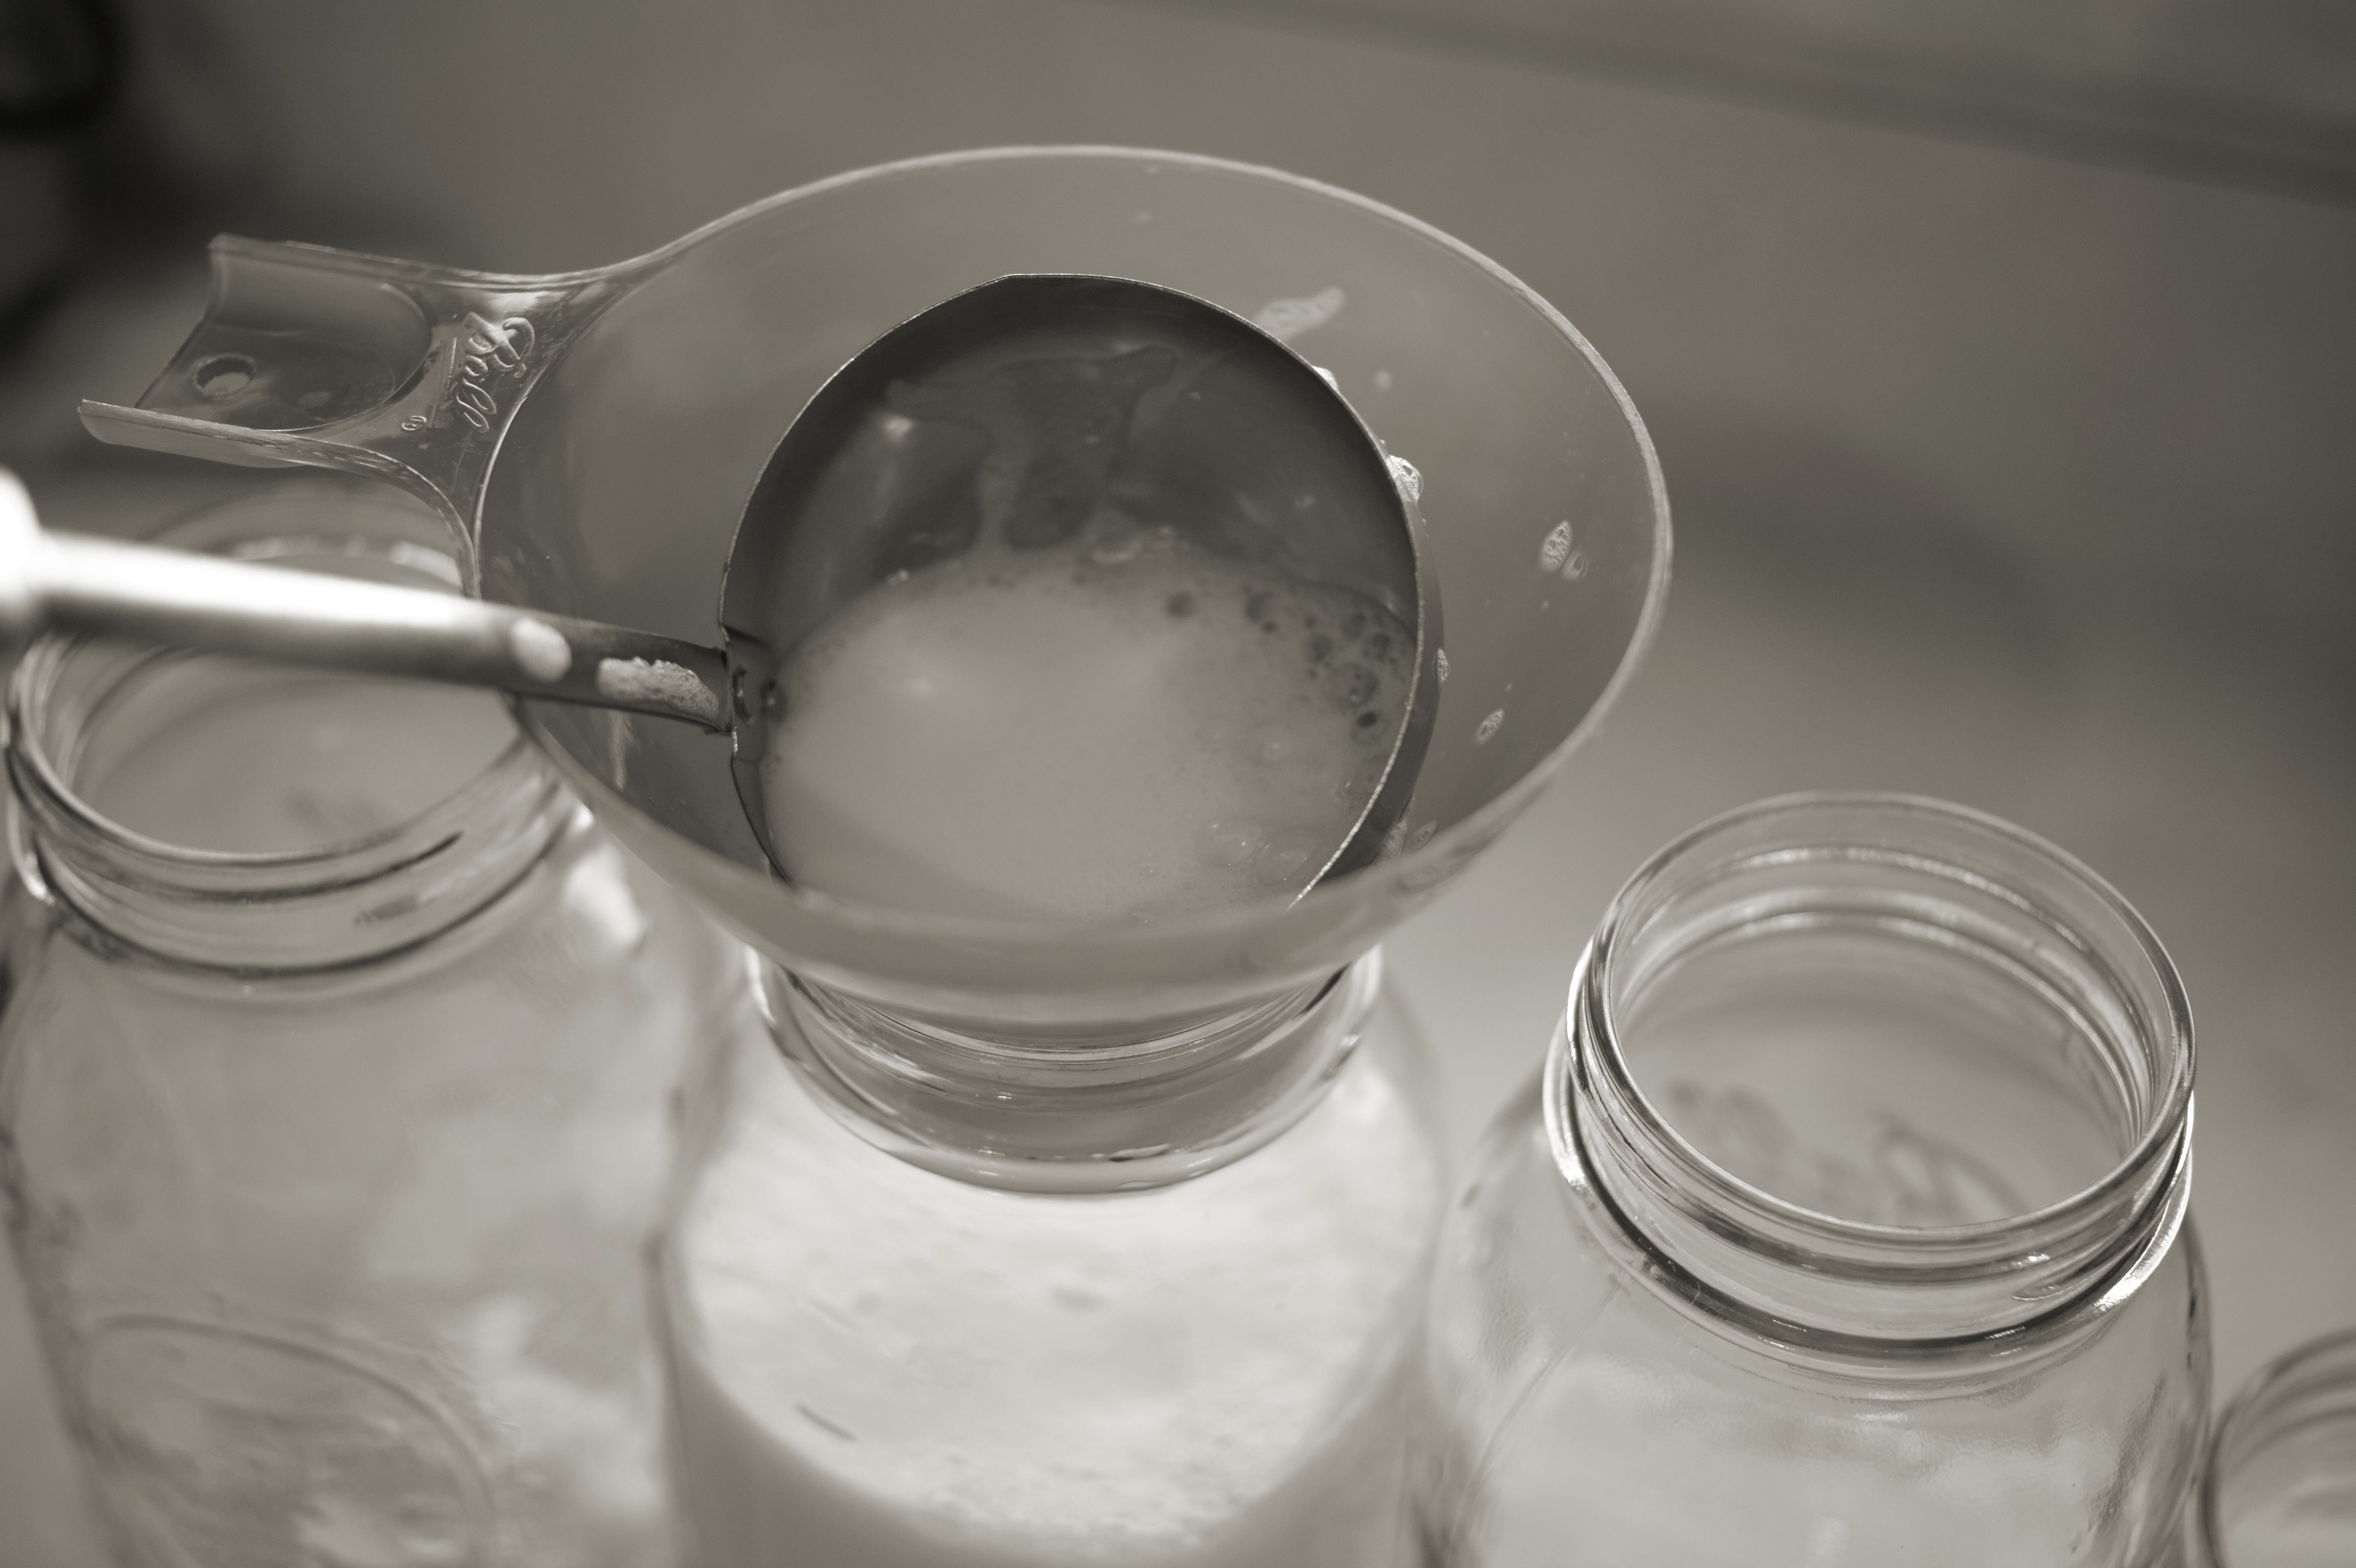
The wave strainer should be inserted in the Yo-Cheese maker prior to adding the yogurt. If you’re using a cheese cloth lined strainer, it should be placed in a large bowl prior to adding the yogurt. Empty a quart container of yogurt to the wave strainer basket (if you’re using the Yo-Cheese maker) or in the cheese cloth lined strainer. Cover and place in the refrigerator. The yogurt is now “straining.”

SONY DSC

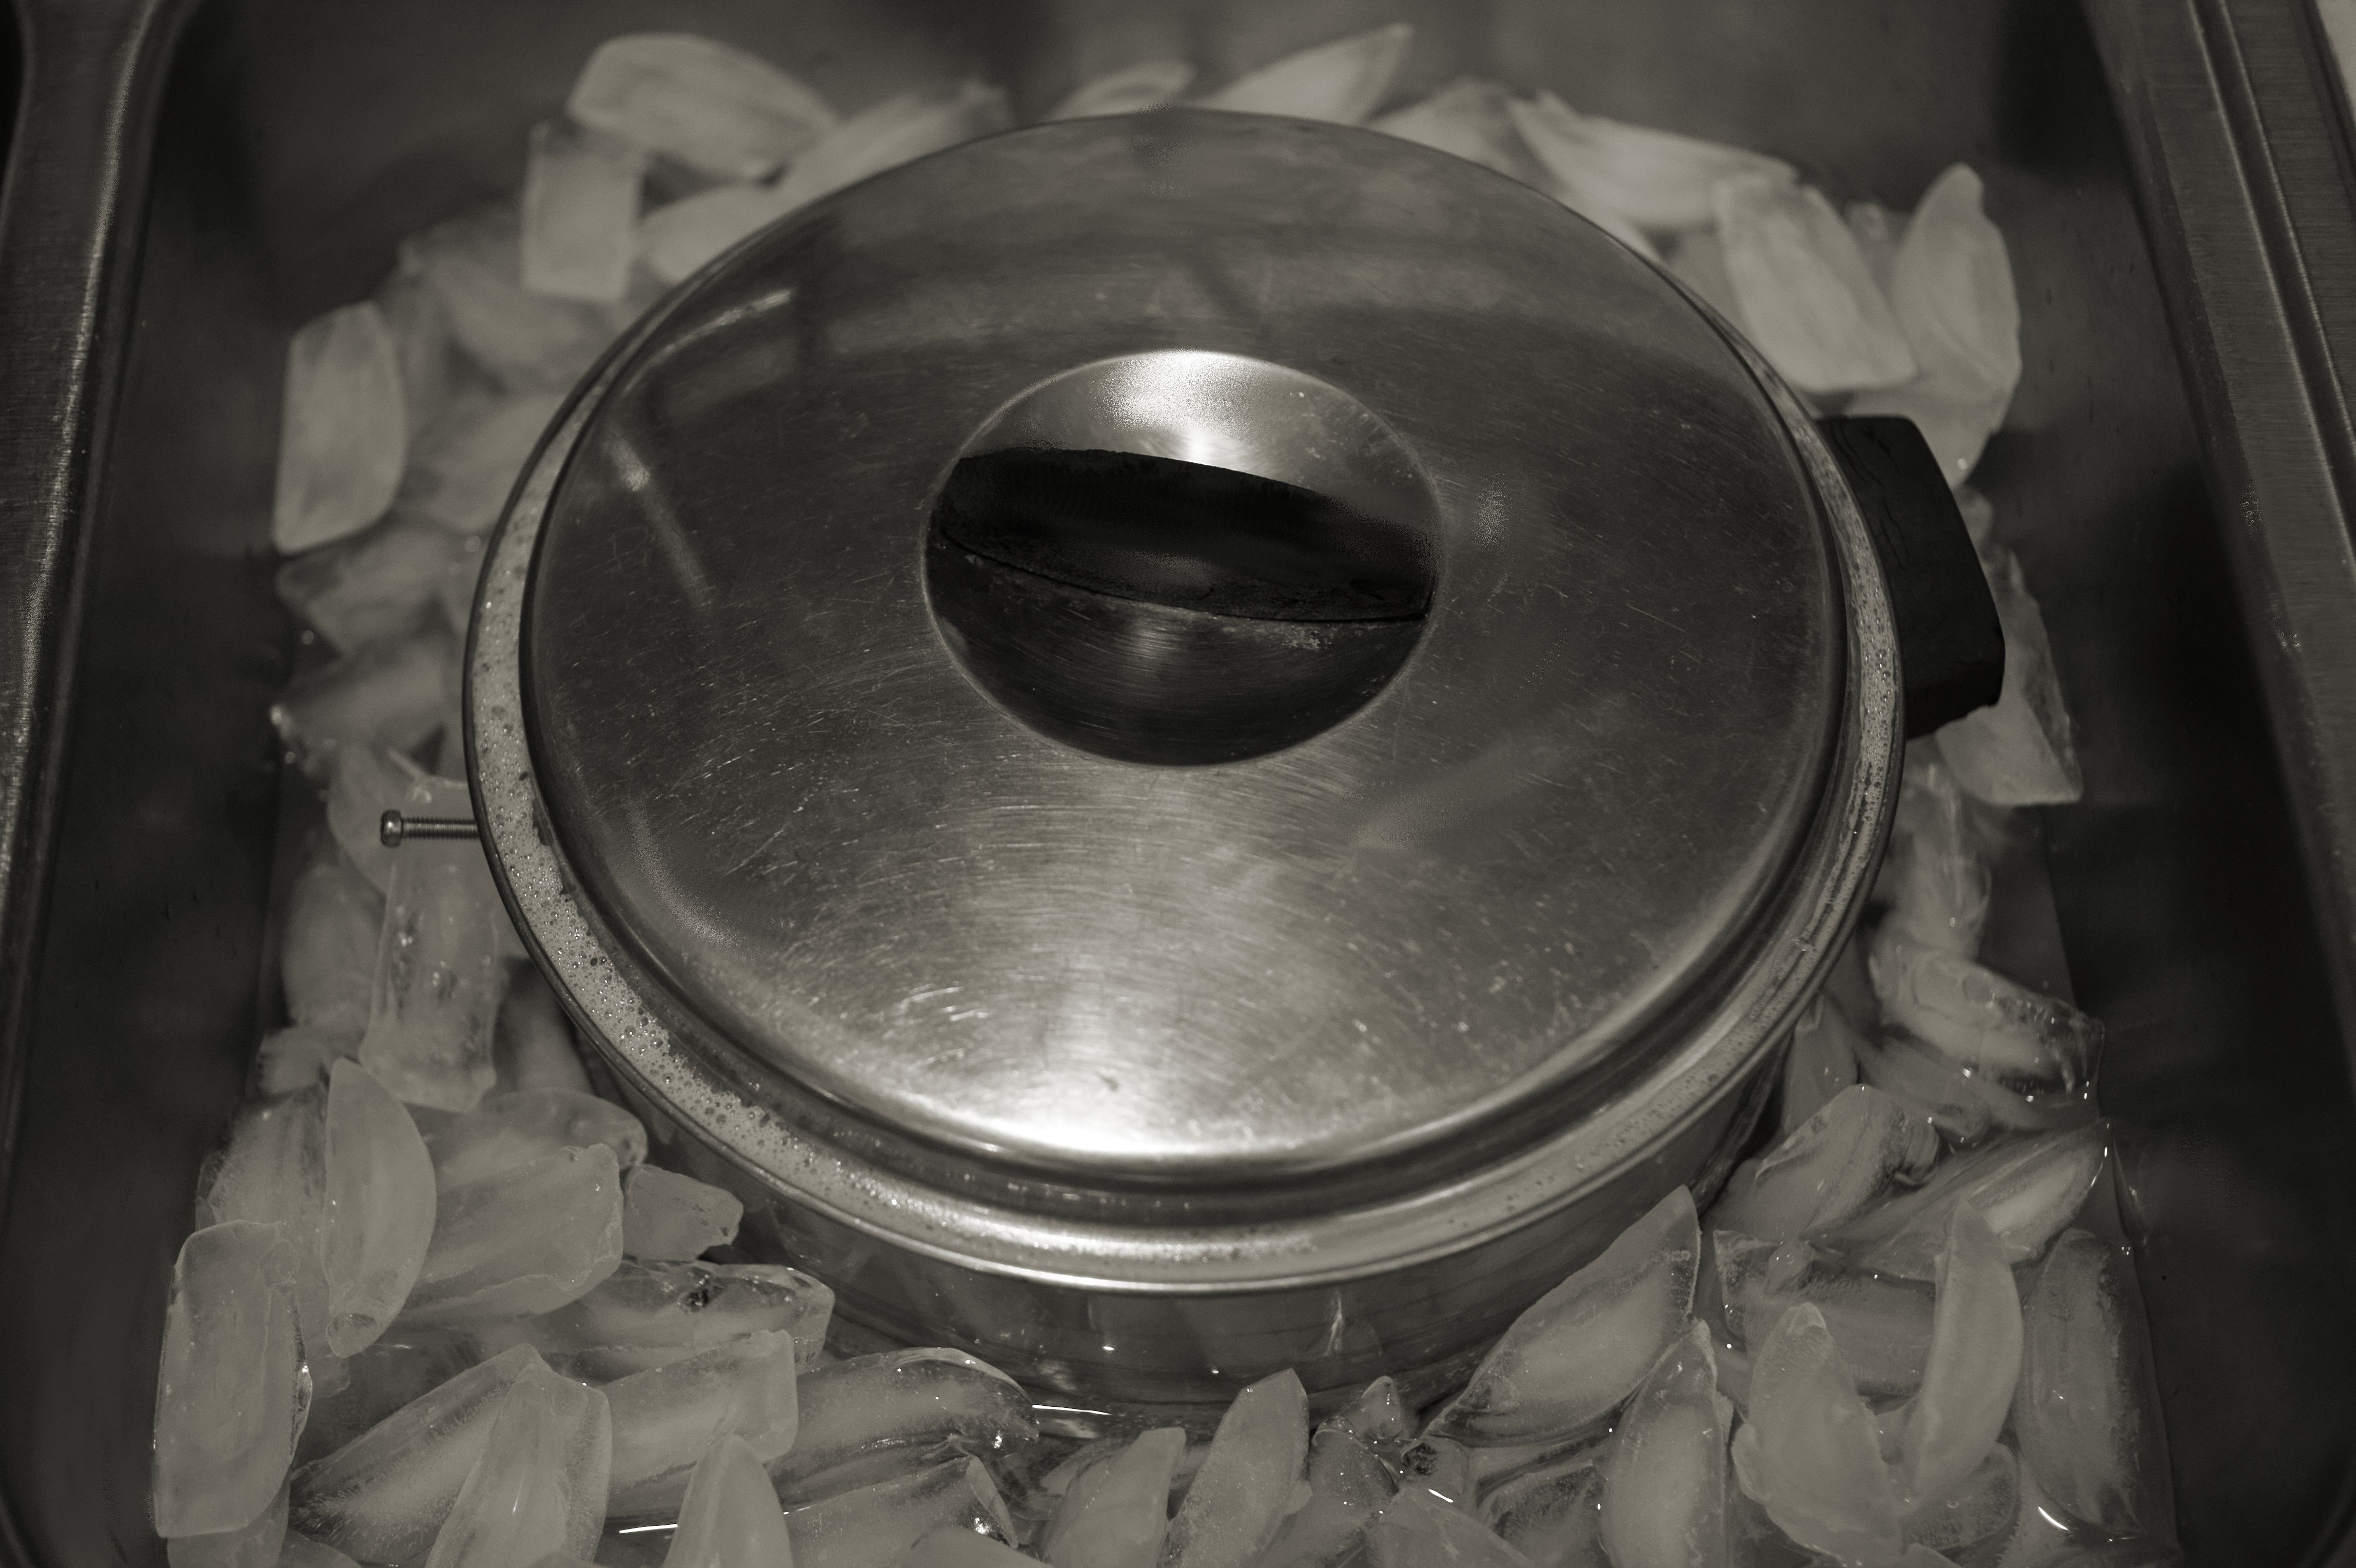
The length of time straining will determine whether you have strained Greek yogurt or Yo-Cheese. For strained Greek yogurt, strain about 4 hours. For Yo-Cheese, strain 8 hours or over night.

SONY DSC

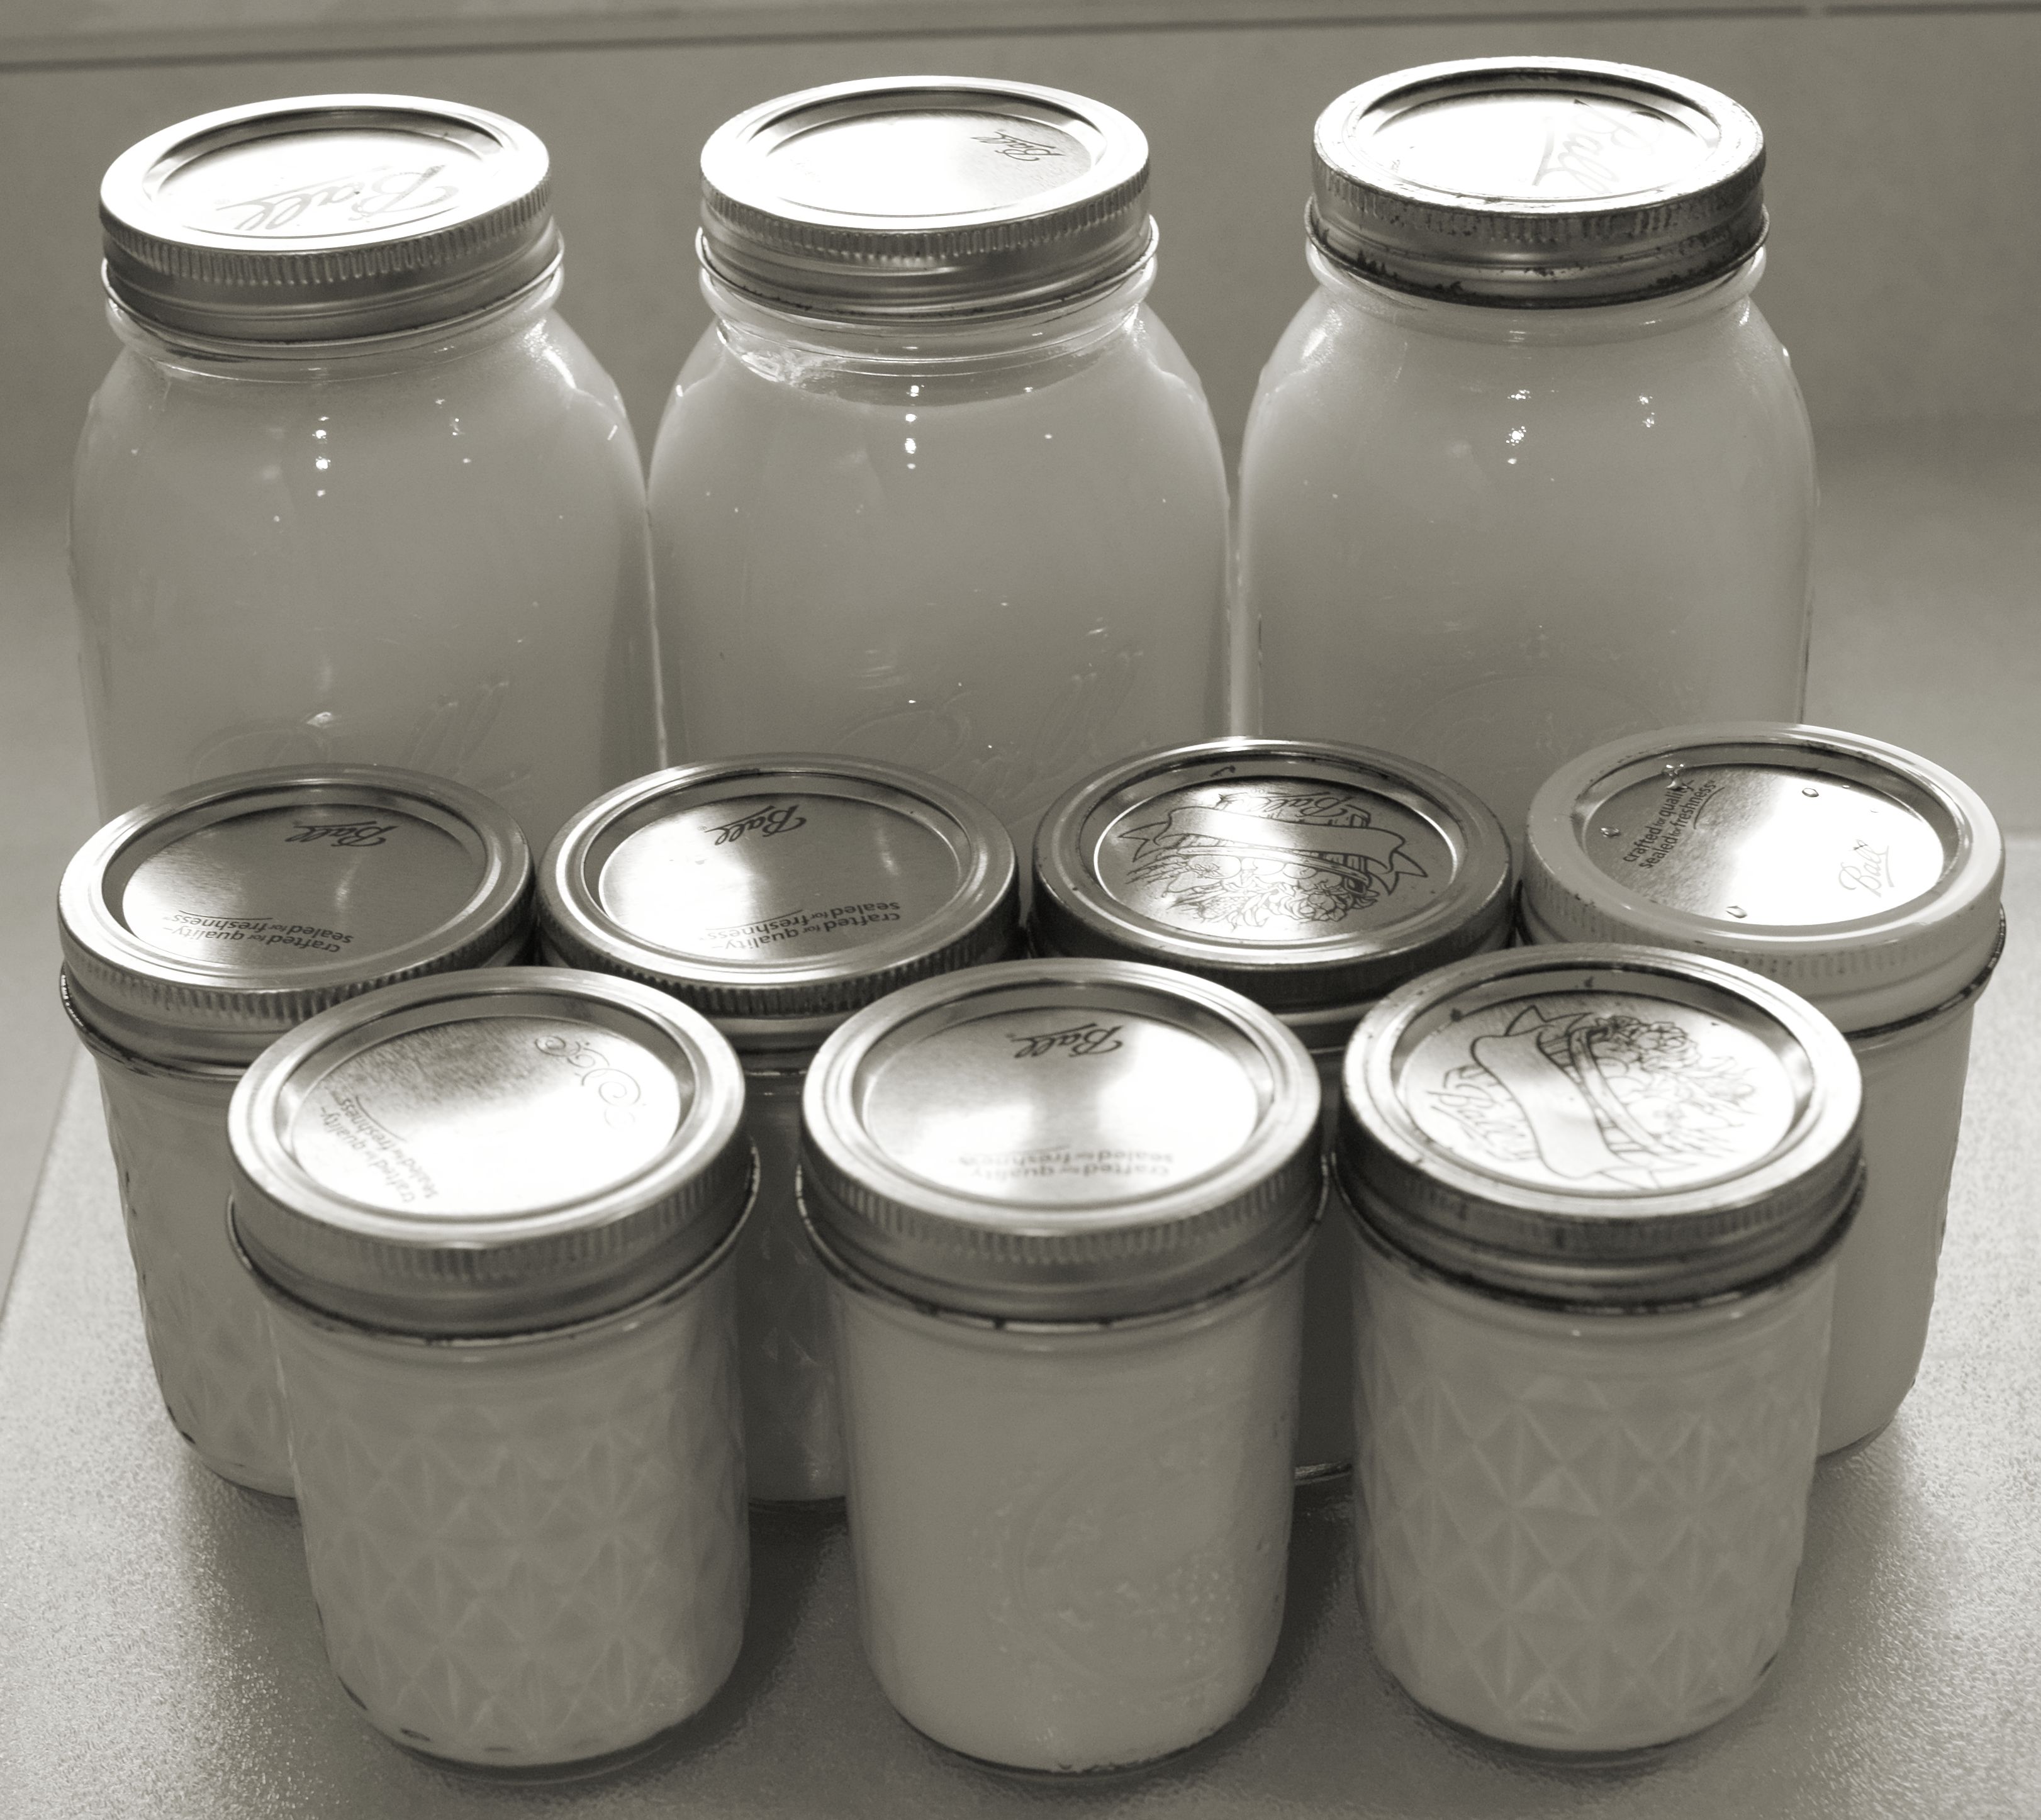
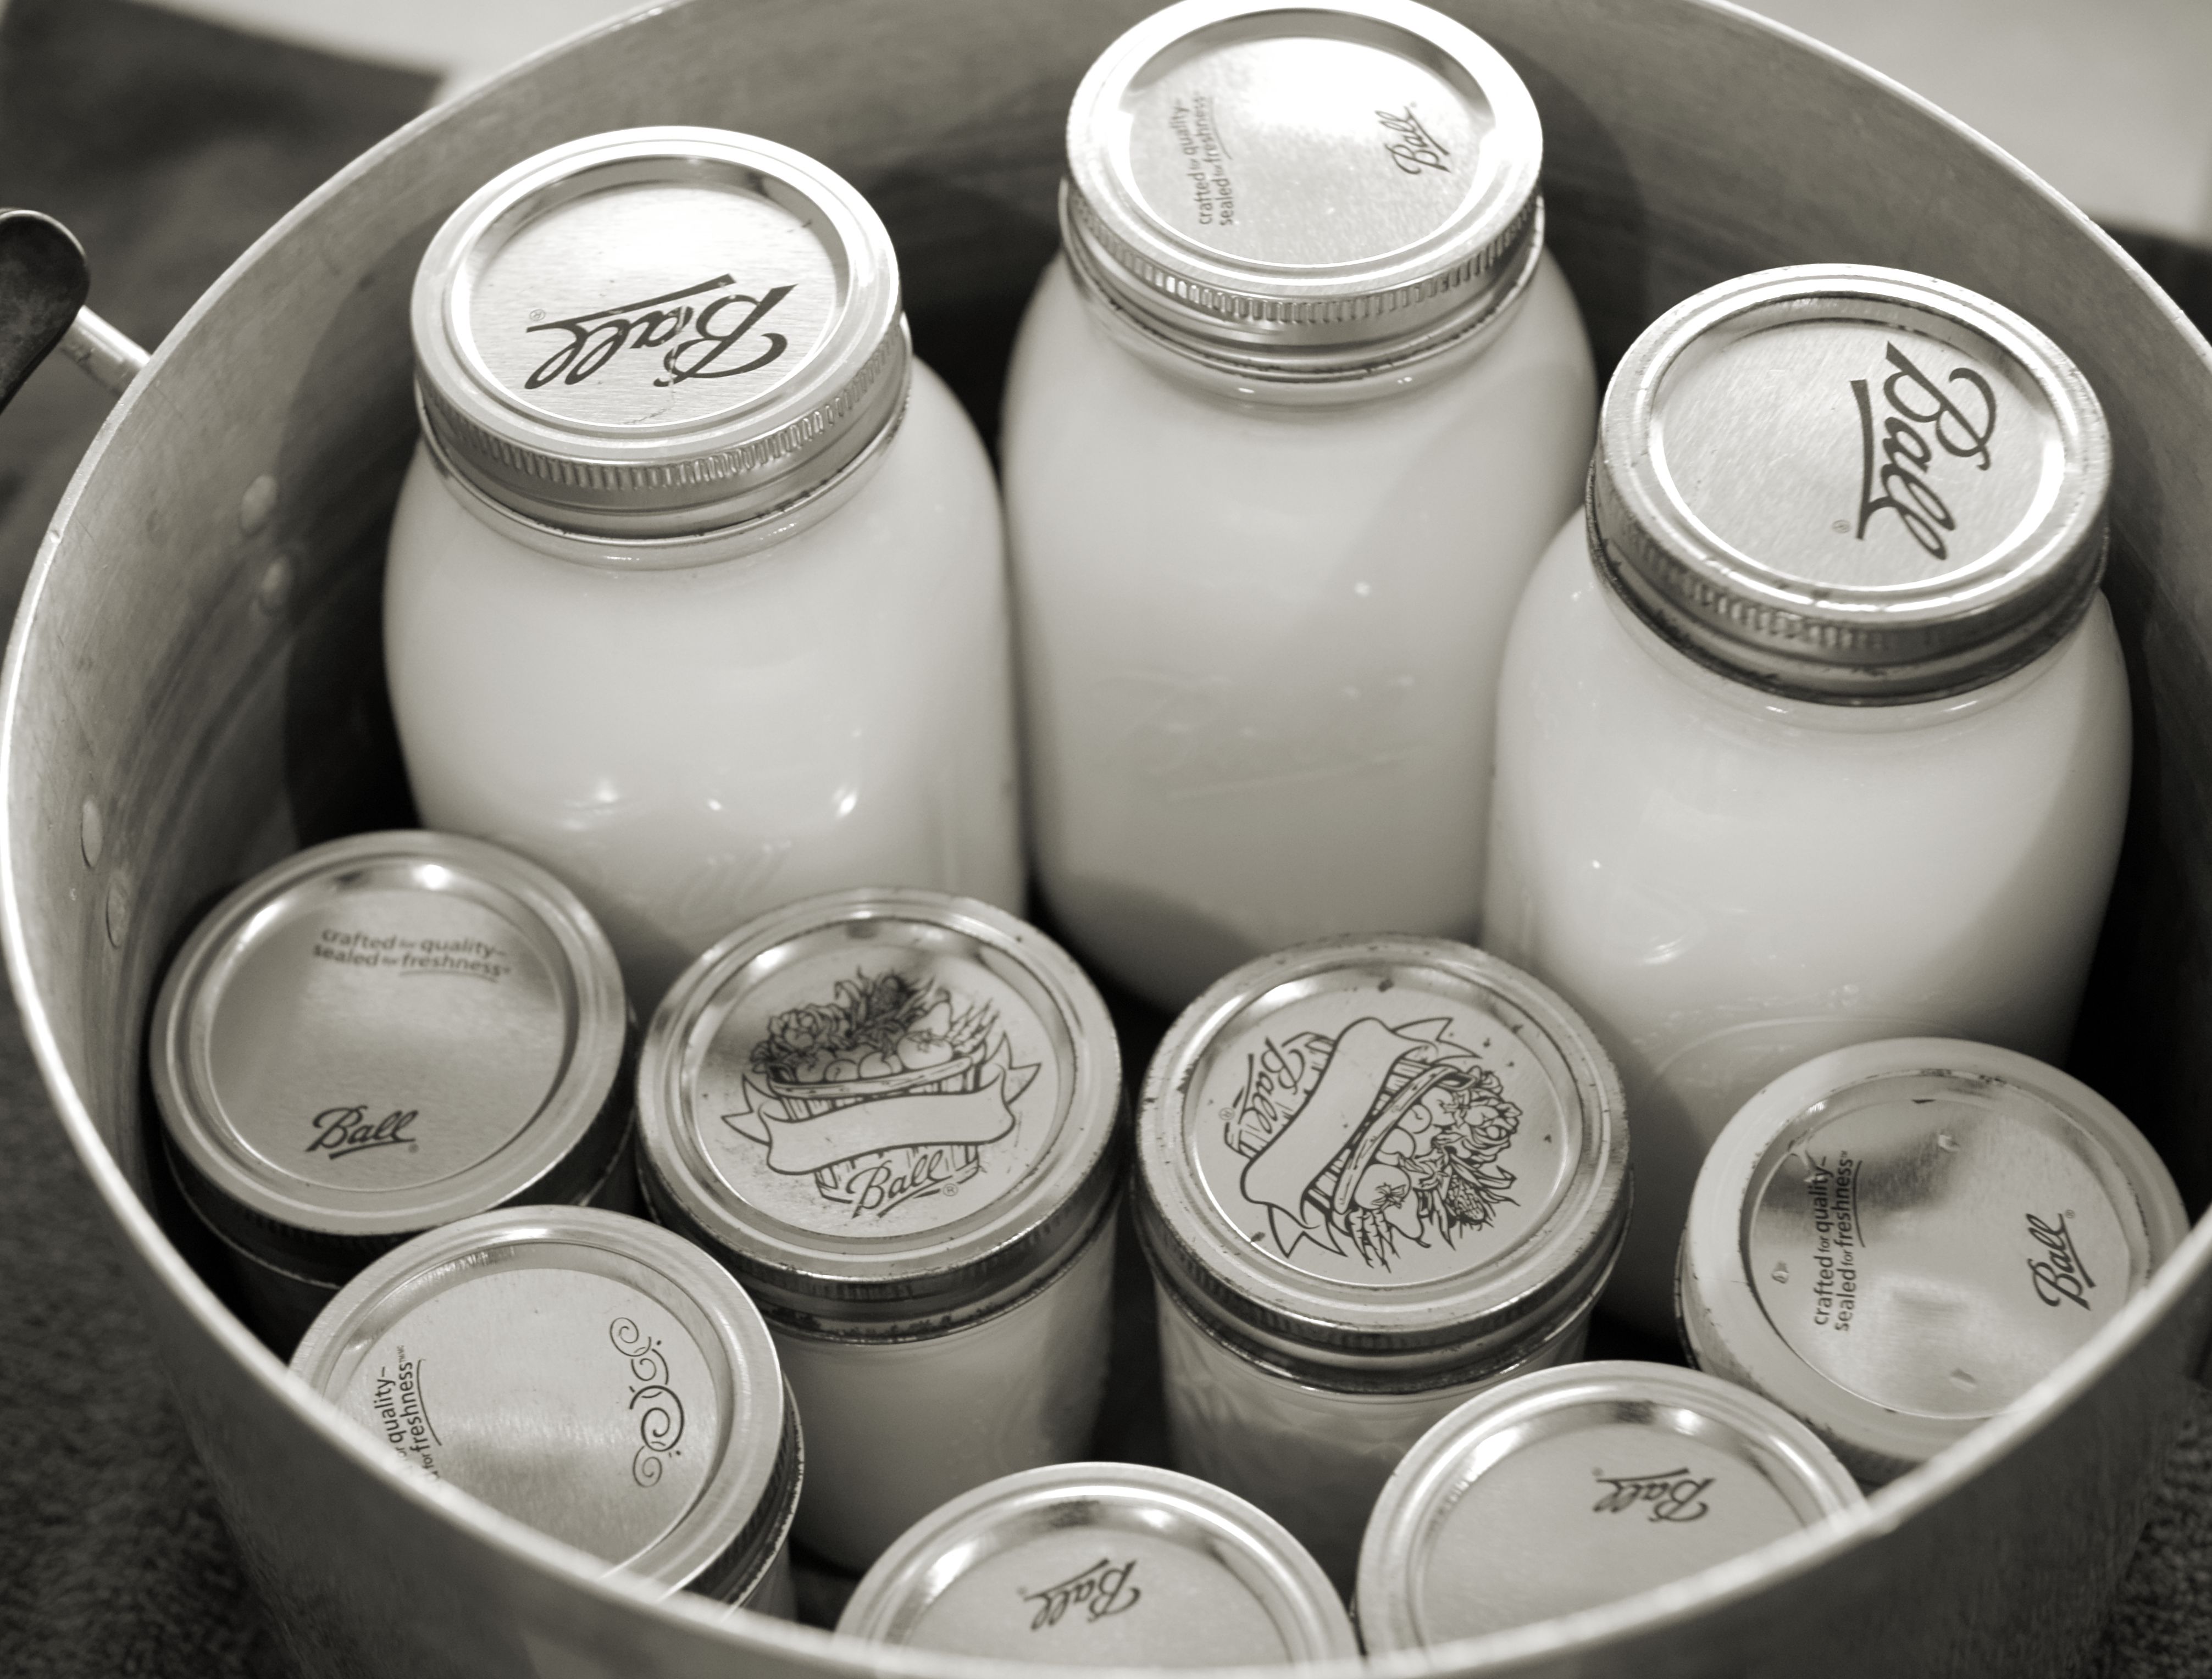
This is whey. It is a byproduct of straining yogurt. It has the consistency of egg whites and is about the same color. Save it and keep refrigerated. It is high in protein and can be used as a substitute for water or other liquids in recipes, such as bread.

Yo-Cheese is a great substitute for cream cheese, especially when making spreads or dips. Try adding a package of dried ranch dressing mix to Yo-Cheese and let it sit over night so the flavors meld. It’s a great veggie dip.

Want a great ranch salad dressing? If you like a thick salad dressing, add a package of dried ranch dressing mix to strained Greek yogurt and let it sit over night. Like your salad dressing thinner? Use plain yogurt instead.

Whisk in a teaspoon of hazelnut oil and a dash of salt to a half cup of Yo-Cheese and add a 1/4 cup of toasted pecans and you have an incredible creamy topper to dollop on anything from a baked sweet potato to squash to butternut squash soup.

Now it’s your turn to make some strained Greek yogurt or Yo-cheese and experiment! Be brave! Be creative. Maybe try something pumpkin-y!

Let me hear from you. Do you have a favorite strained Greek yogurt or Yo-Cheese recipe to share? Did you invent something wonderful and want to share it?

Homemade Yogurt. It’s Easier Than You Think!

I’ve been making my own yogurt since the dark ages. It’s an easy process and doesn’t require a special “yogurt maker.” I have experimented with a number of “yogurt makers” for one reason or another and have always returned to the original format I learned from a traditional maker of yogurt and now share with you.

I’ve captured each step of the process in platinum black and white photos. I felt the look was appropriate for the age of this recipe.

I make a gallon of yogurt at a time. You can make smaller batches by reducing the ingredients equally. The time it takes to turn into yogurt will remain the same.

Materials needed are:

  • A double boiler pan (I use a large steamer/soup stock pan and a smaller stock pan set inside it)
  • Cooking thermometer
  • Assorted canning jars
  • Whisk
  • Ladle
  • Wide mouth funnel for canning

Ingredients needed are:

SONY DSC

  • Gallon of milk (I use non-fat. I find it sets firmer)
  • One cup of real organic yogurt (Once you get the process started you can use your own. Occasionally, you’ll need to “refresh” your batch by adding some store bought organic yogurt. Again, I use non-fat.)

The process is:

  1. Fill up the steamer pan with enough water that it will go half way up the side of the smaller pan when it is set in side it.SONY DSC
  2. Sit the steamer on the stove top and place the smaller pan in the water bath.SONY DSC
  3. Add the milk.SONY DSC
  4. Heat using a medium heat setting on the range.SONY DSC
  5. Place the lid on the pan holding the milk.SONY DSC
  6. Occasionally check the temperature and whisk the milk.SONY DSC
  7. When the temperature reaches 185 degrees Fahrenheit, cover and remove from heat.SONY DSC
  8. Immediately place inner pan with milk in an ice bath.SONY DSC
  9. Remove lid and whisk occasionally until the temperature drops between 118 to 110 degrees Fahrenheit.SONY DSC
  10. Remove from ice bath and whisk in yogurt starter. It should be completely blended into the milk.SONY DSC
  11. Ladle mixture into canning jars (sizes of your choice).SONY DSC
  12. Place lids and rings on jars.SONY DSC
  13. Empty the hot water out of the larger steamer pot and remove the steamer stand and place the filled canning jars in the pan.SONY DSC
  14. Place the lid on the pan.SONY DSC
  15. Wrap the pan in a fluffy towel or blanket for insulation and leave it alone on your kitchen counter for 6 to eight hours. SONY DSC
  16. Check to see if the yogurt has set (around 6 hours) by tilting one of the jars to the side slightly. If it is firm, it is set.SONY DSC

Our indoor temperature hovers around 76 degrees Fahrenheit and 50 percent humidity. I’d suggest wrapping in a nice and thick blanket if your indoor temperature runs a lot cooler.

Q: Why did I choose to share the yogurt recipe with you first?

A: It’s a beginning and it is used for other recipes that will follow, such as  strained Greek yogurt and Yo-cheese.

It’s your turn to make some yogurt. Go ahead, it’s pretty easy!

Share with me your yogurt making stories. Successes or failures. Past experiences or how it went when you followed my process. Can’t wait to hear from you!