At the end of summer, I order 25 pounds of fresh green chiles grown in Hatch, New Mexico to roast at home. If you’ve ever had Hatch chiles, you’ll understand.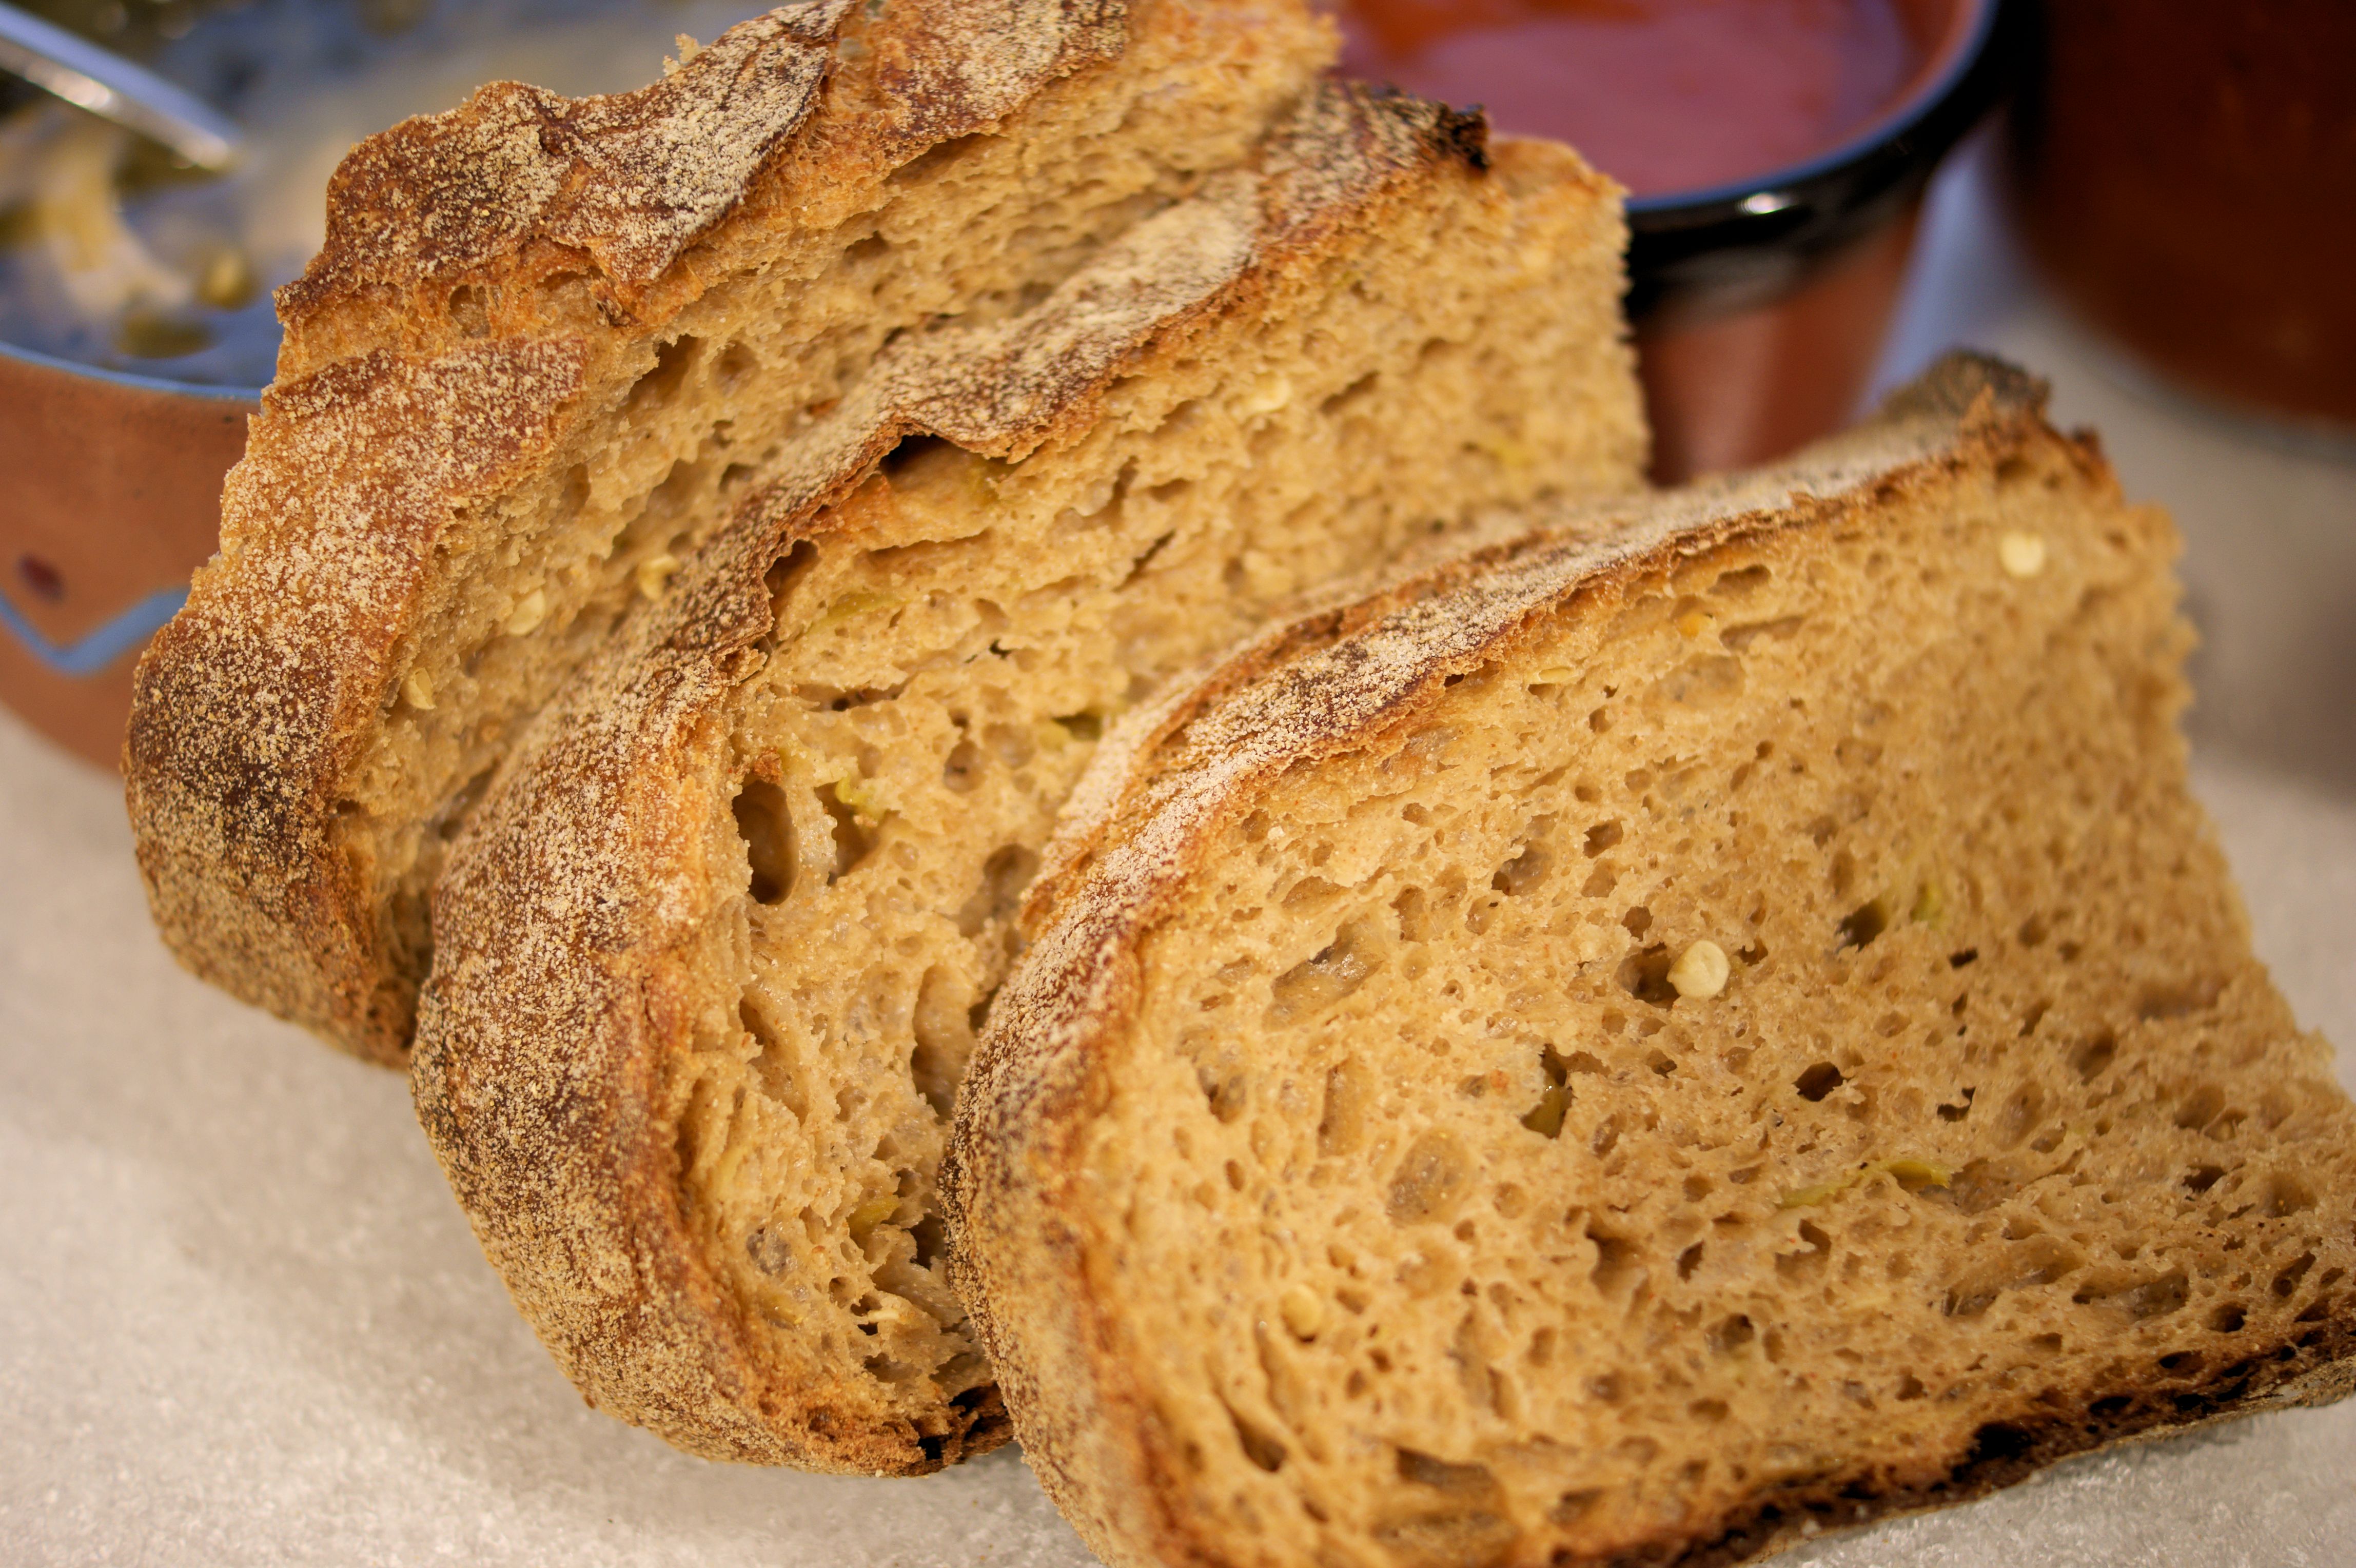
Twist the basic no-knead bread recipe by adding fresh roasted New Mexico green chiles and ground chipotle flakes. Perfect for making green chile and grilled cheese sandwiches or dipping in fresh red chile pod sauce.
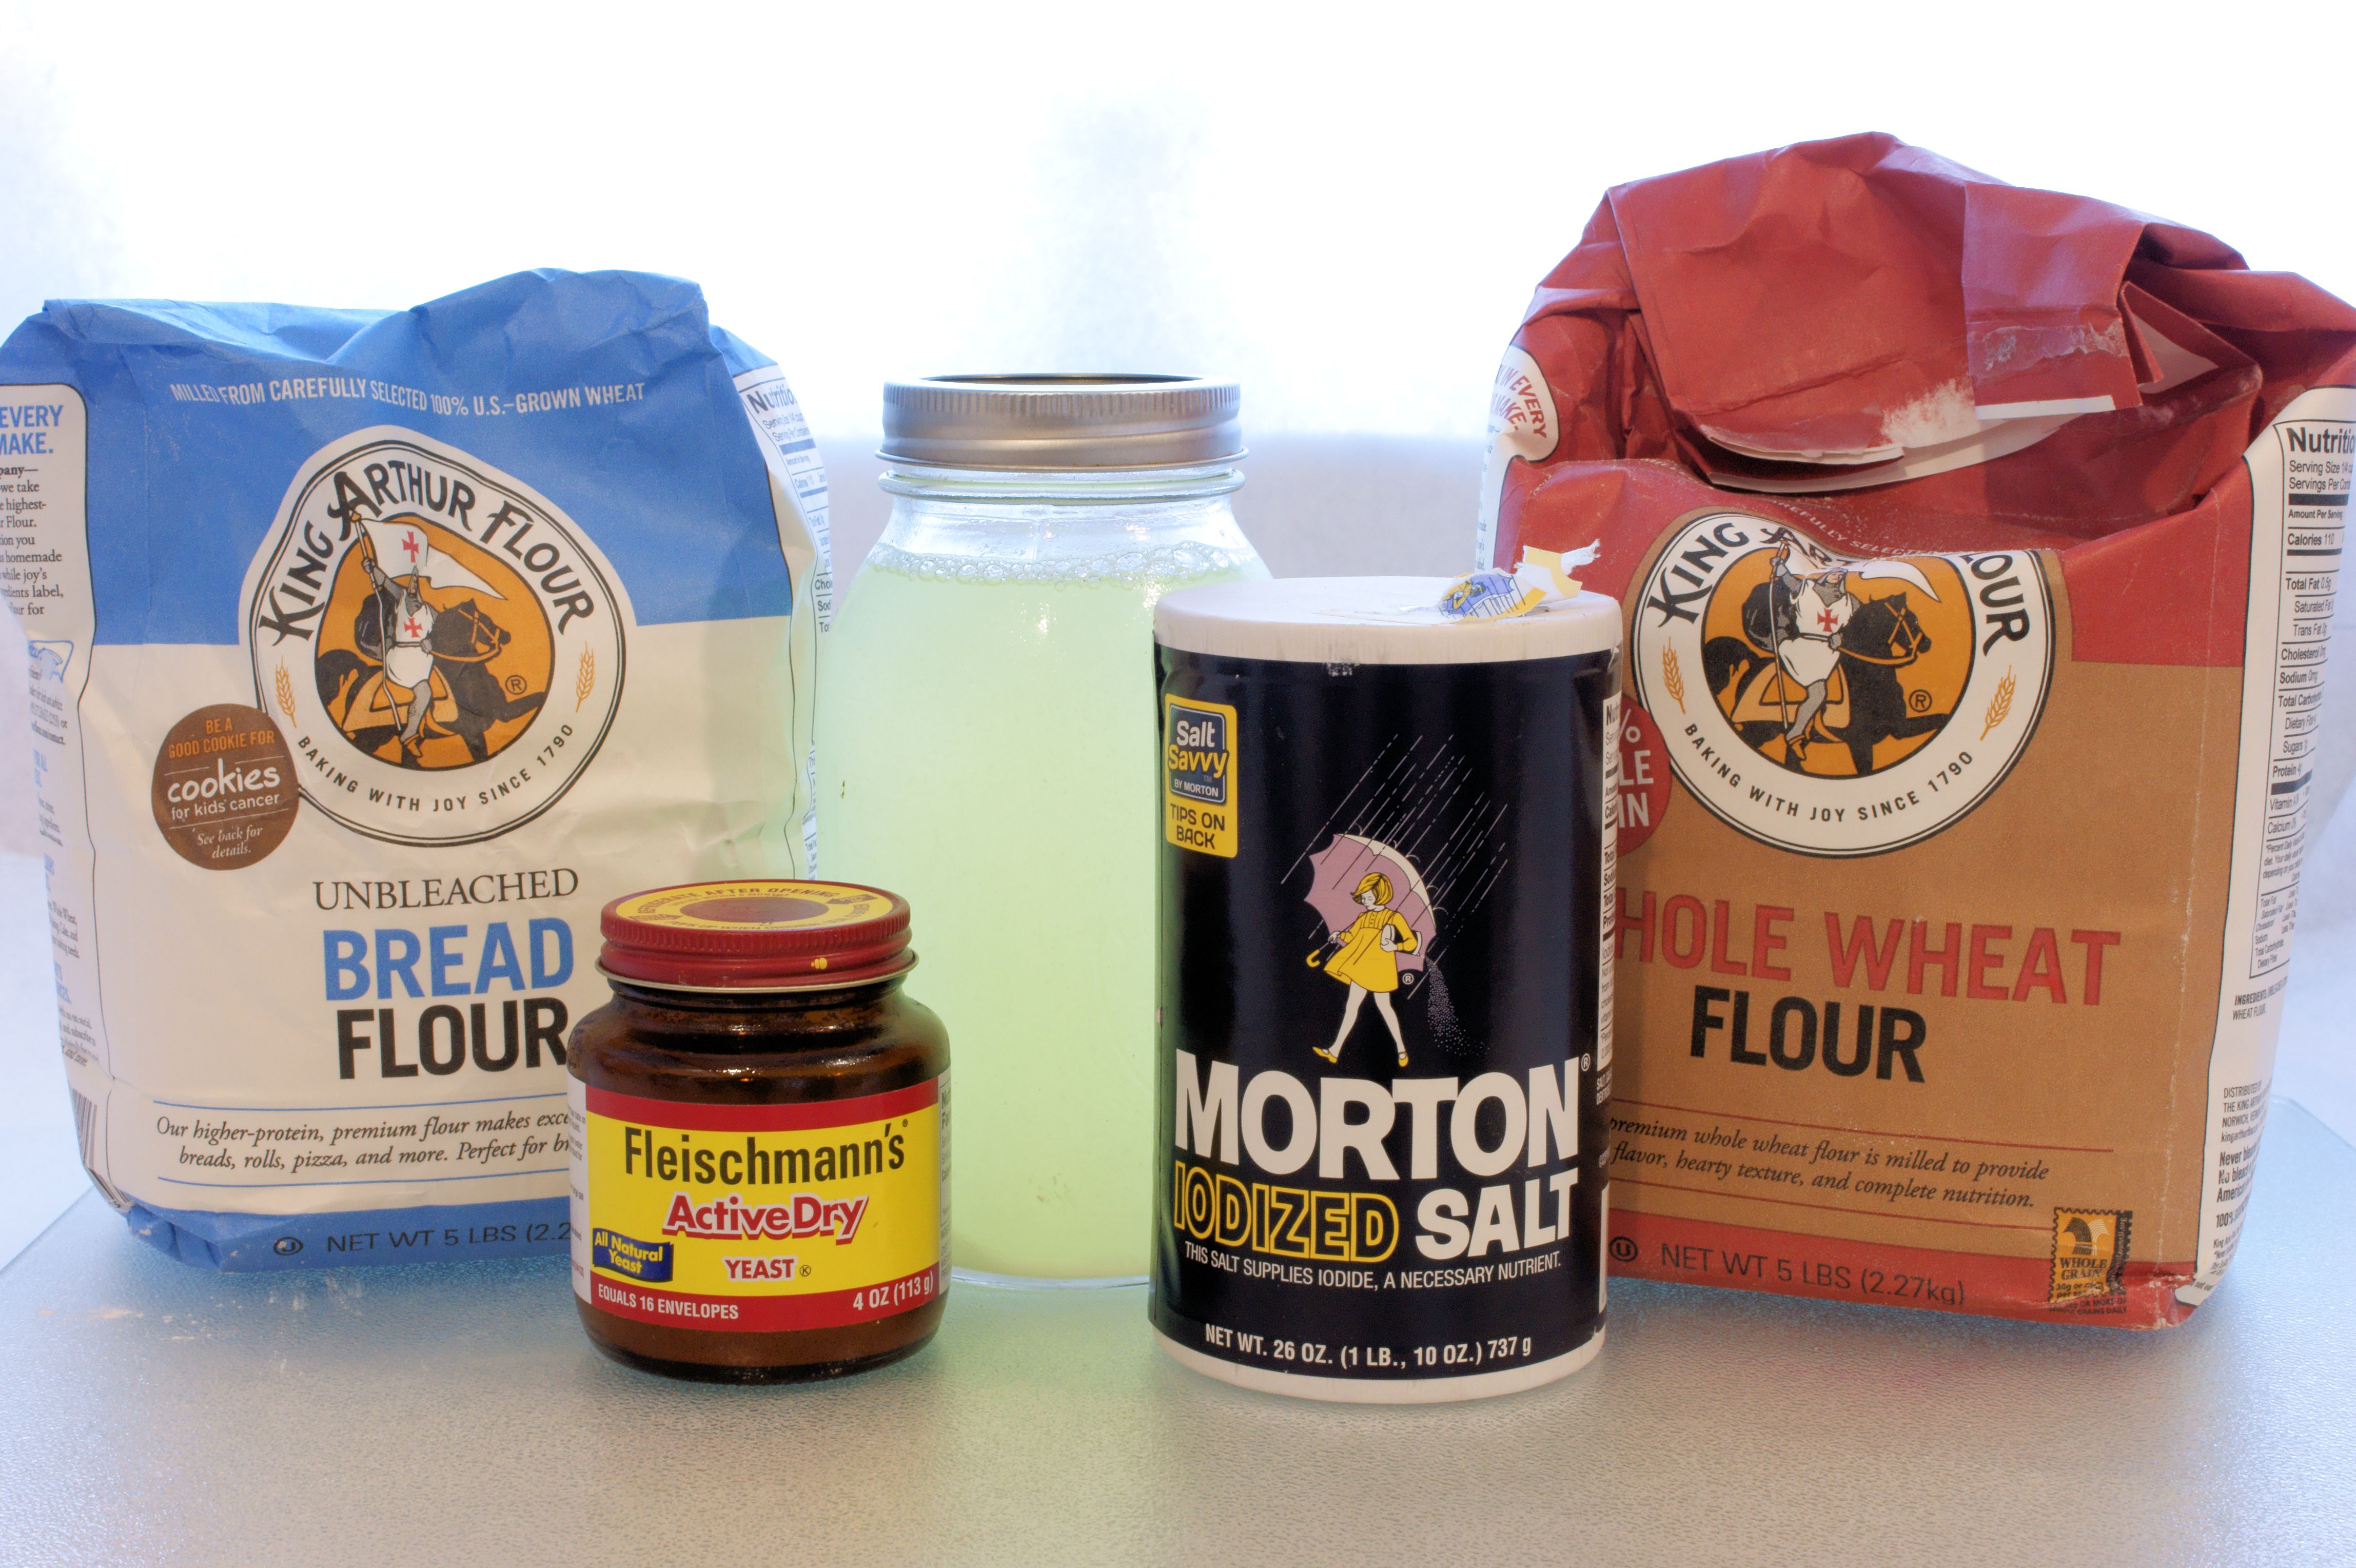
Ingredients:
- 1 1/2 cups whole wheat flour
- 1 1/2 cups bread flour
- 1 teaspoon salt
- 1/4 teaspoon yeast
- 1 teaspoon chipotle flakes or powder.
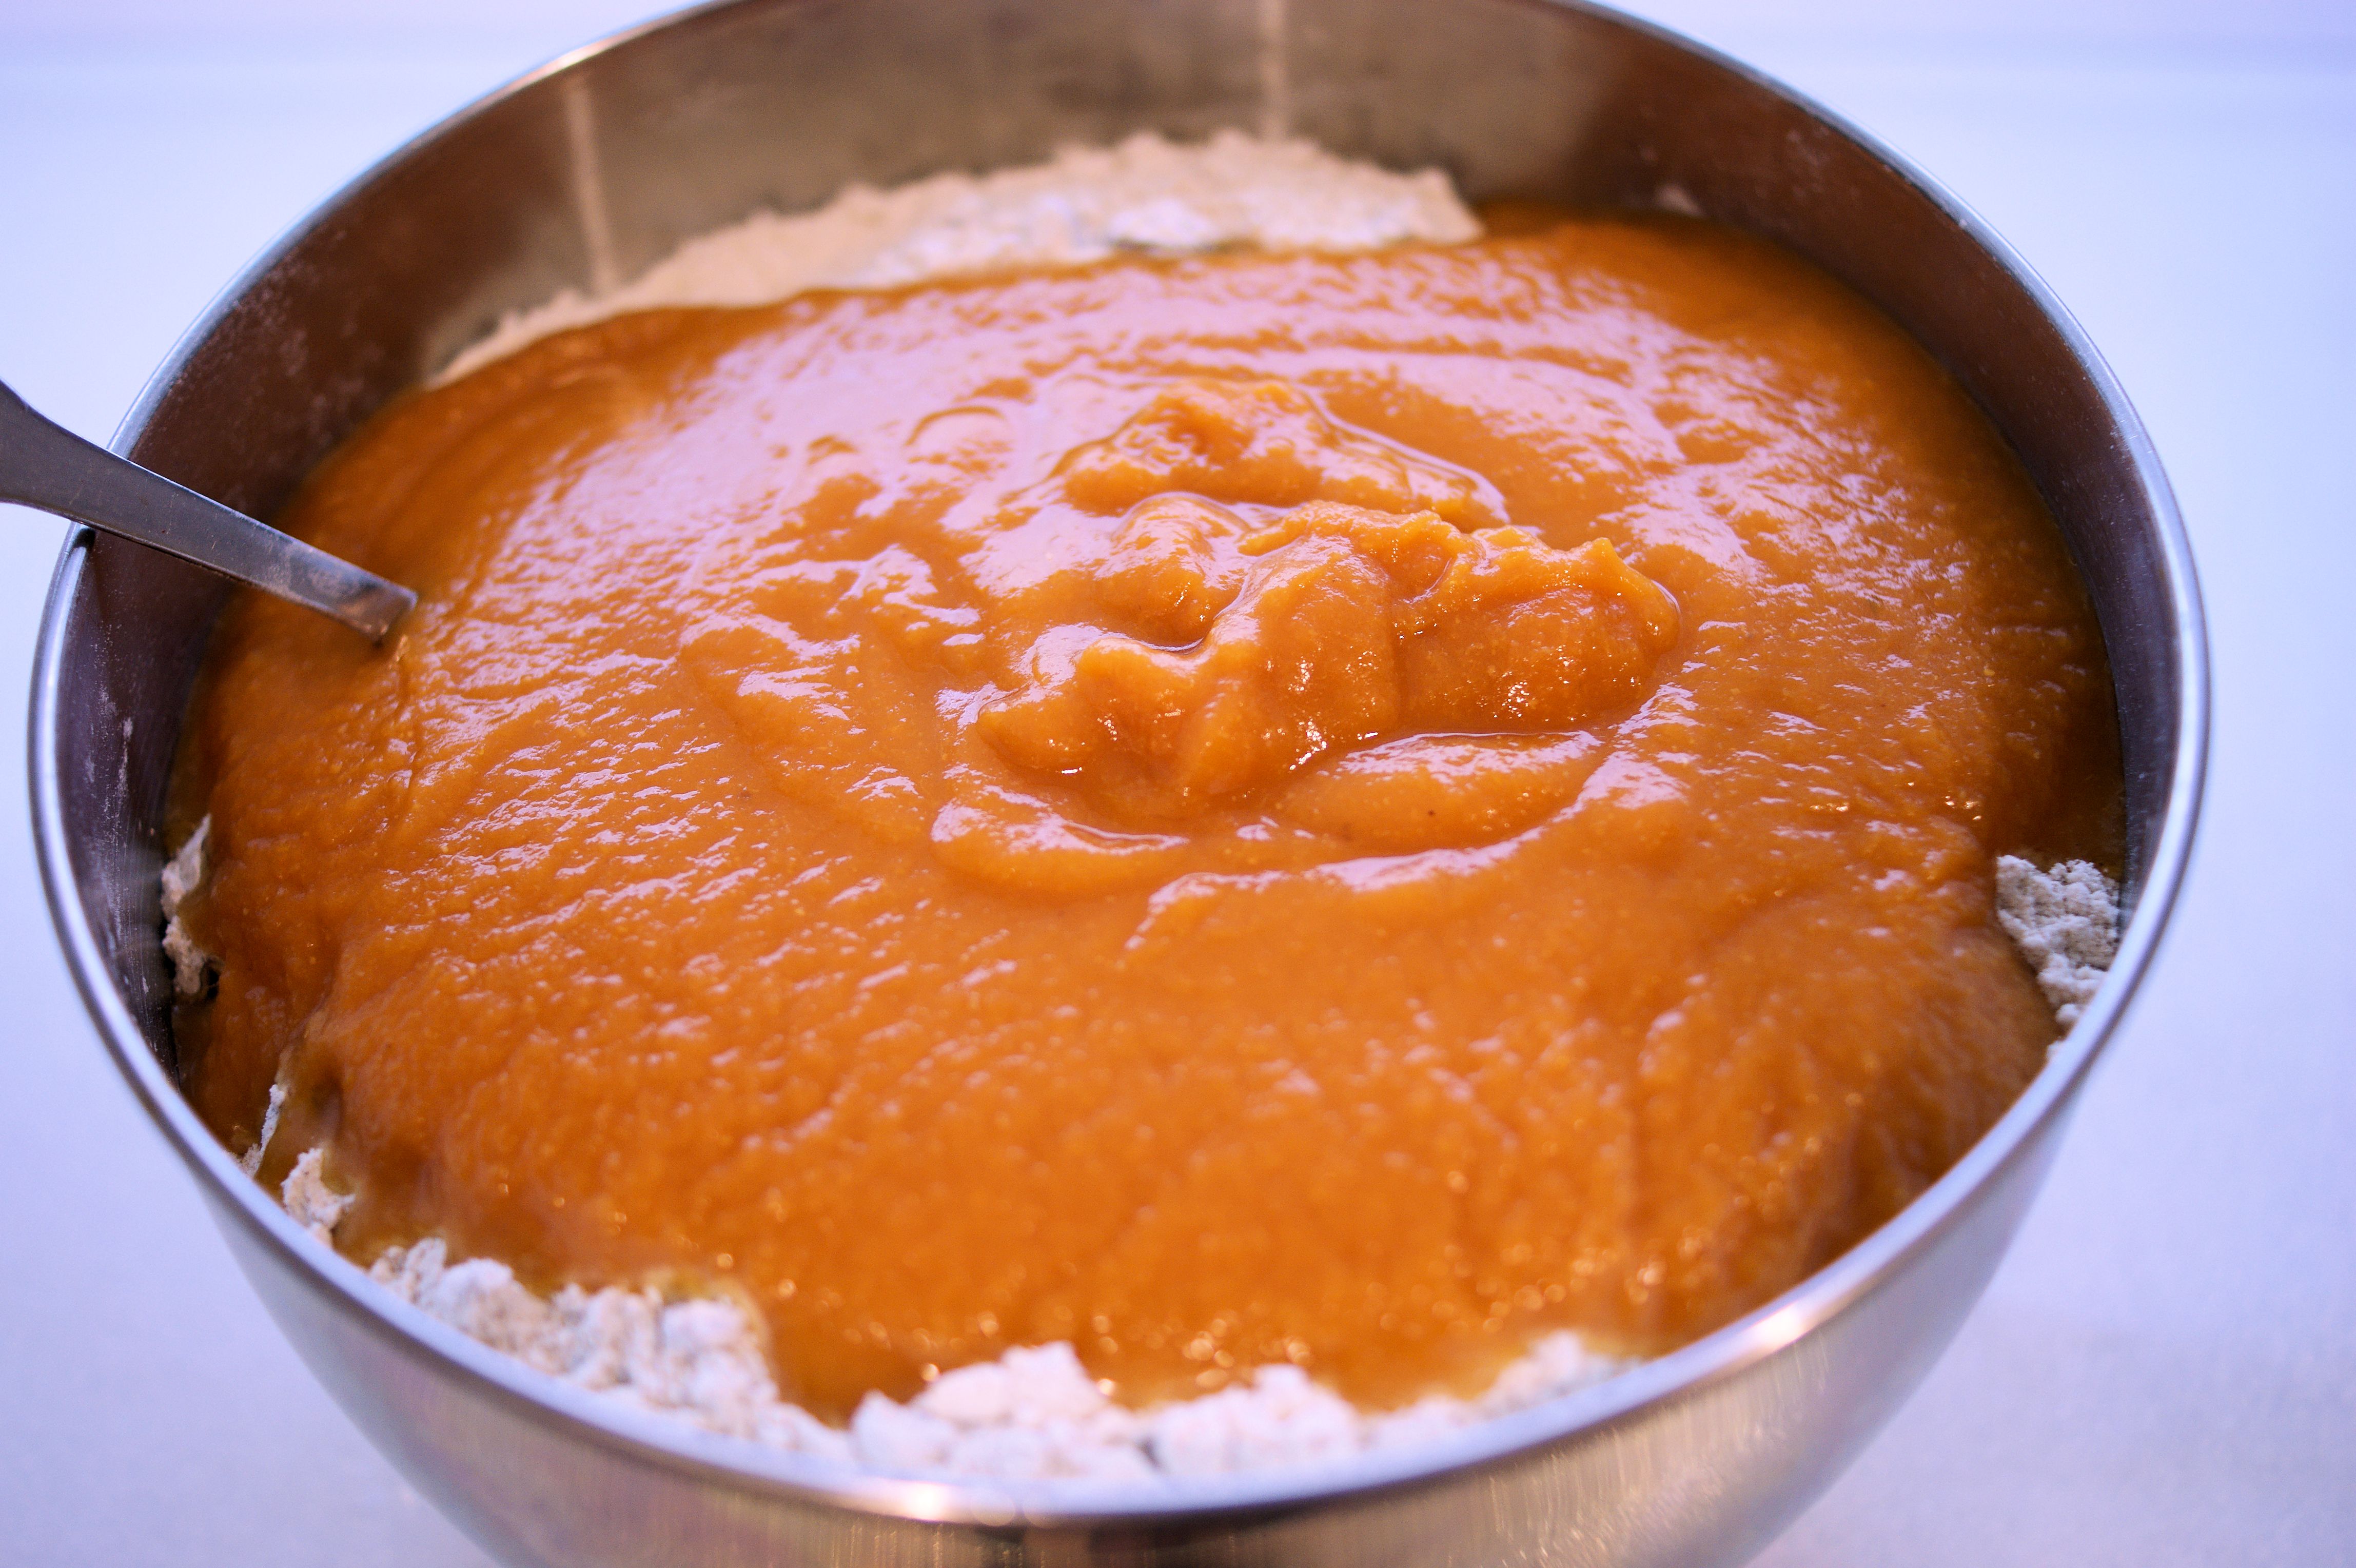
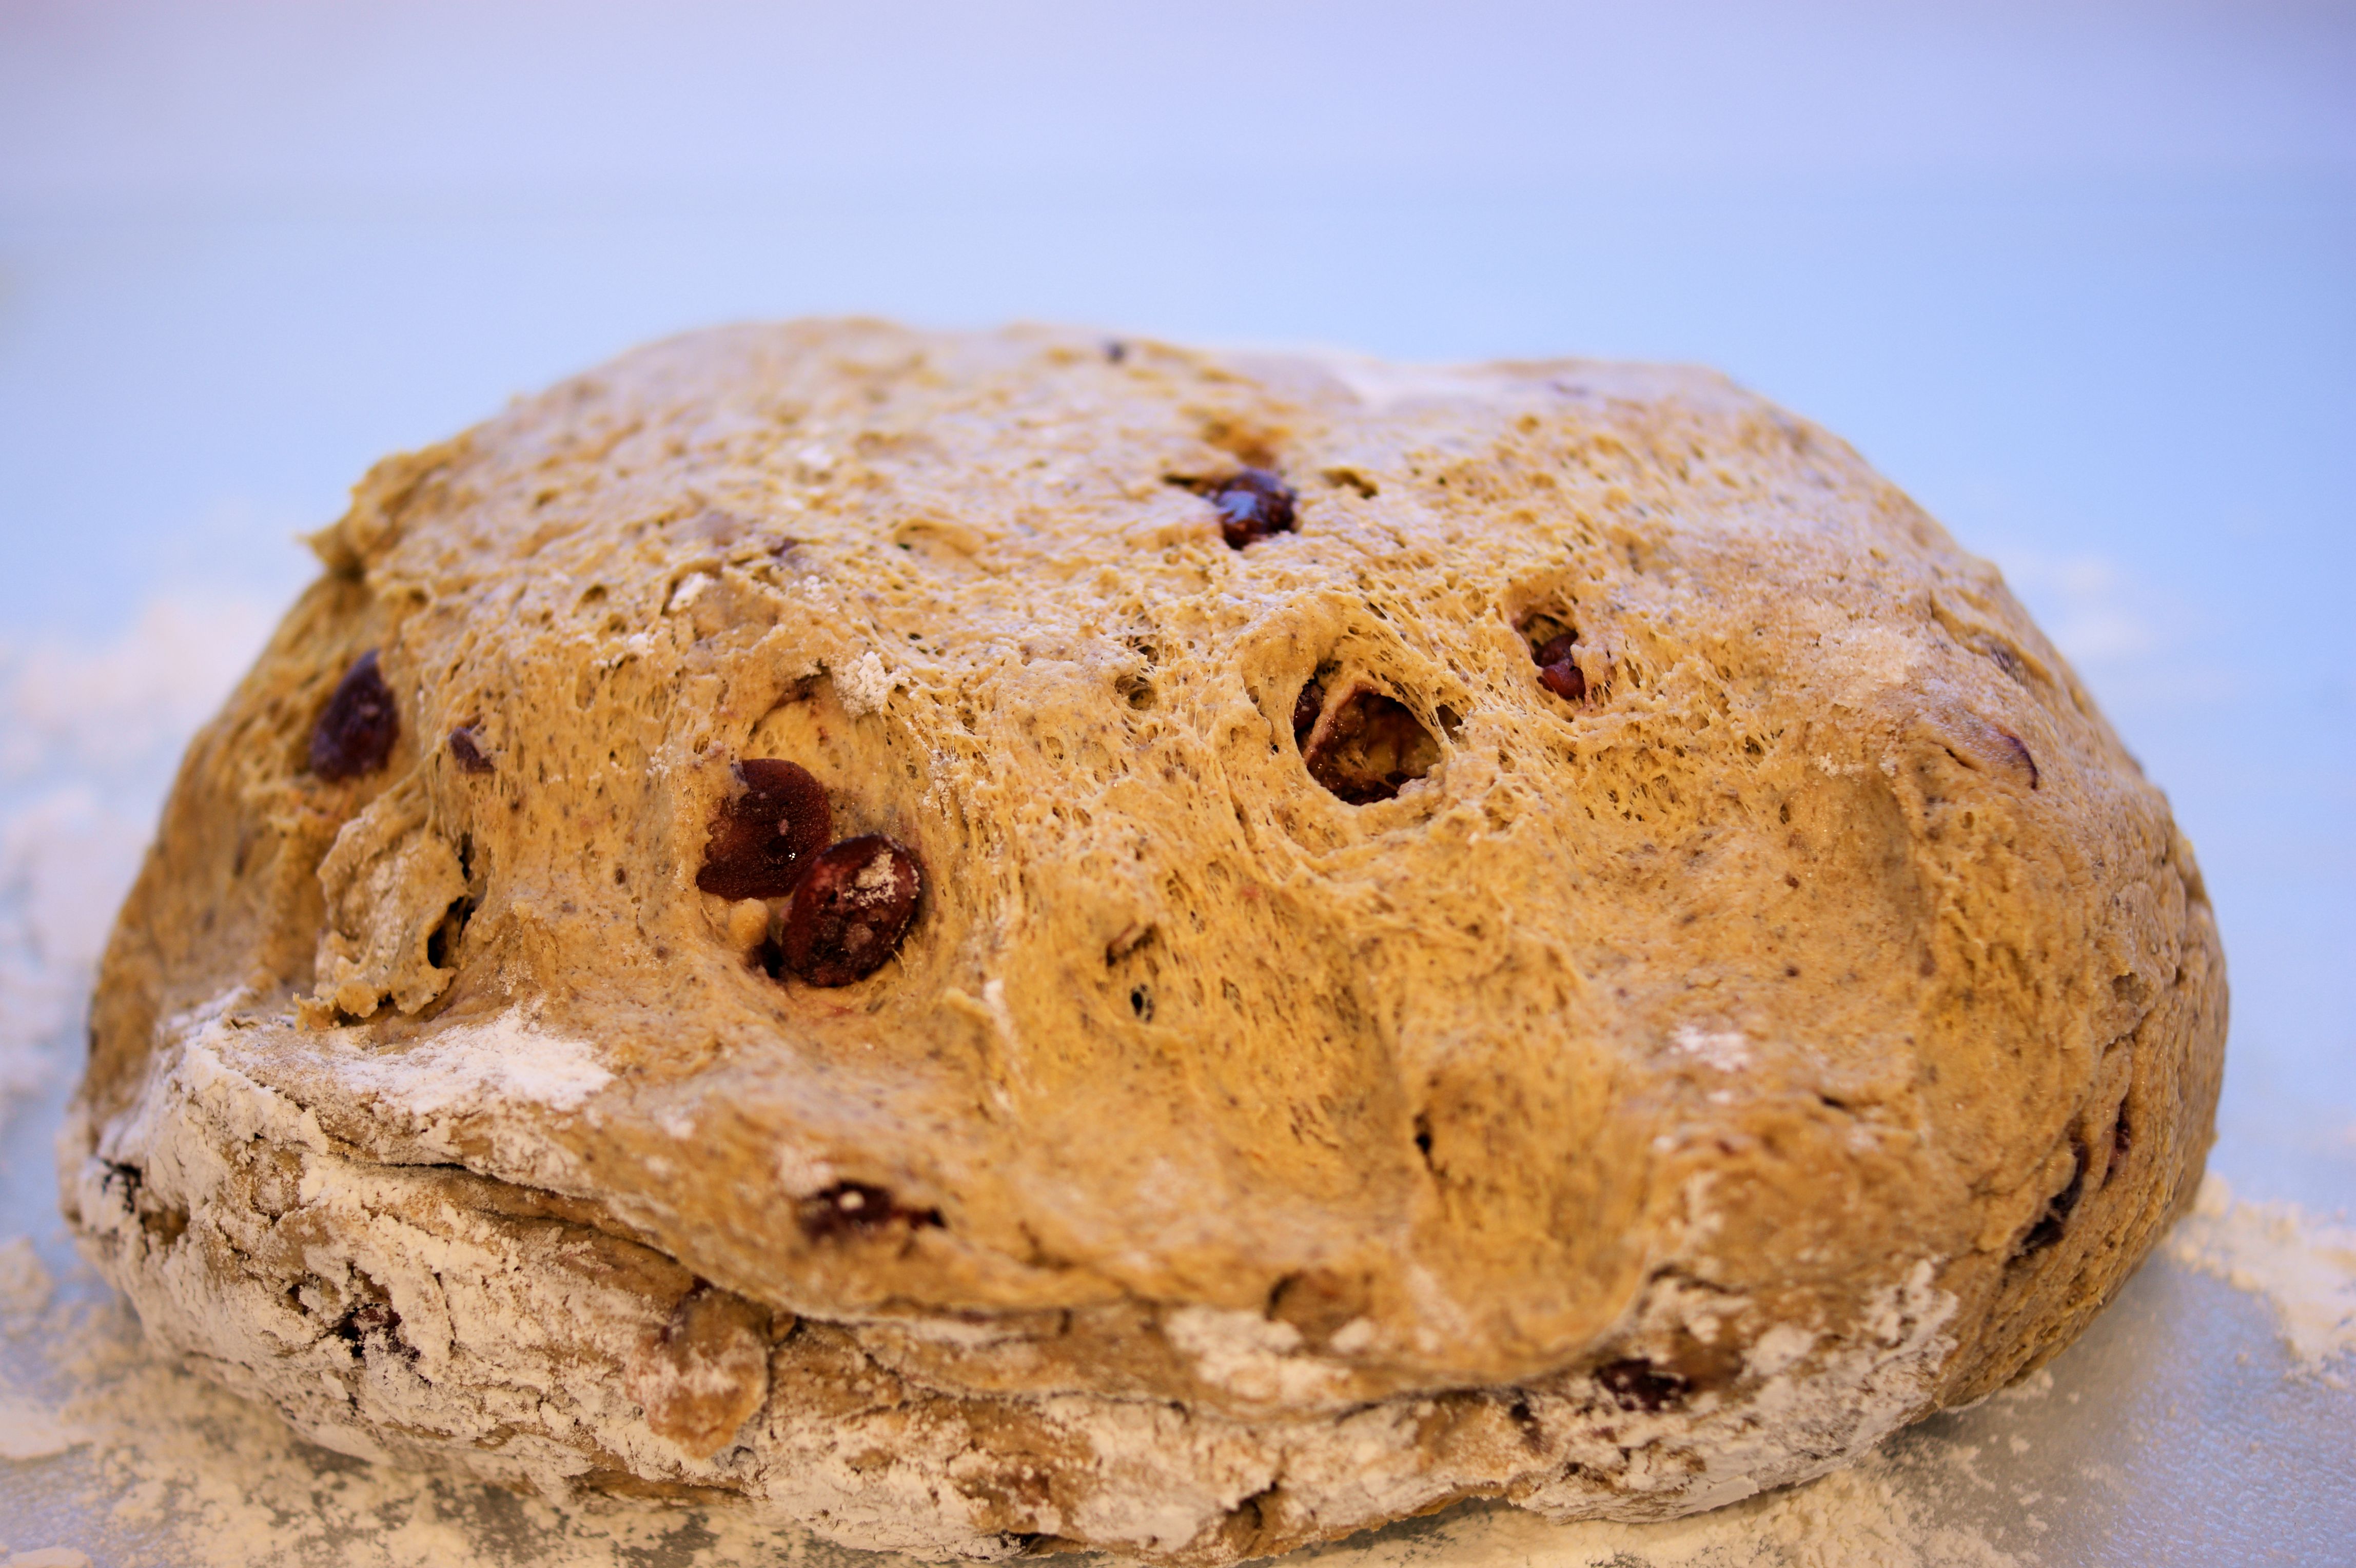
- 3 New Mexico green chiles, diced.
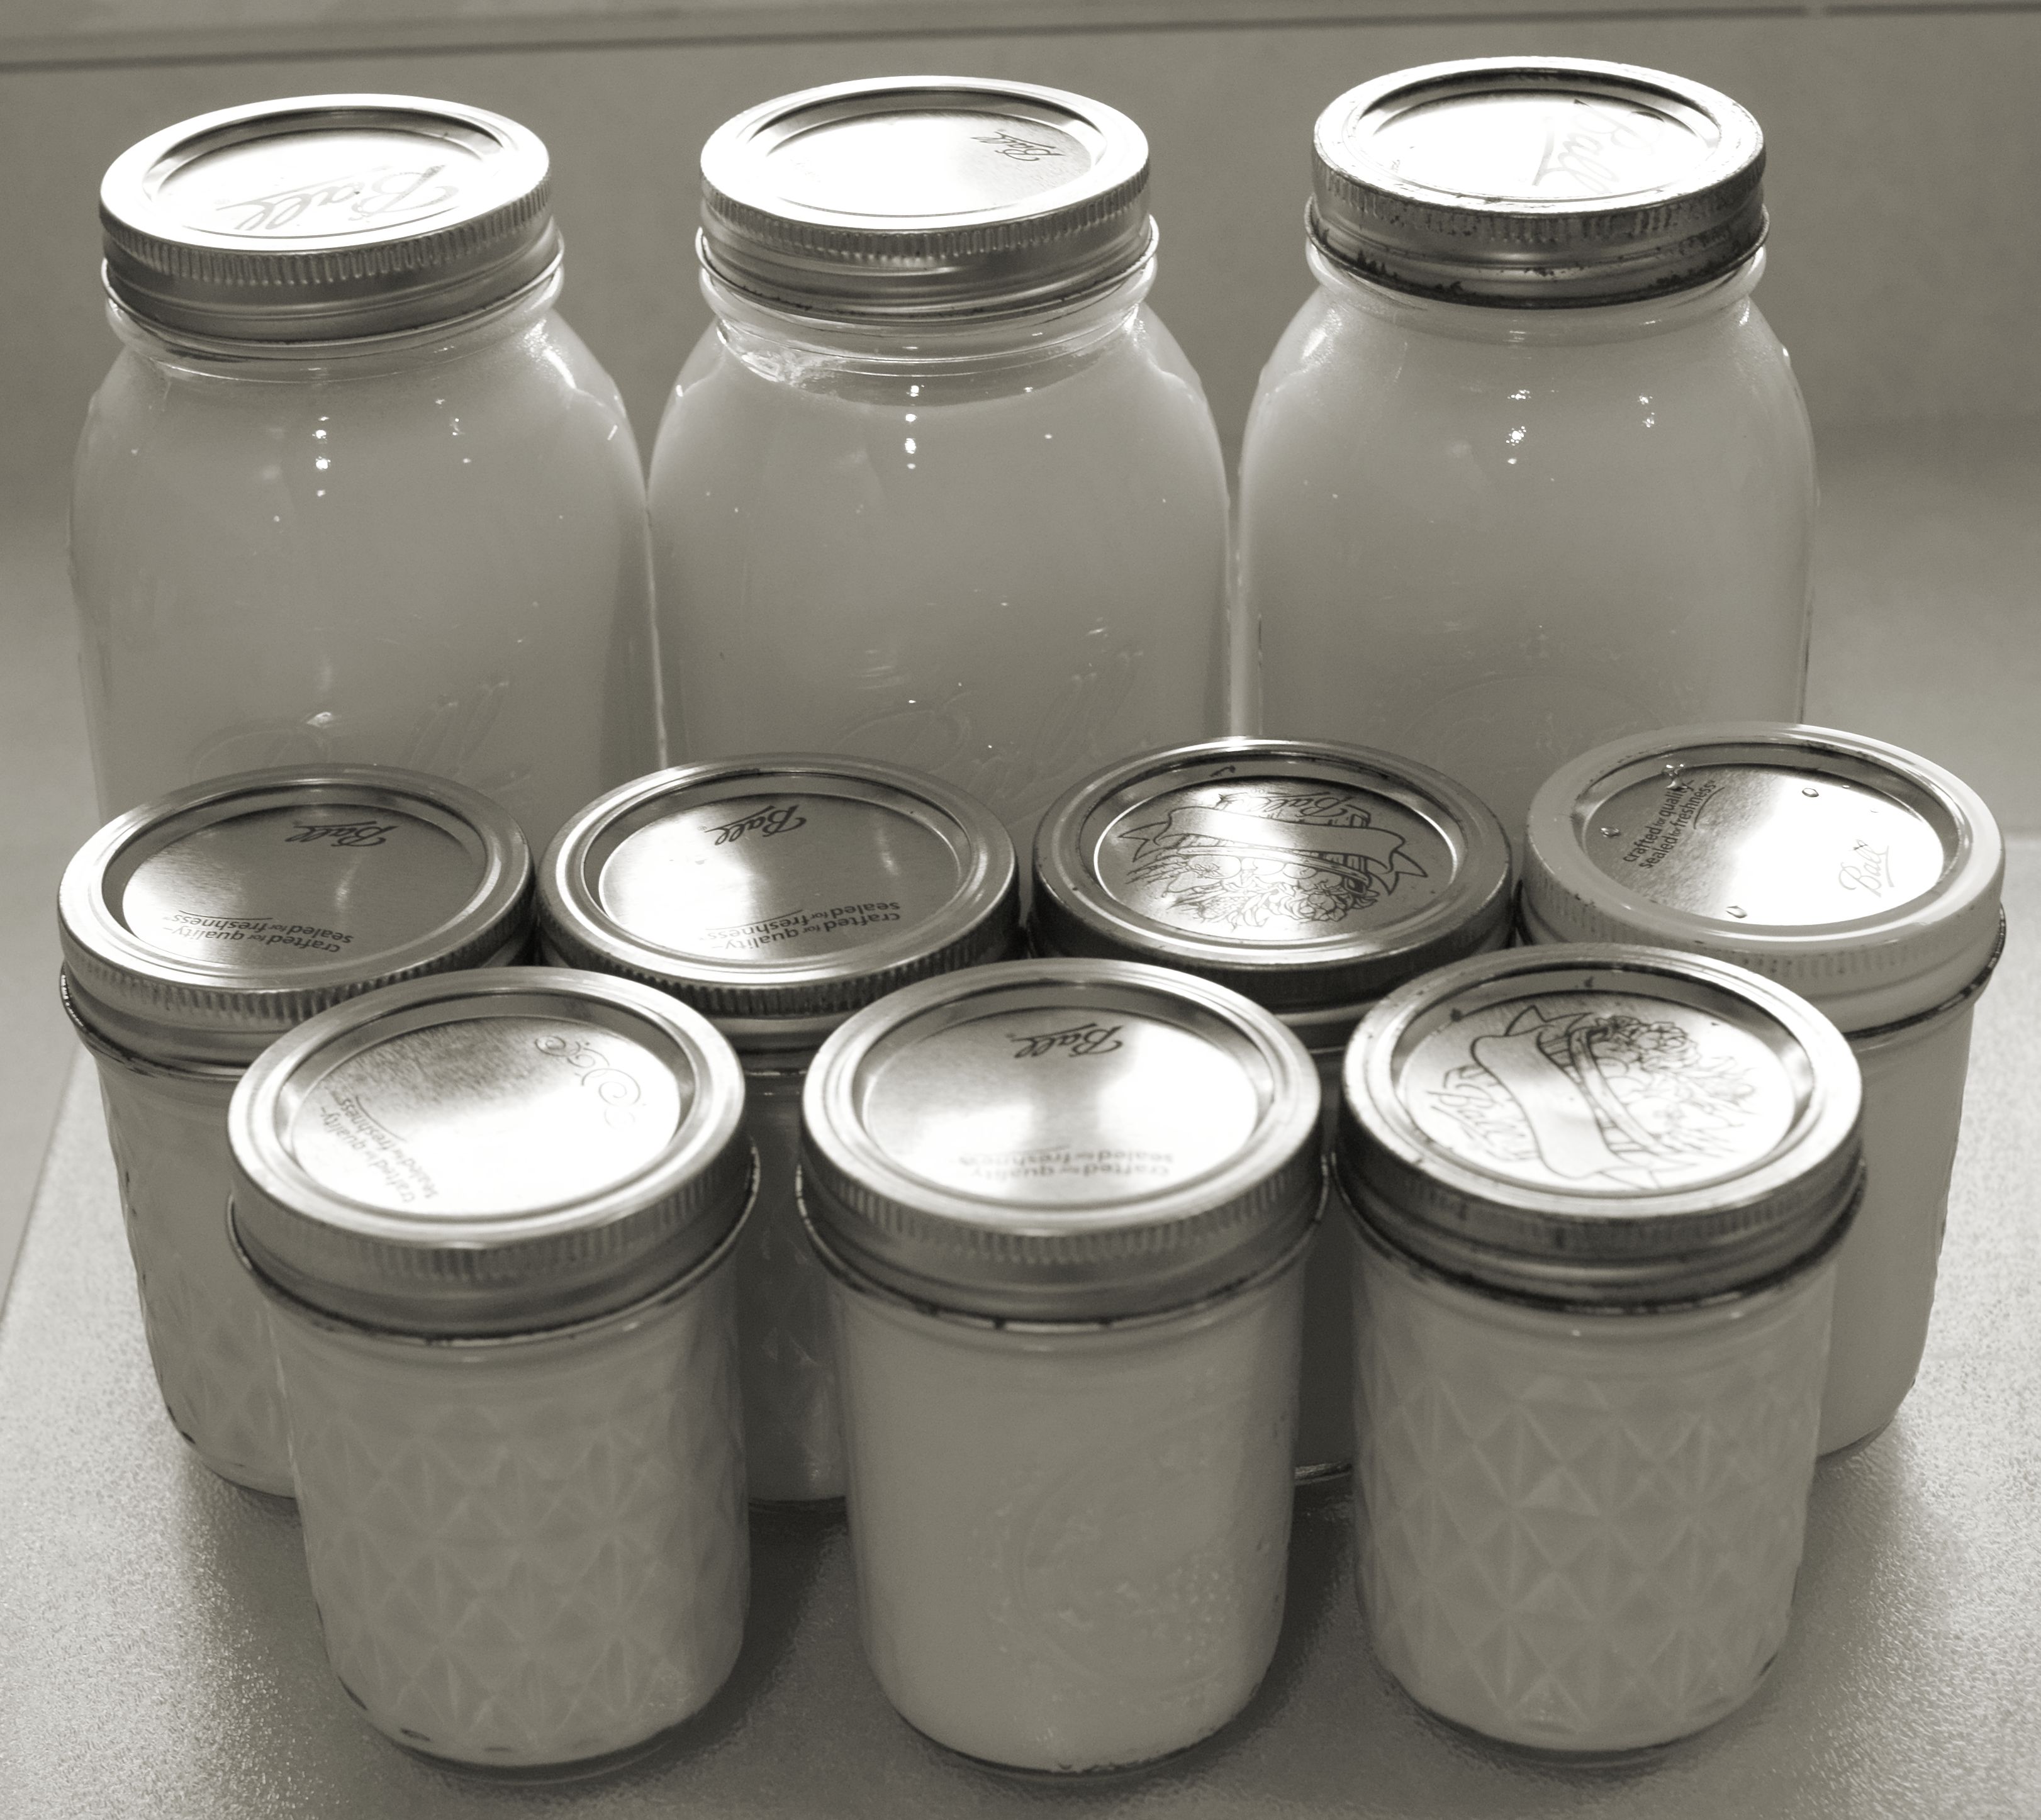
- 1 3/4 cup whey.
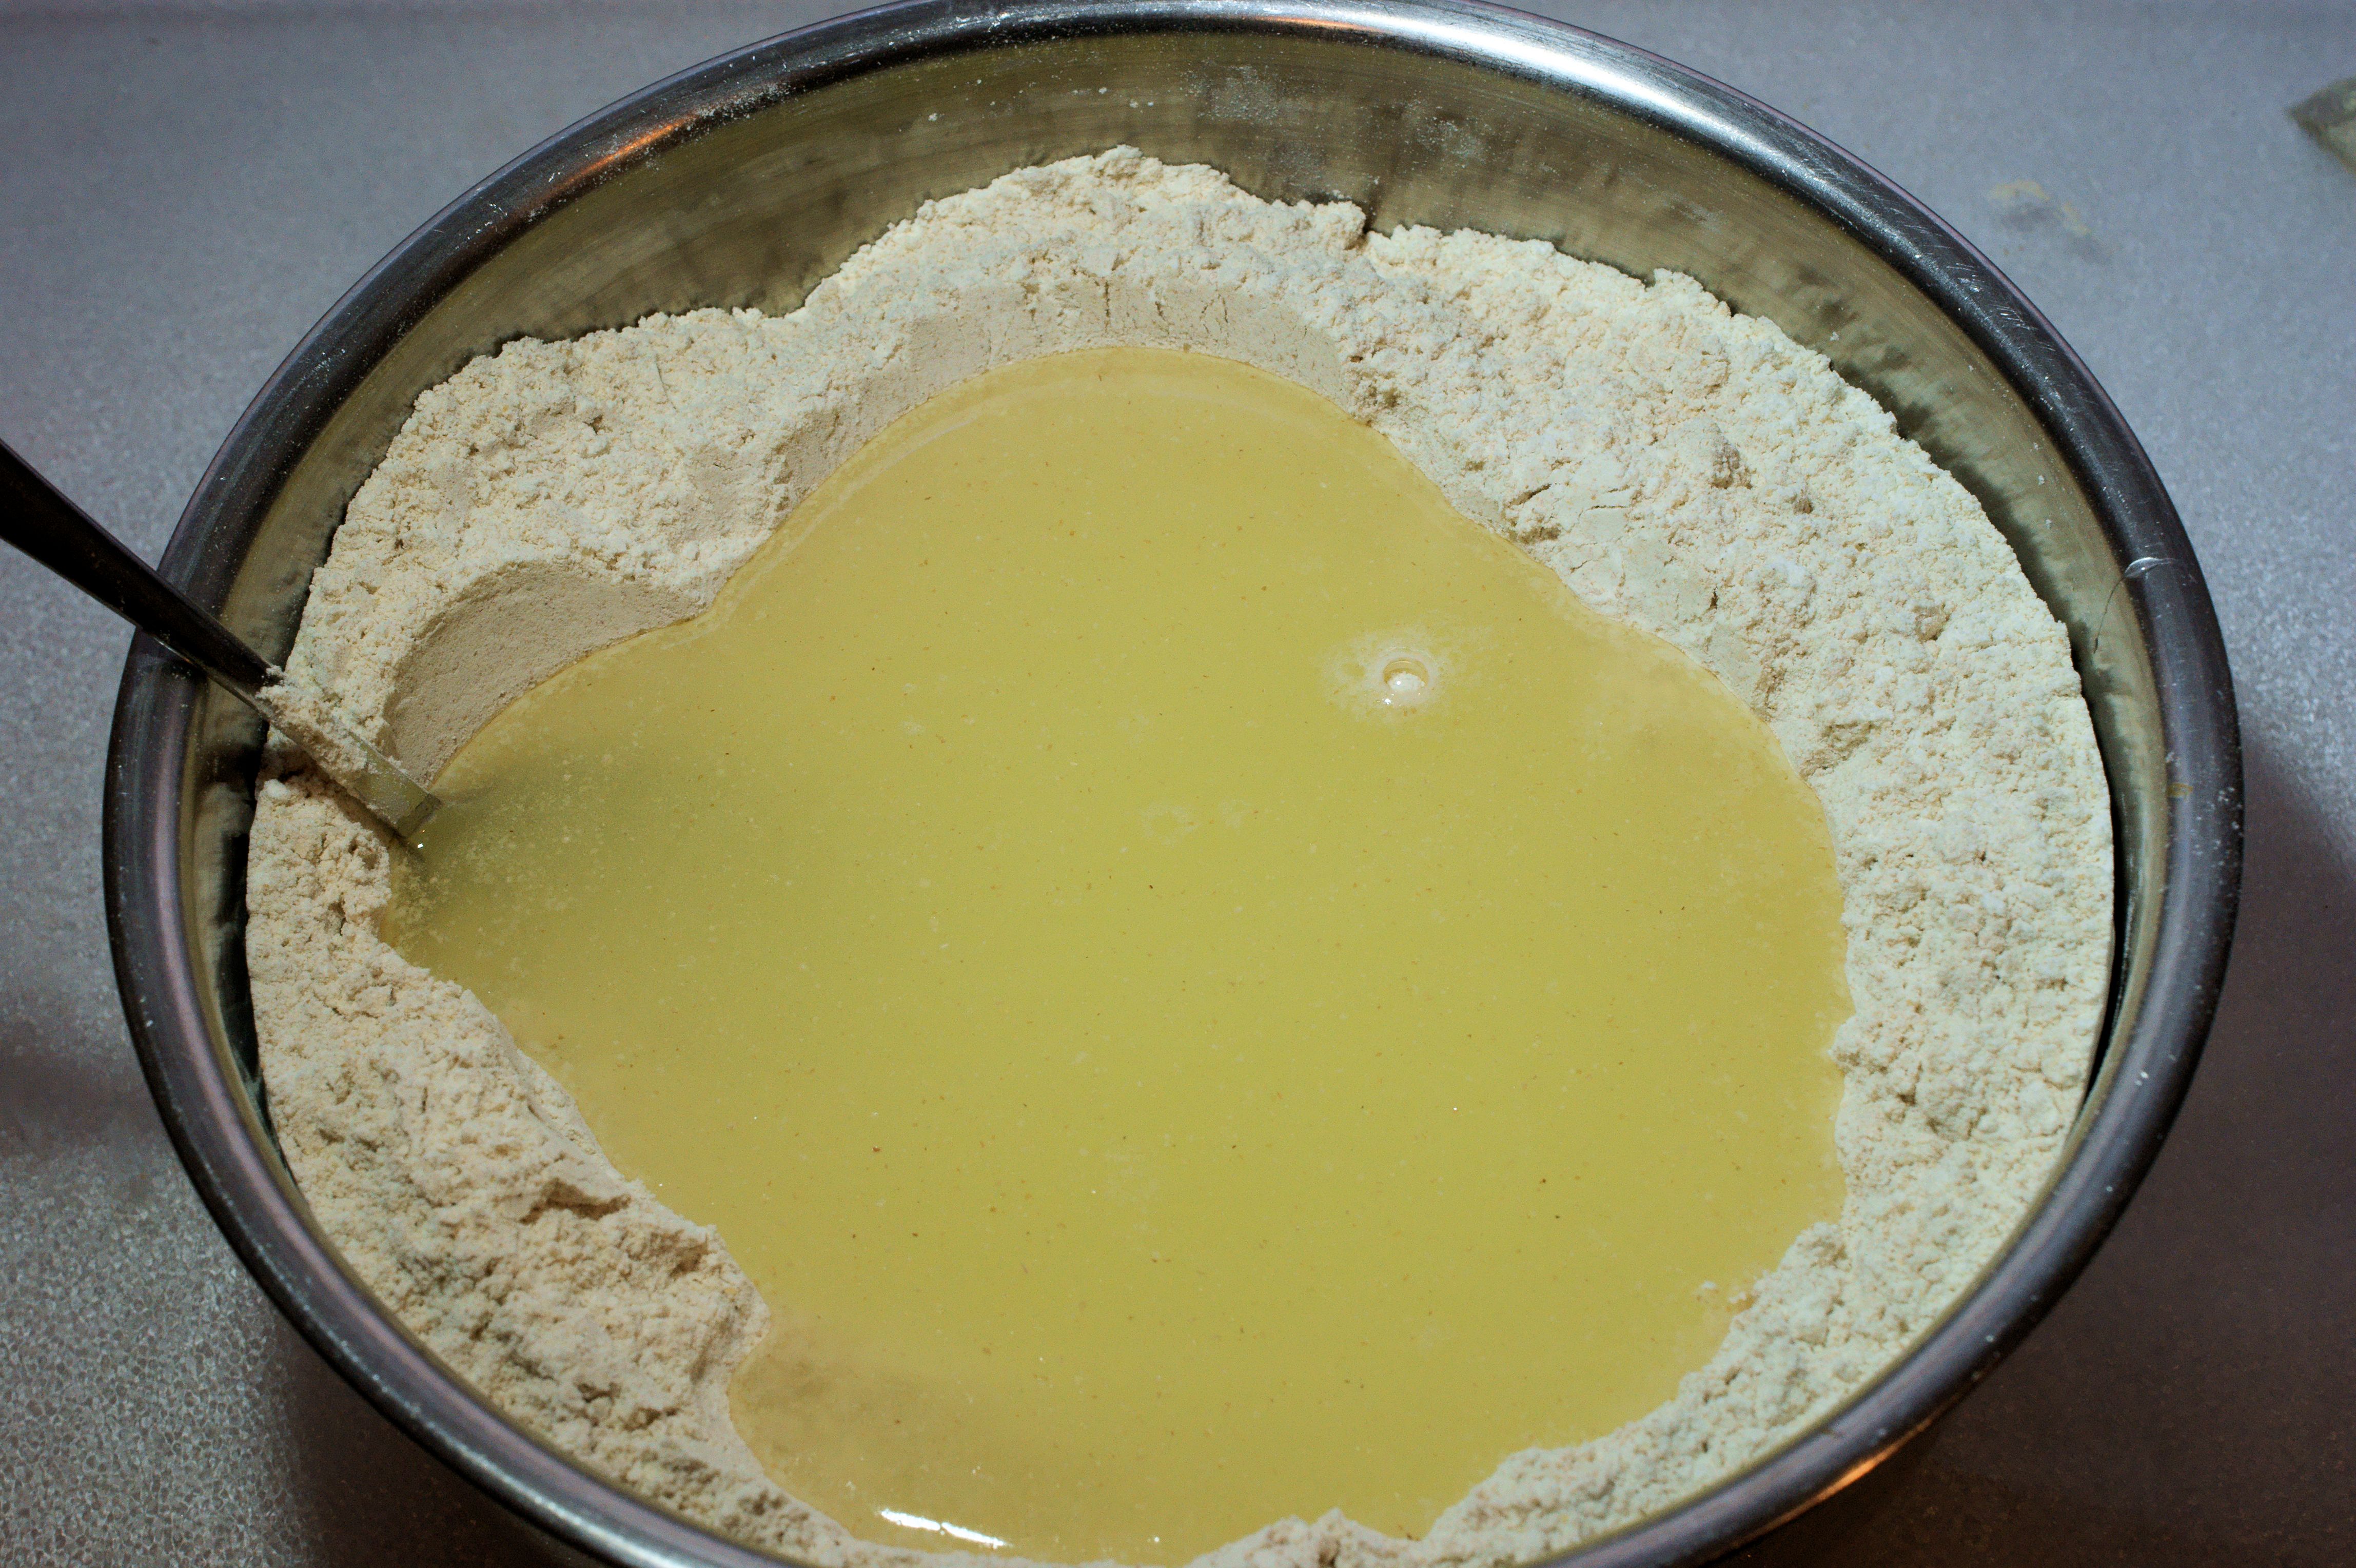
In a large bowl combine flour, yeast, salt, chipotle powder. Add the whey and green chiles and stir until blended. The dough will be a bit rough and sticky.
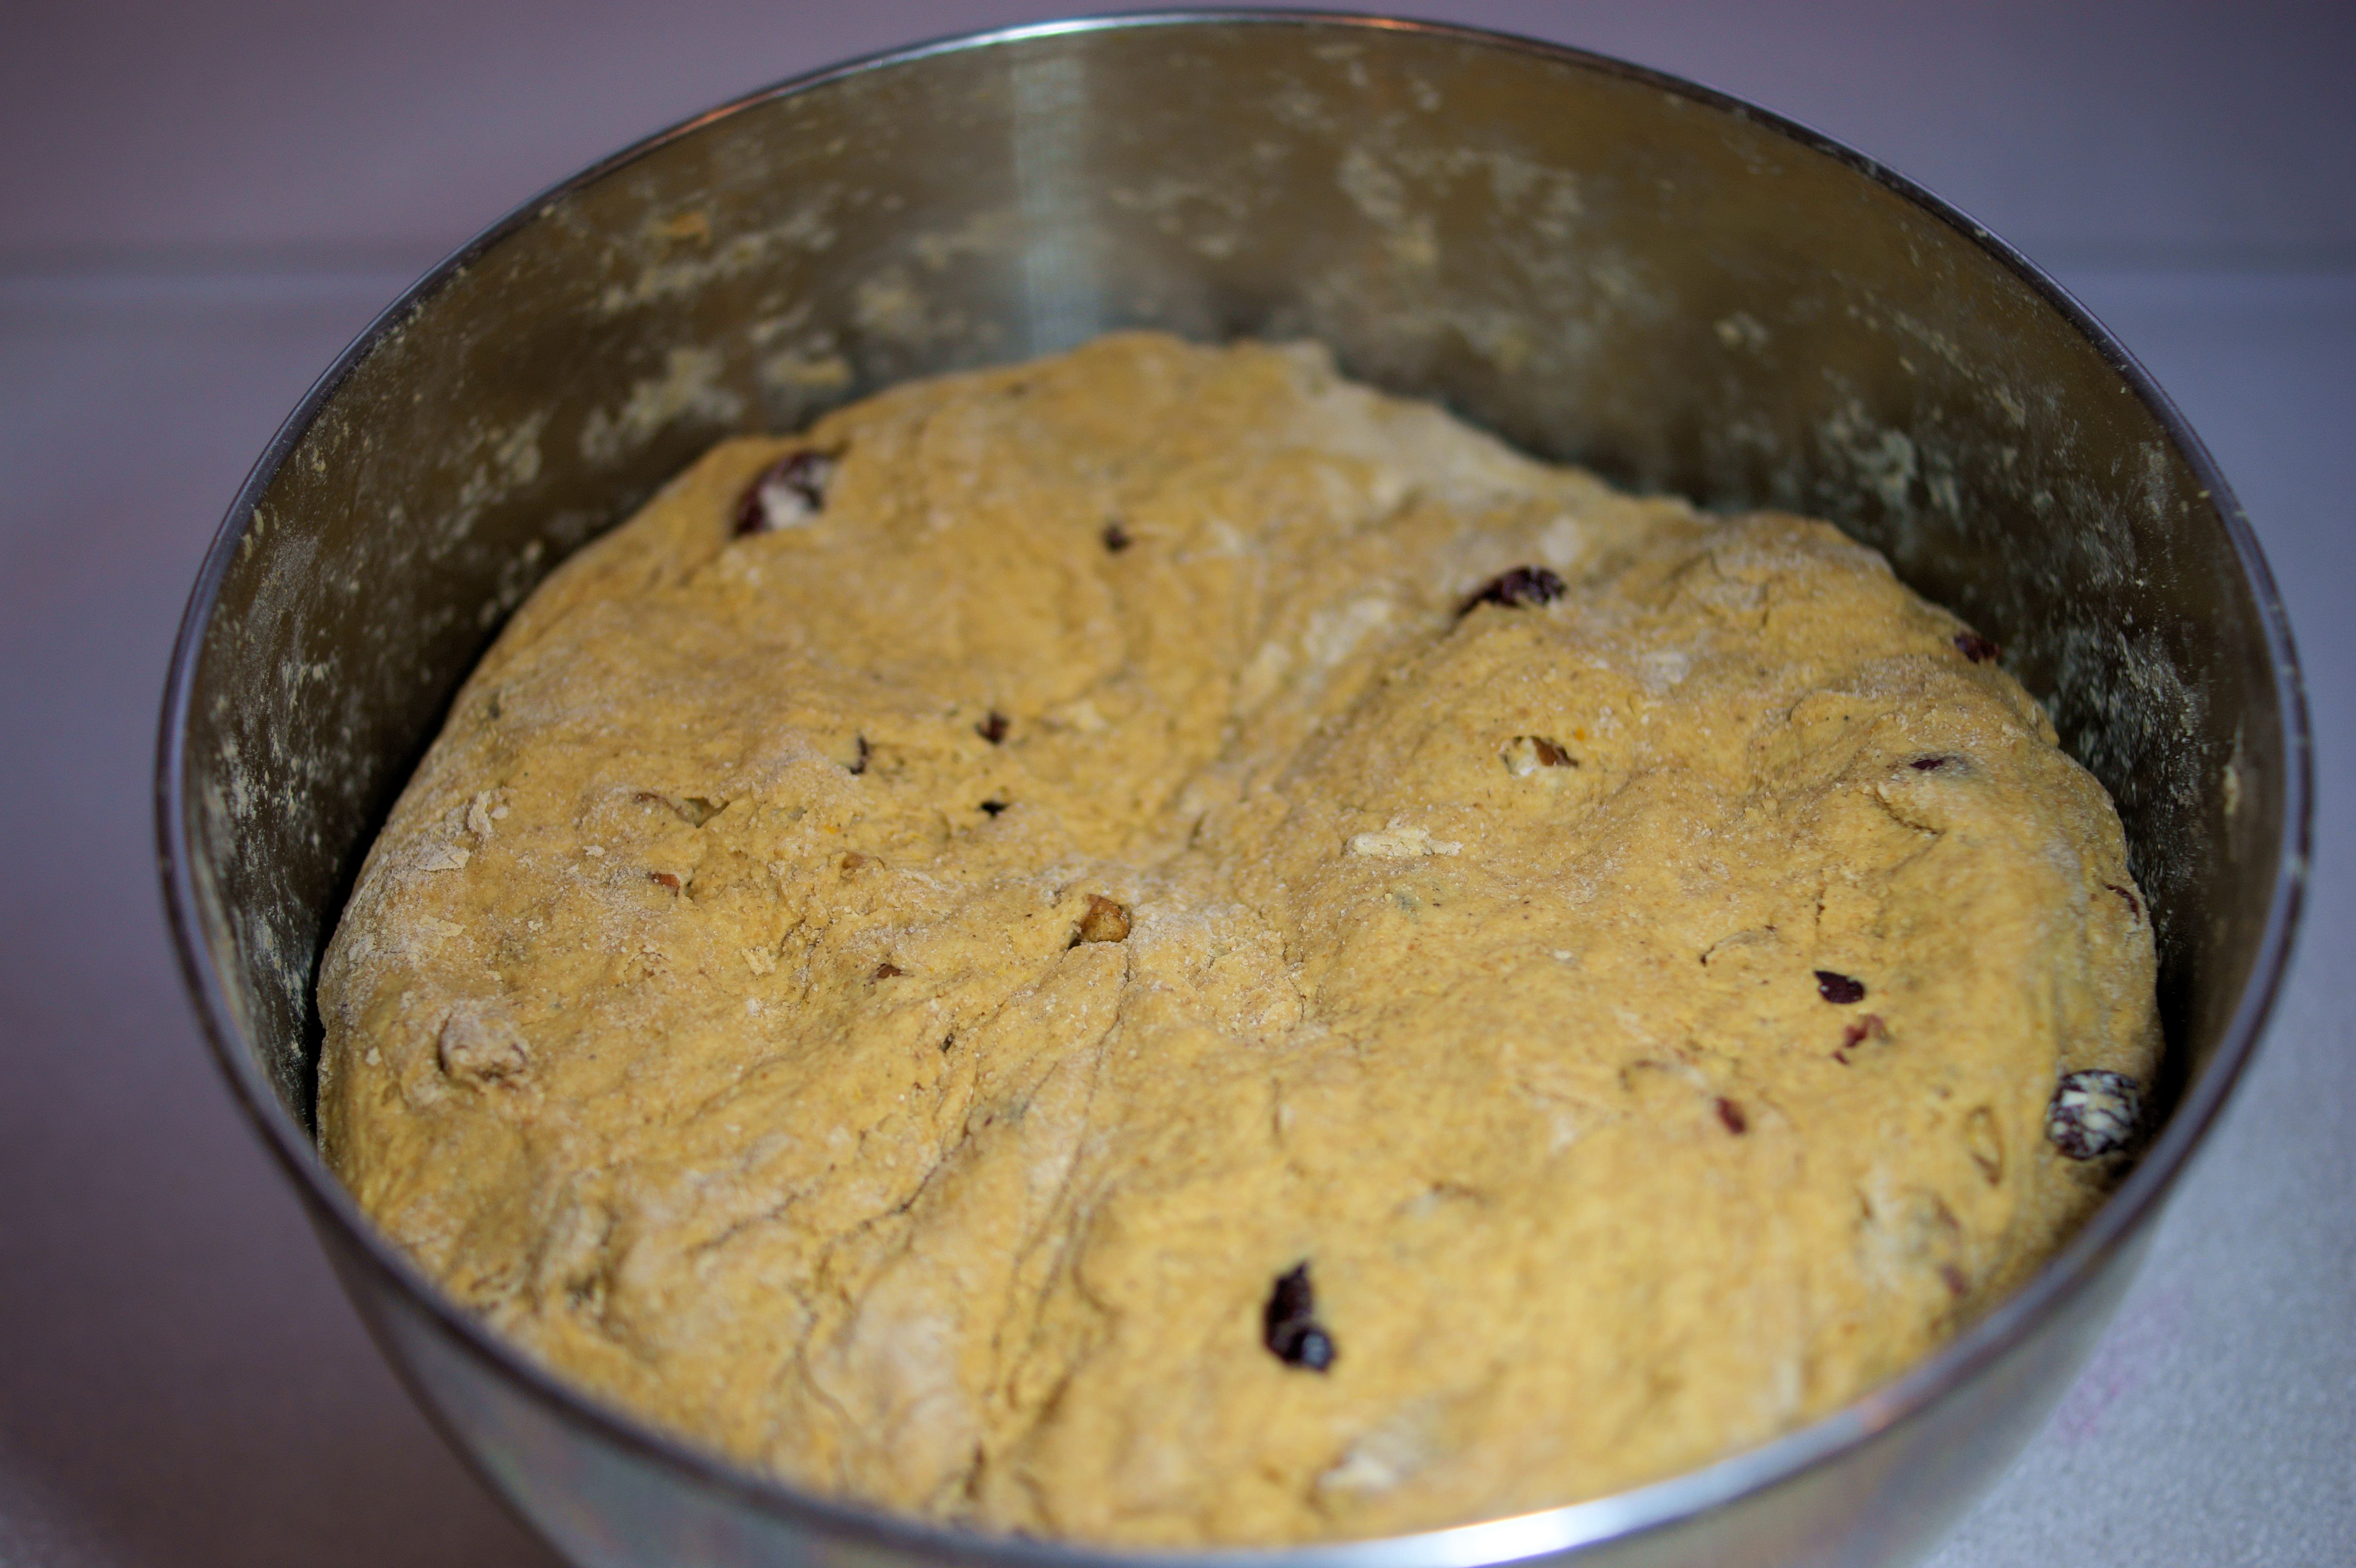
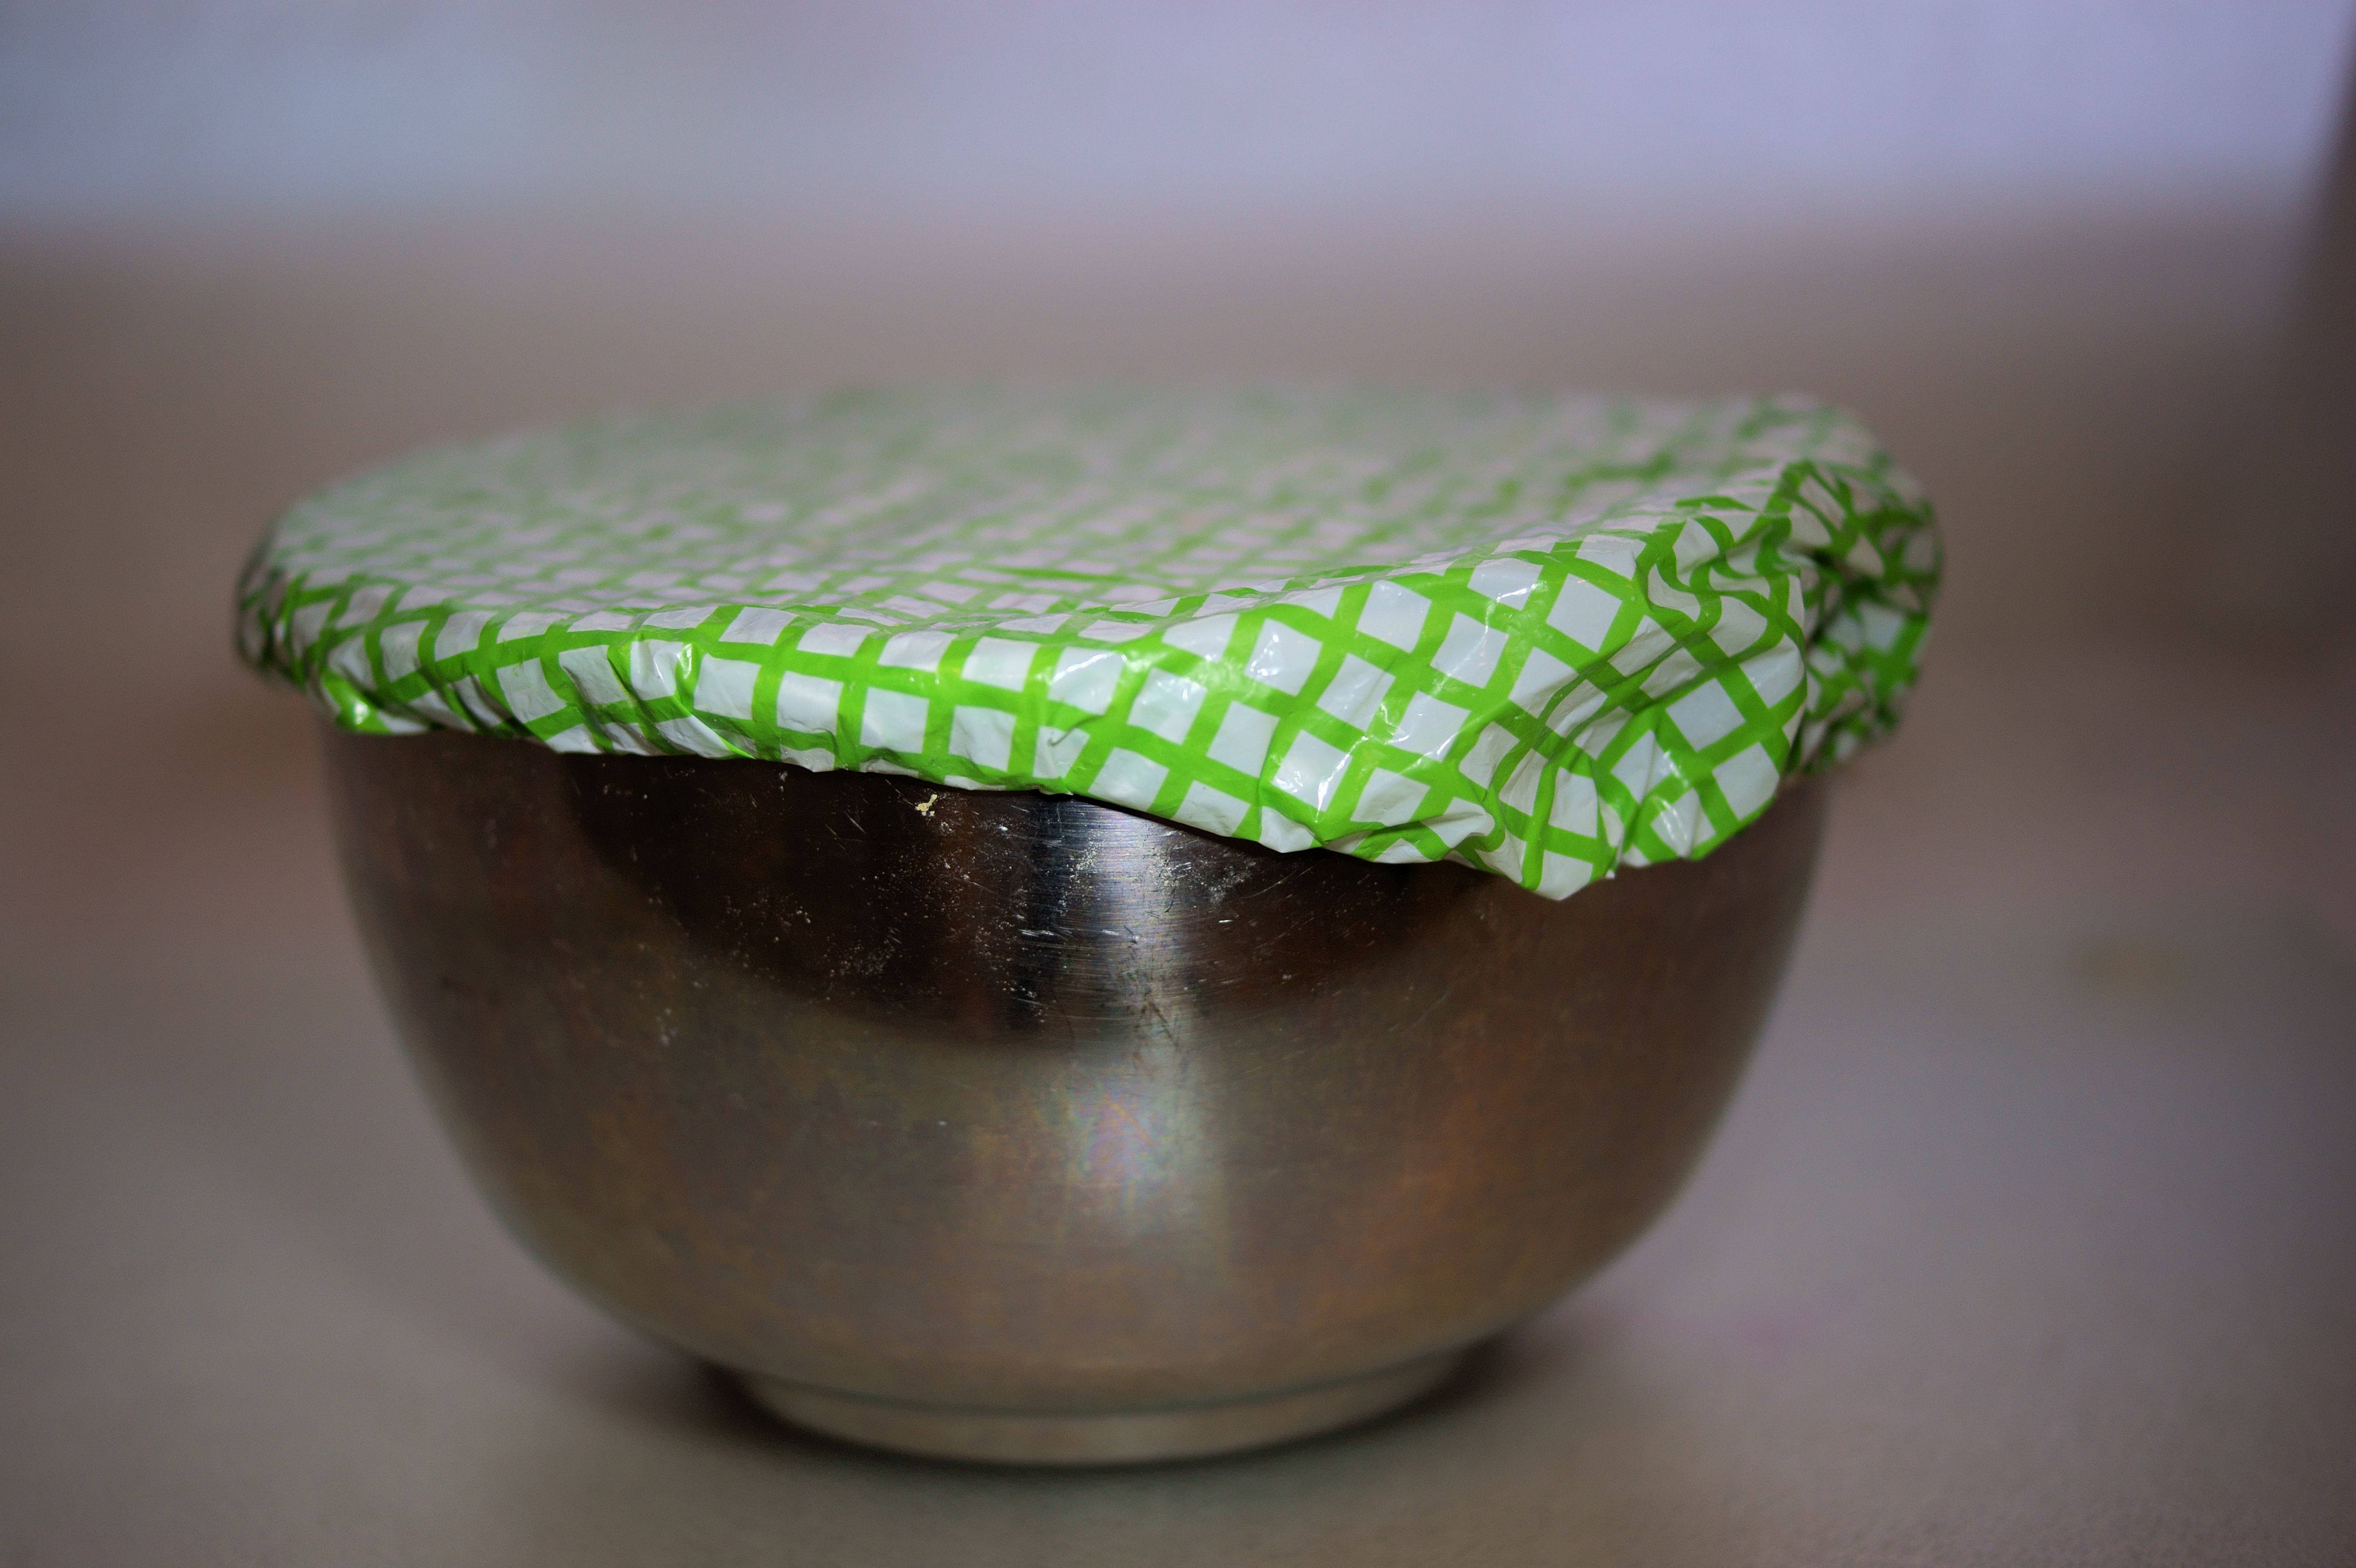
Cover bowl with plastic cover or plastic wrap. Let dough rest at least 12 to 18 hours at room temperature. (Our house is around 76 degrees. Around 70 degrees is considered optimal.)
Dough is ready when bread has more than doubled in size and bubbles will appear on top.
Lightly flour a work surface and place dough on it.
Sprinkle it with a little more flour and fold it over on itself once or twice.
Cover loosely with plastic wrap and let rest about 15 minutes.
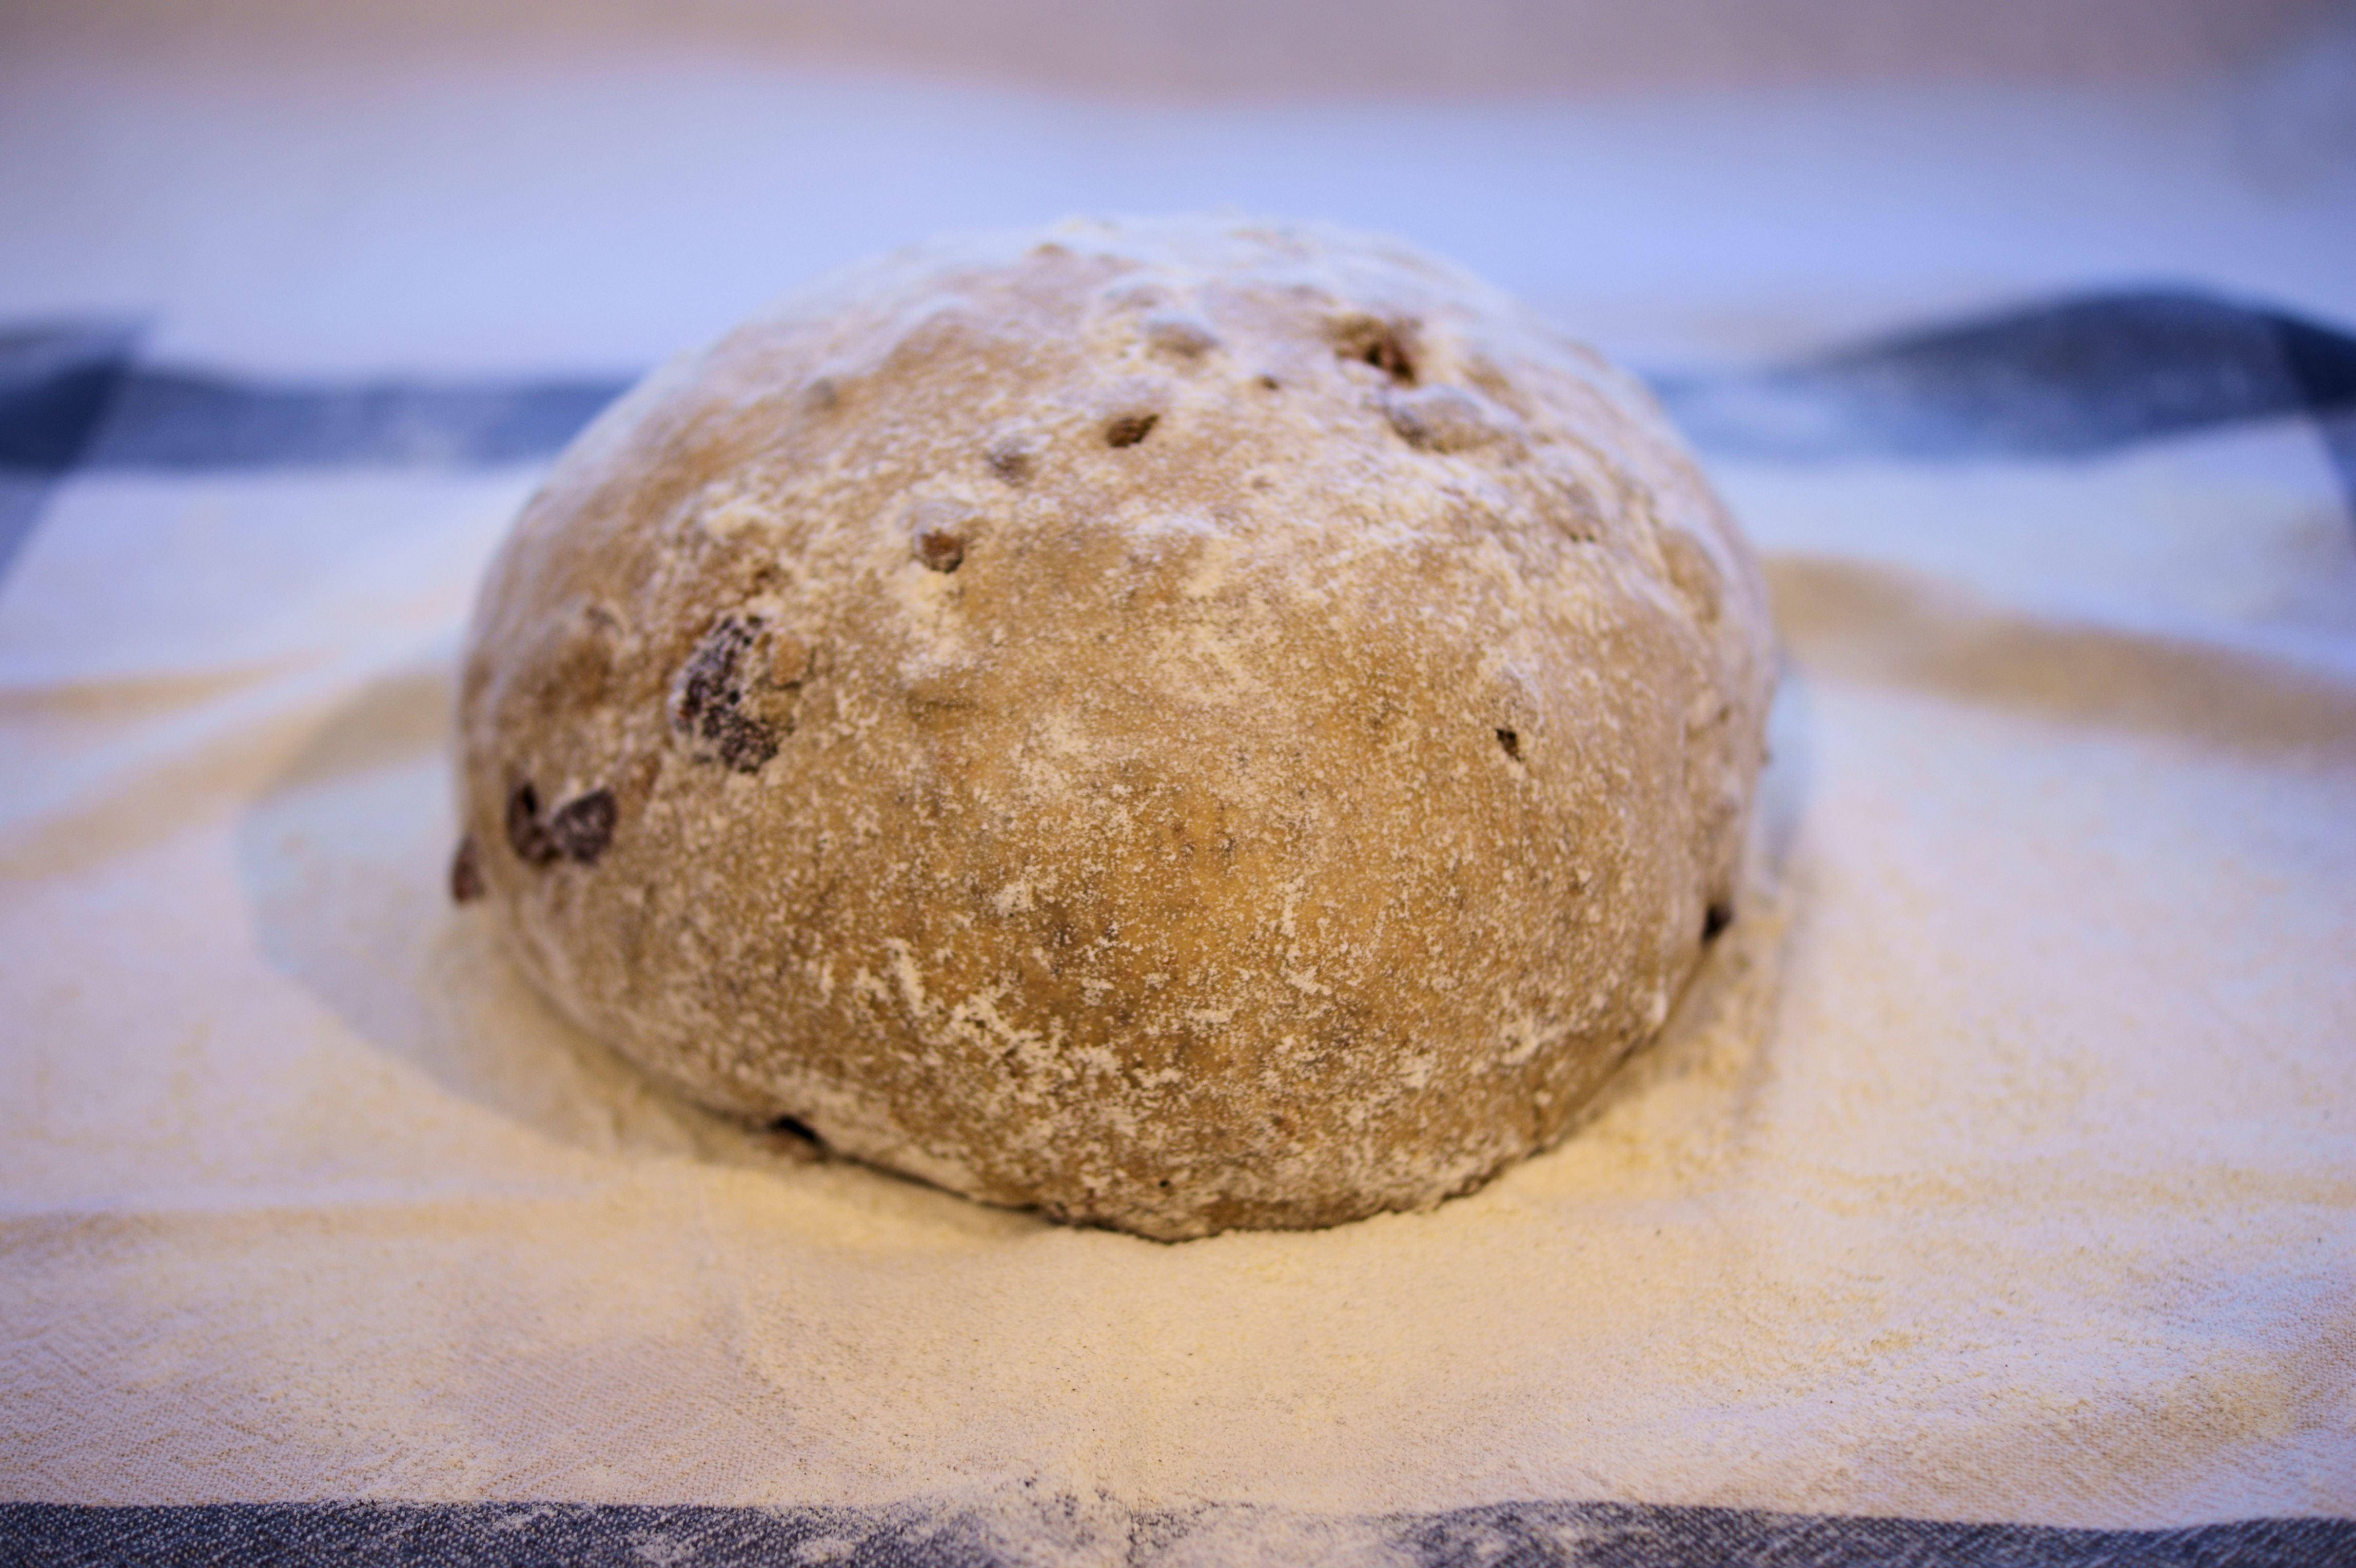
Using just enough flour to keep dough from sticking to work surface or to your fingers, gently and quickly shape dough into a ball.
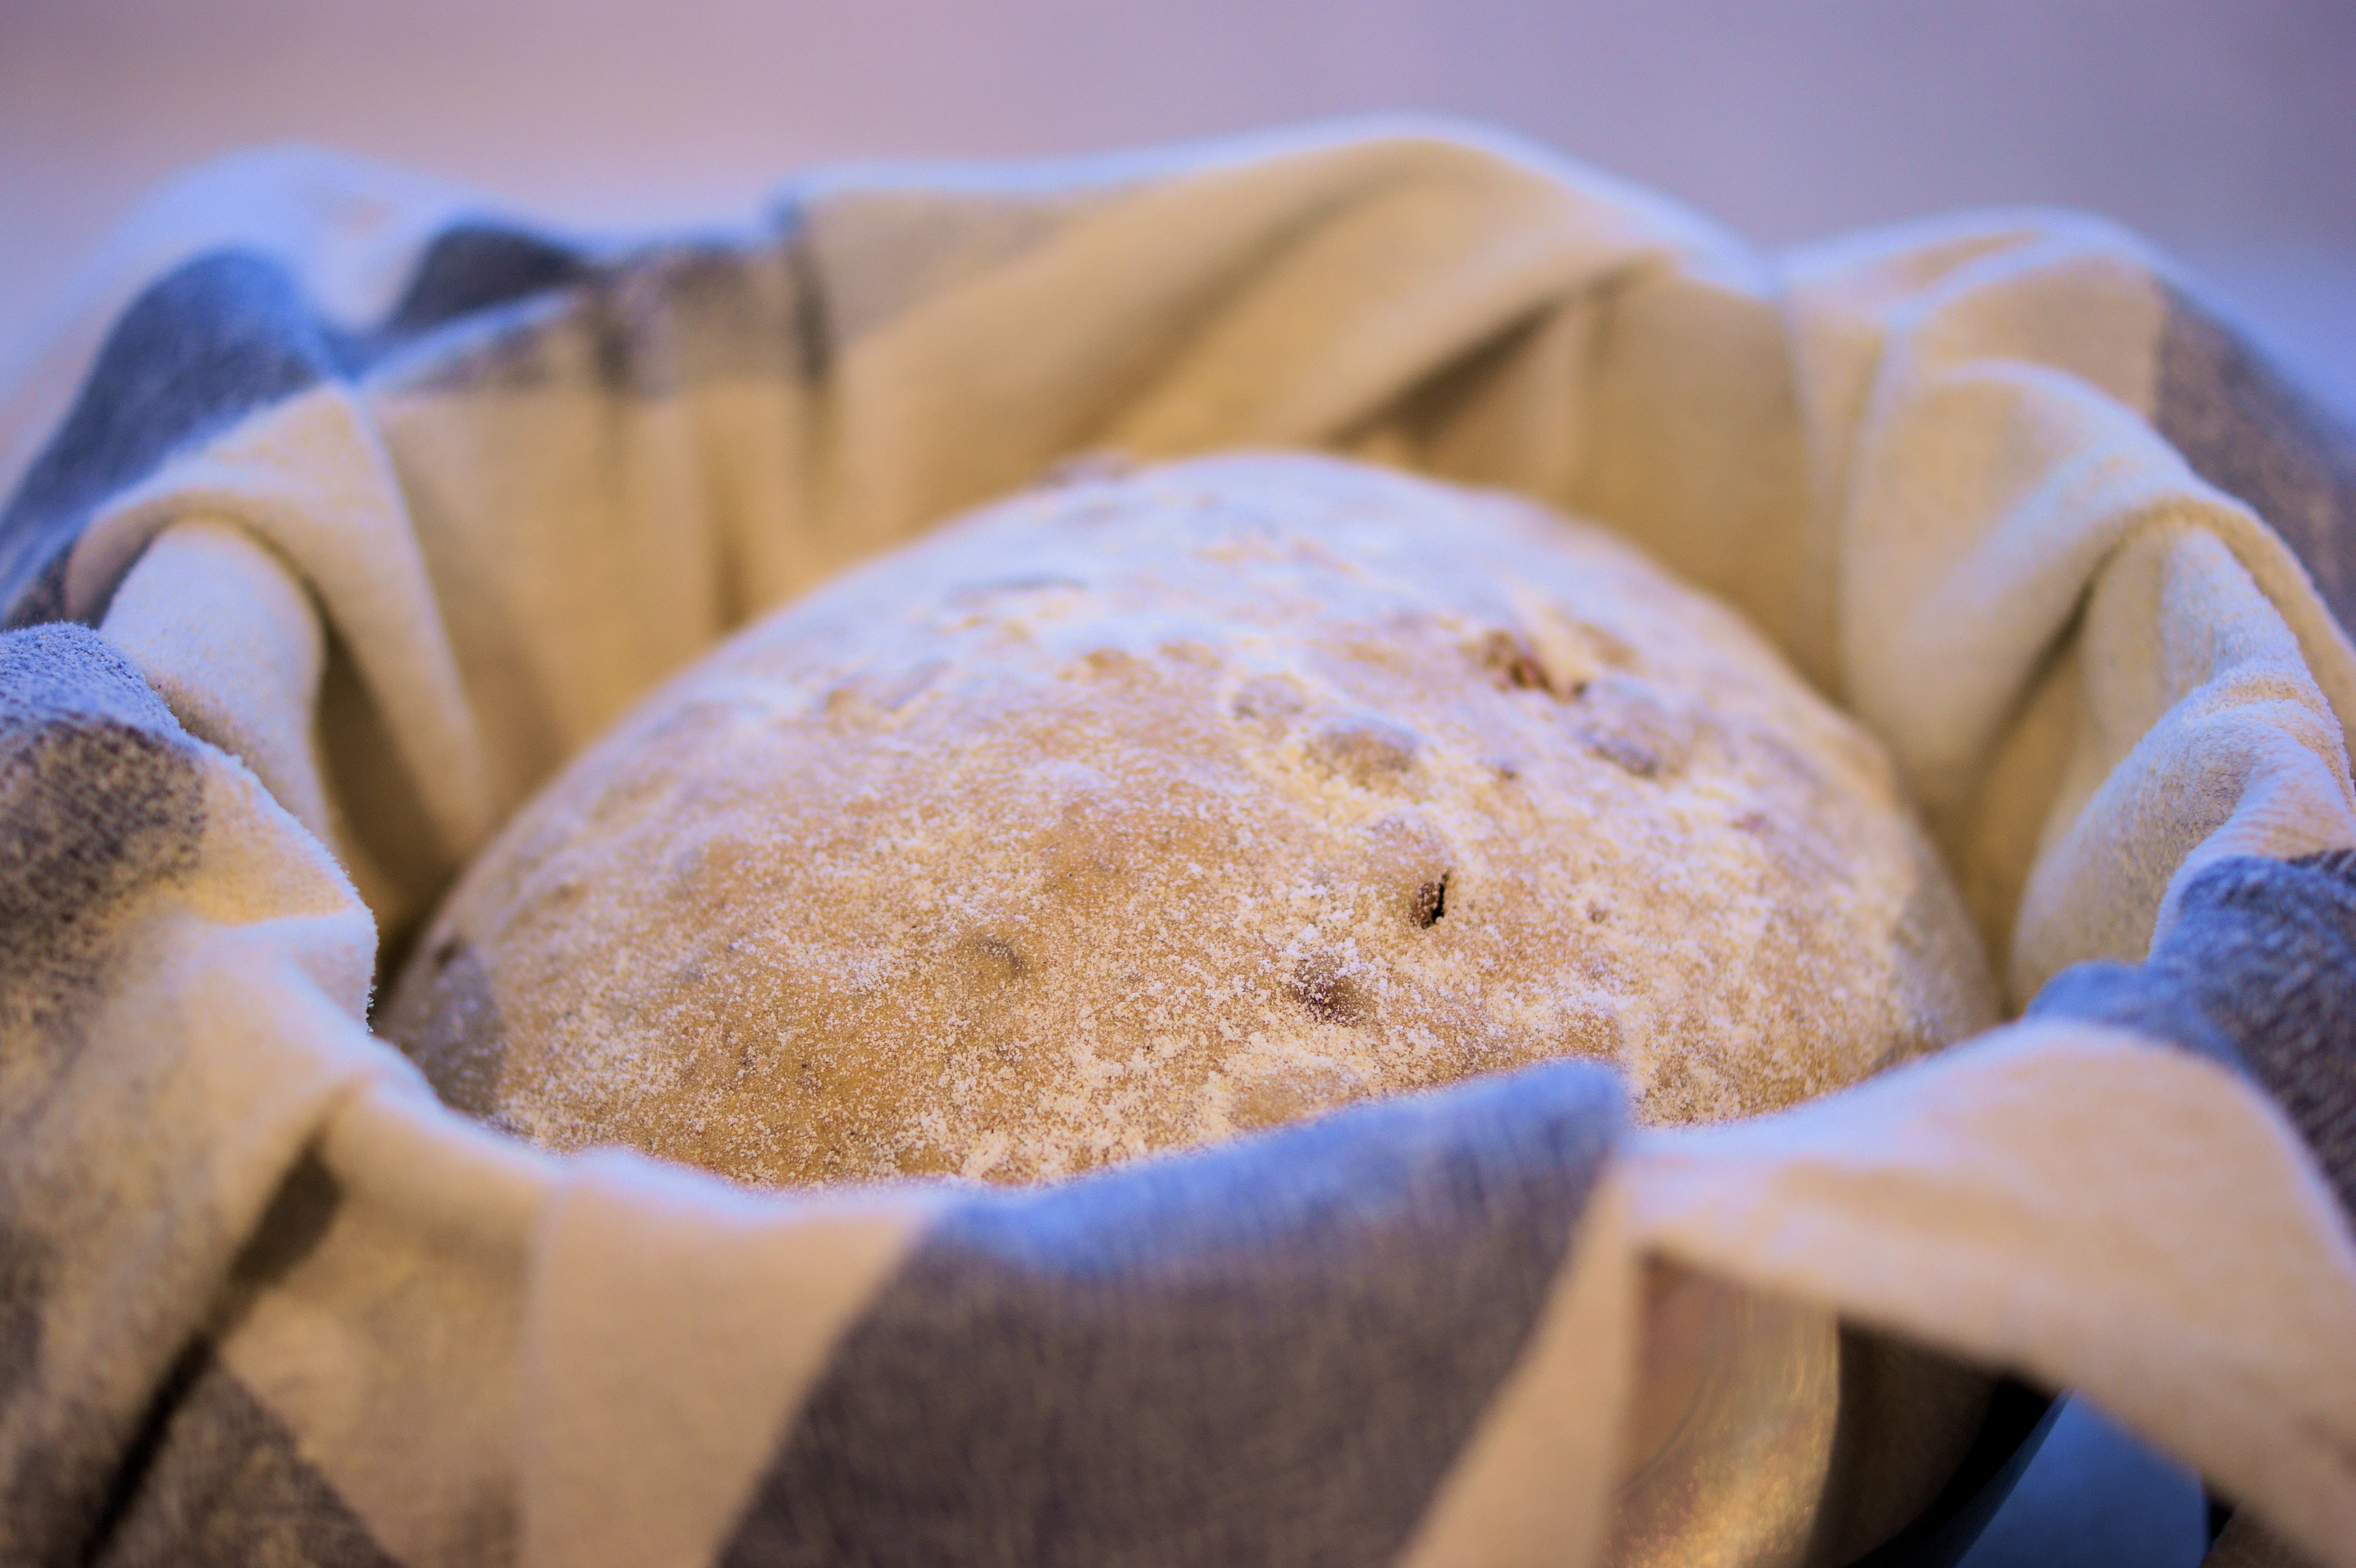
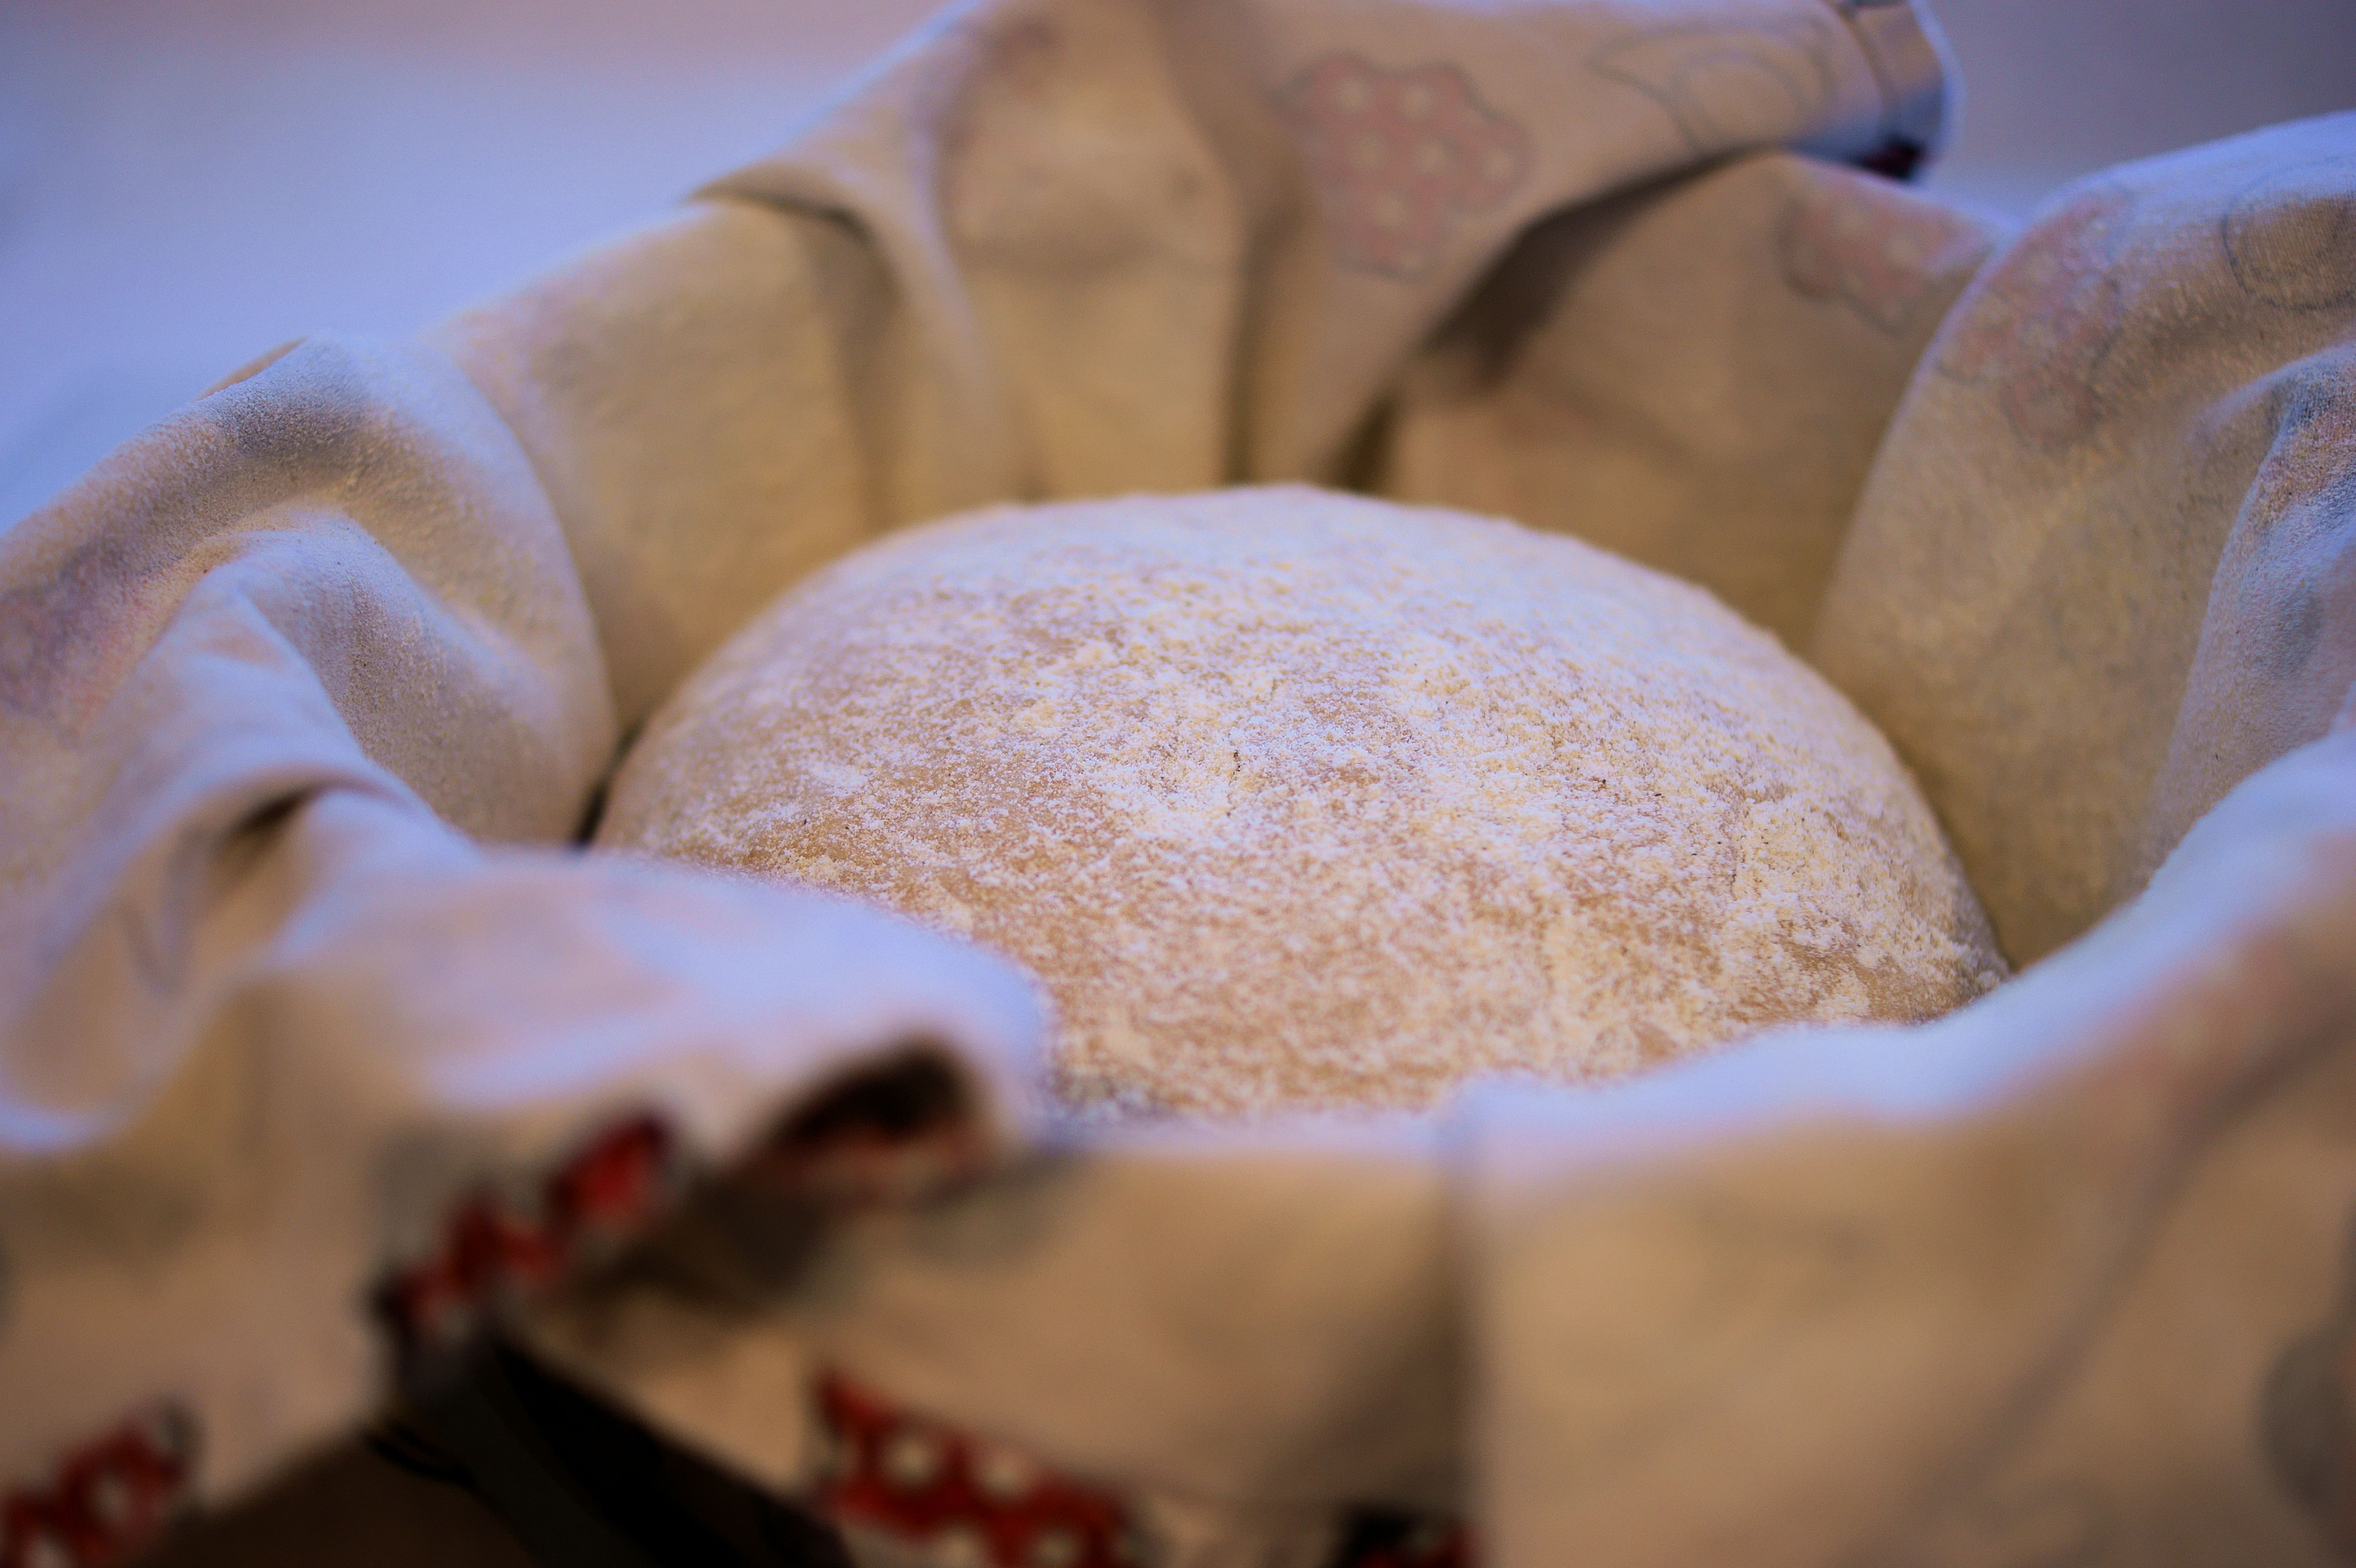
Generously coat a cotton towel (not terry cloth) with flour or cornmeal; put dough seam side down on towel and dust with more flour or cornmeal.
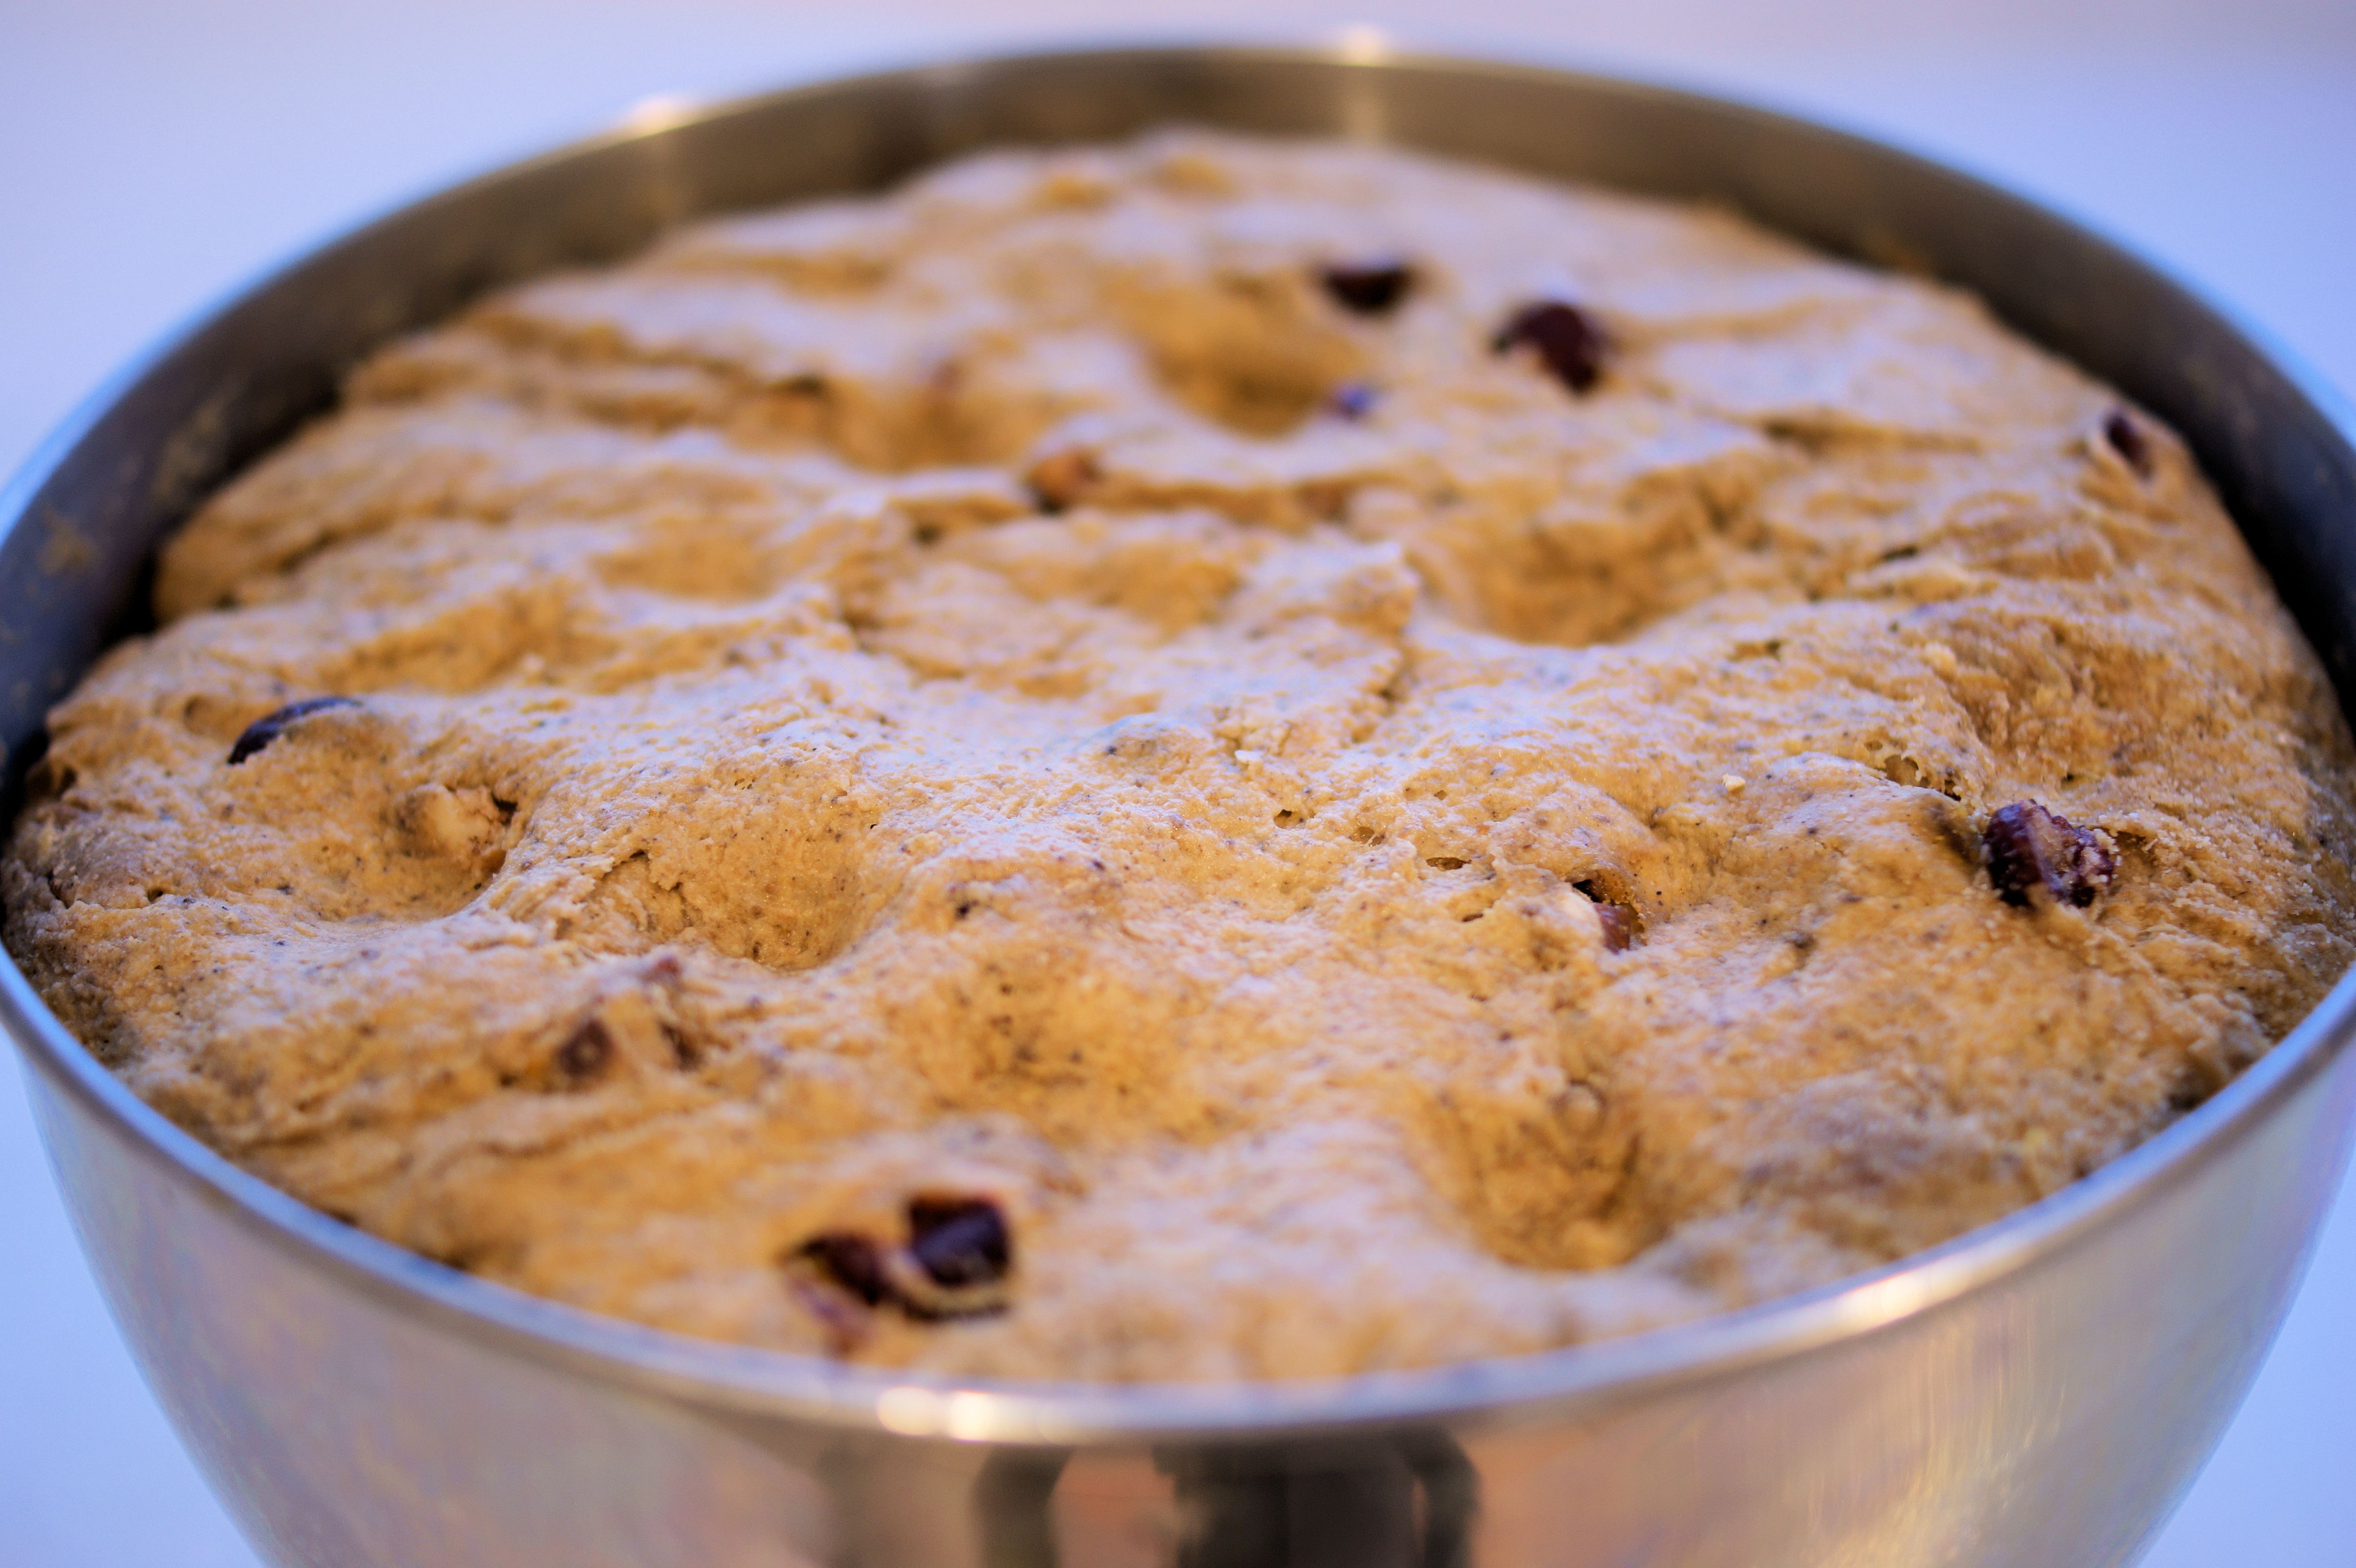
Return dough and towel to clean bowl (it’ll help keep its shape) and cover with another cotton towel and let rise for about 2 hours.
When it is ready, dough will be more than double in size and will not readily spring back when poked with a finger.
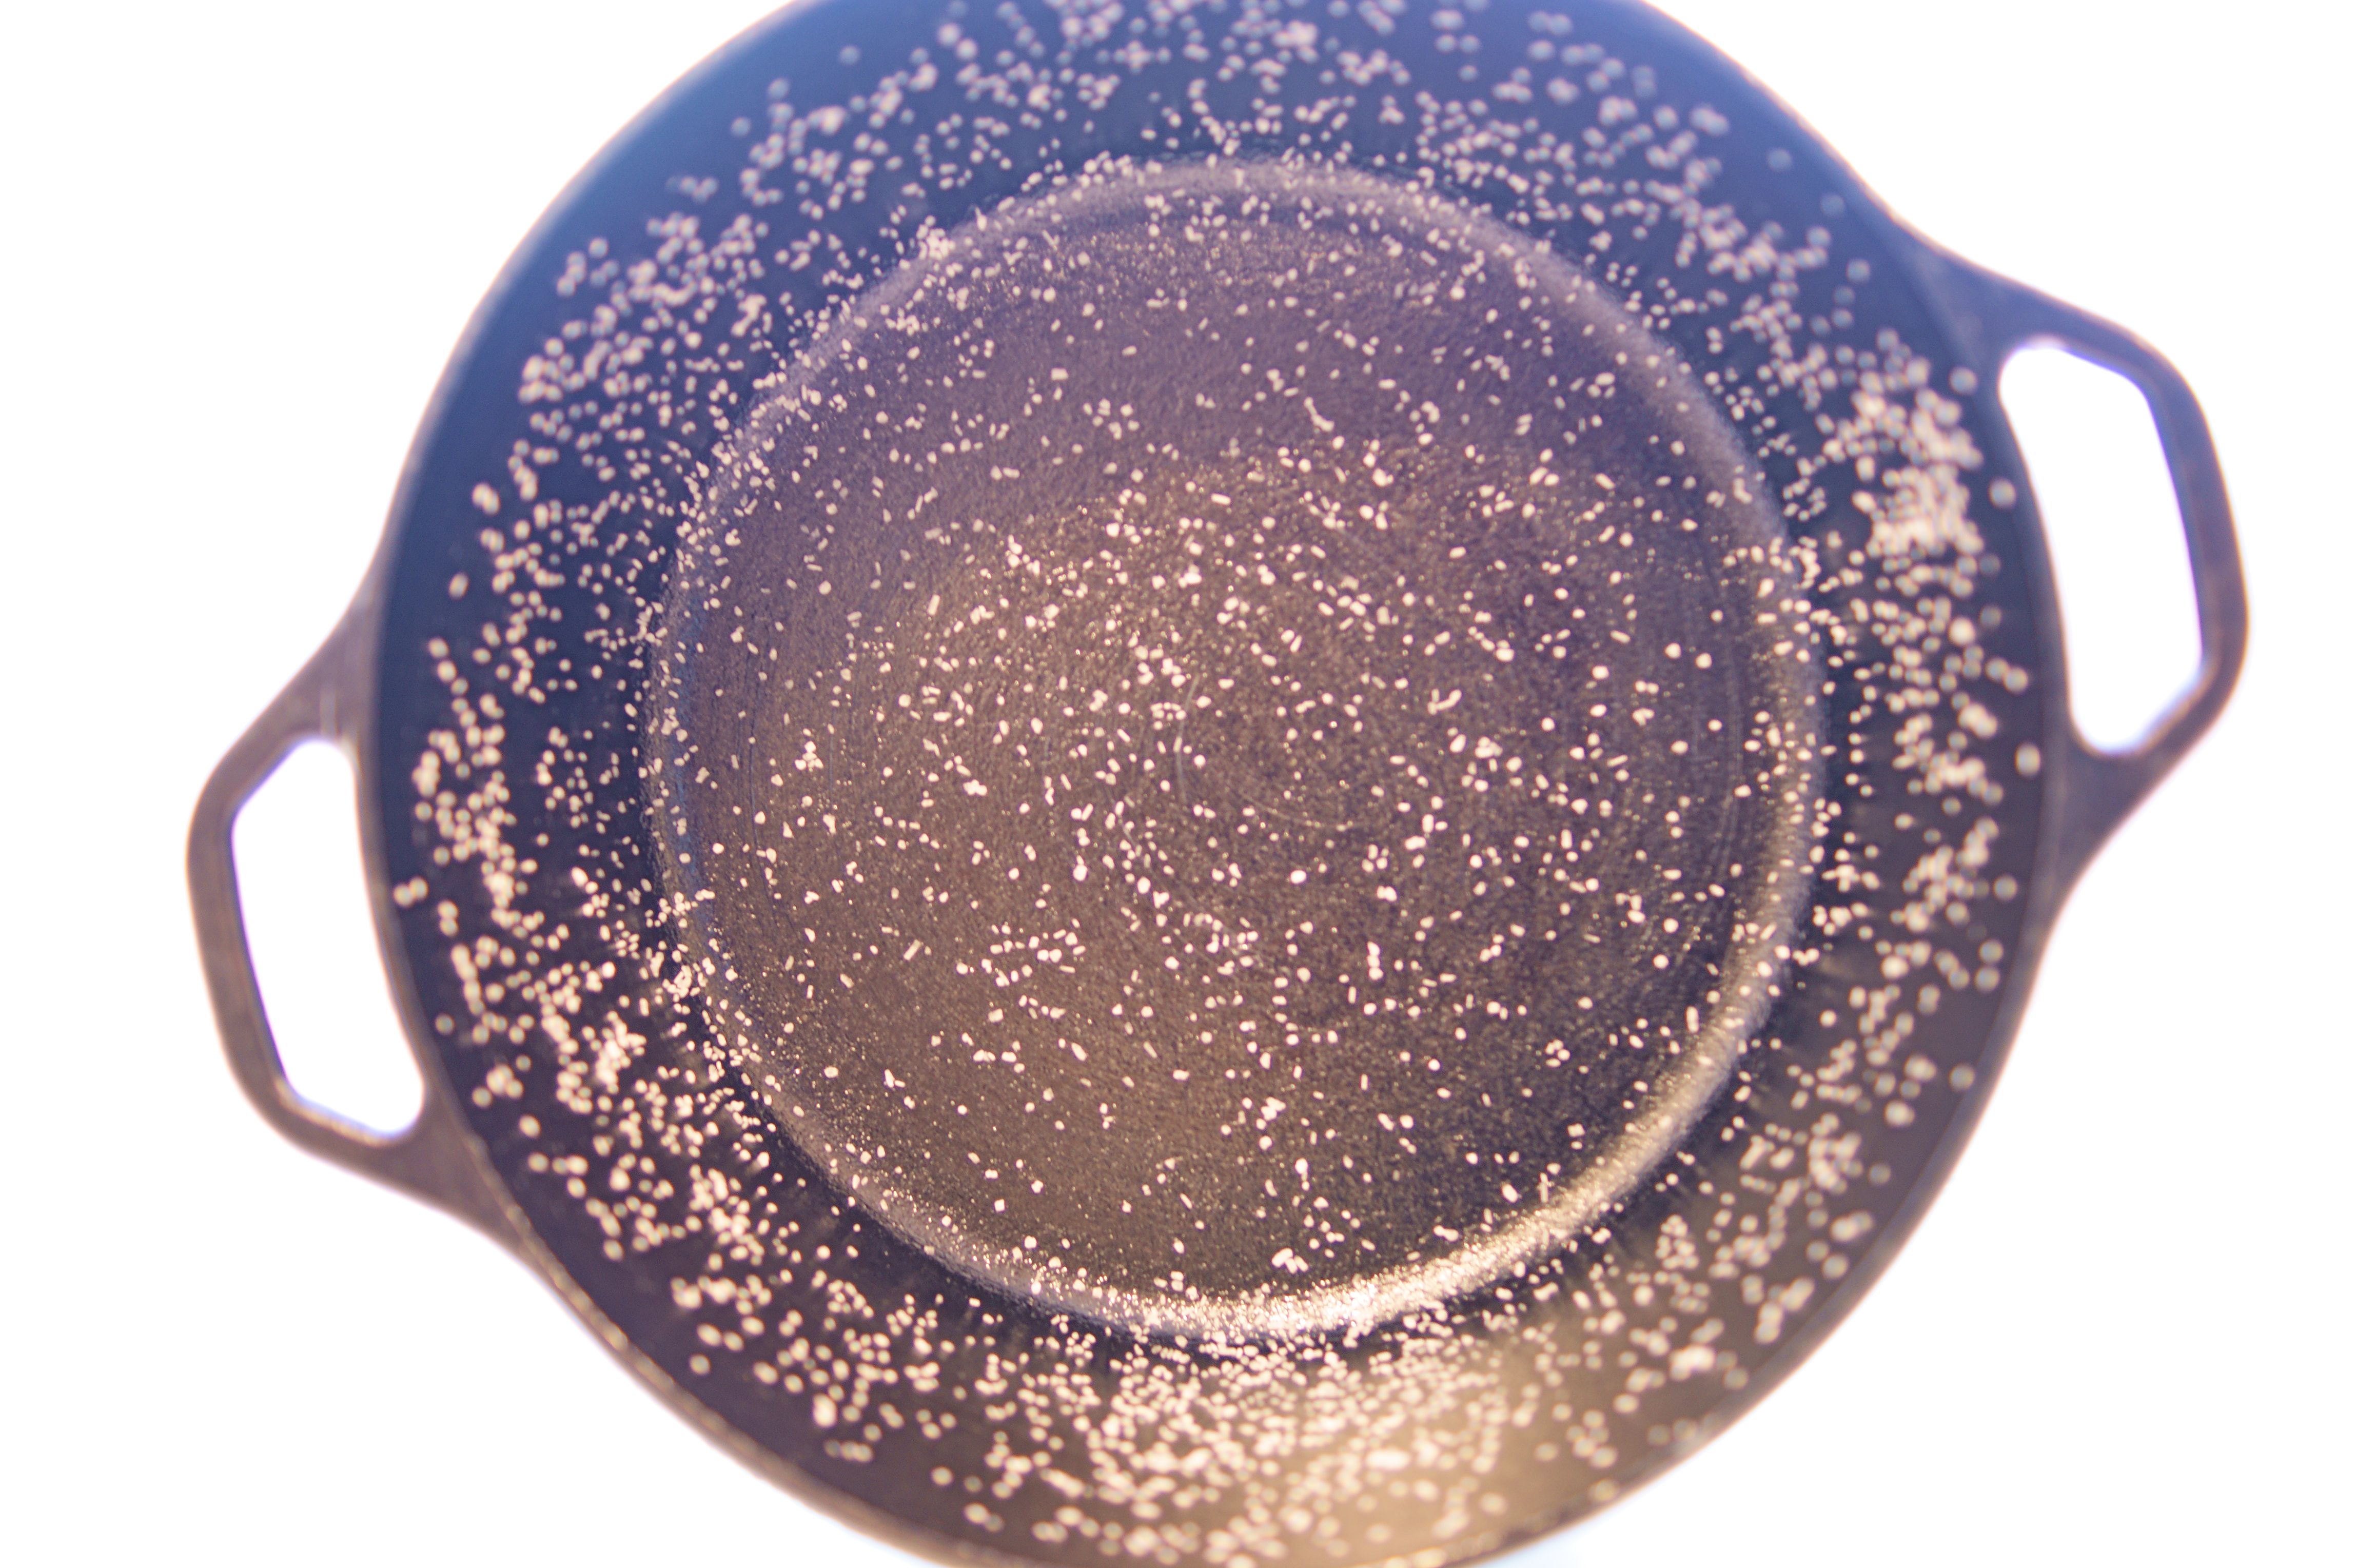
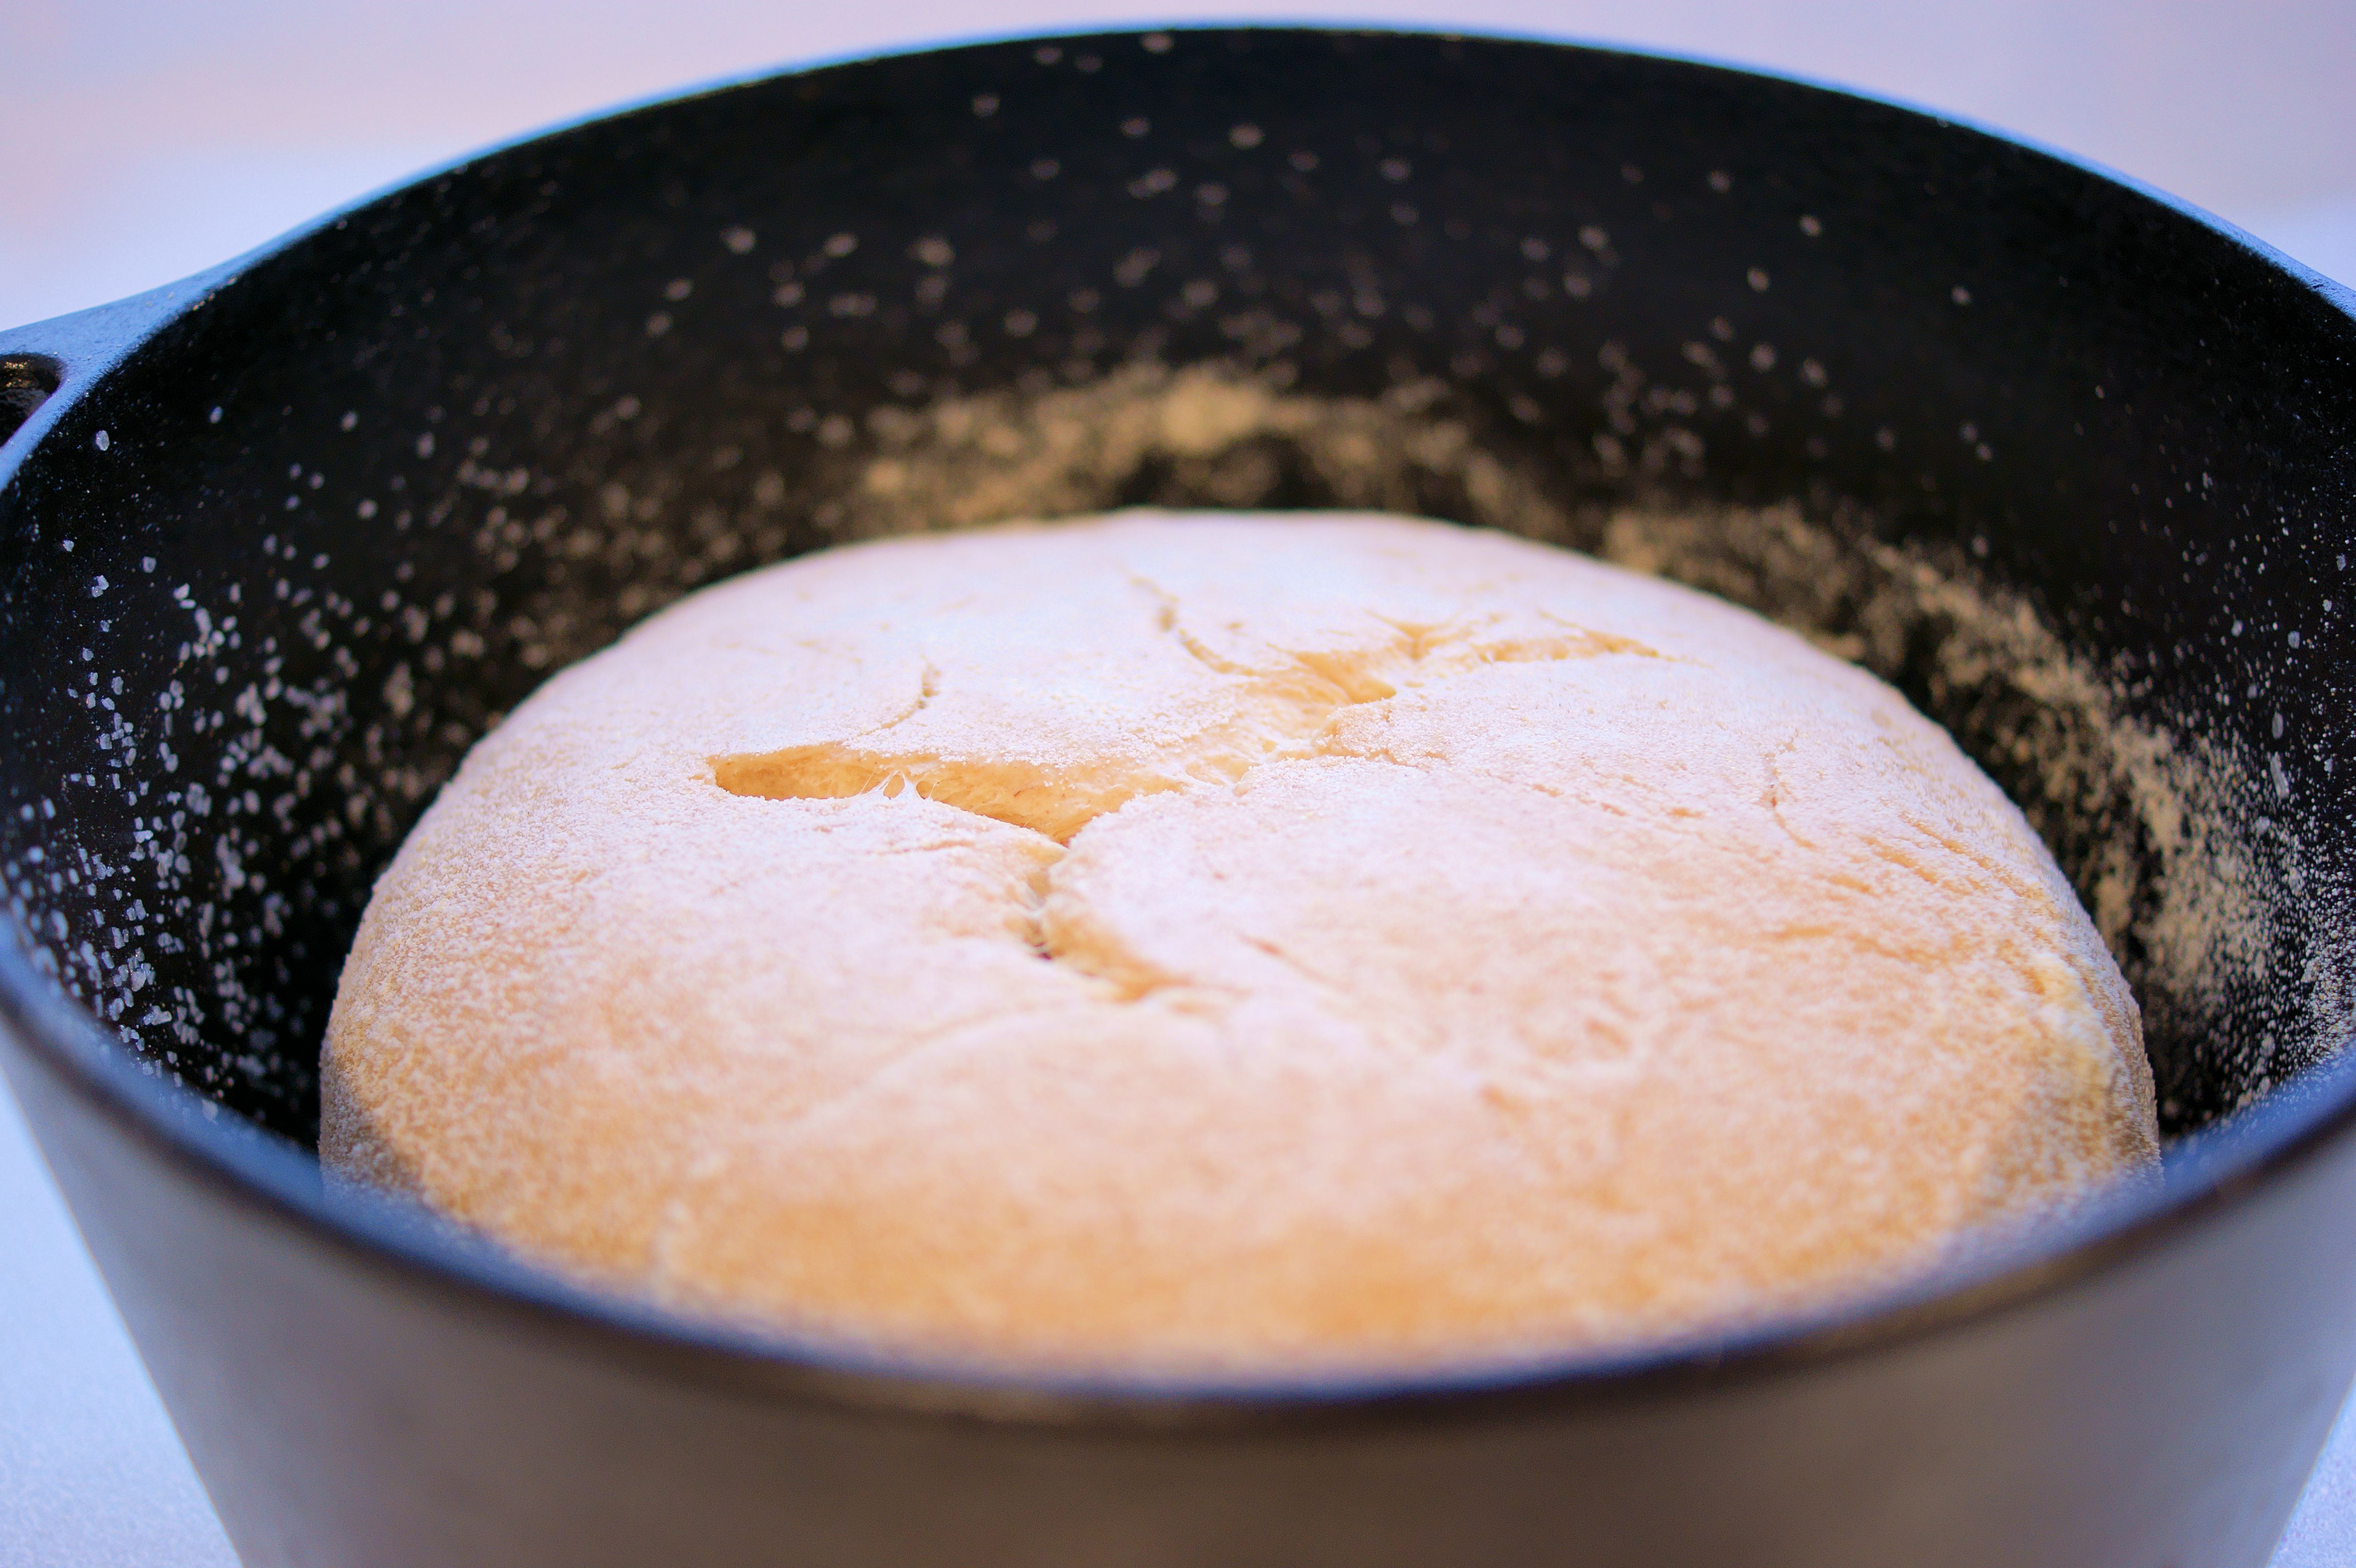
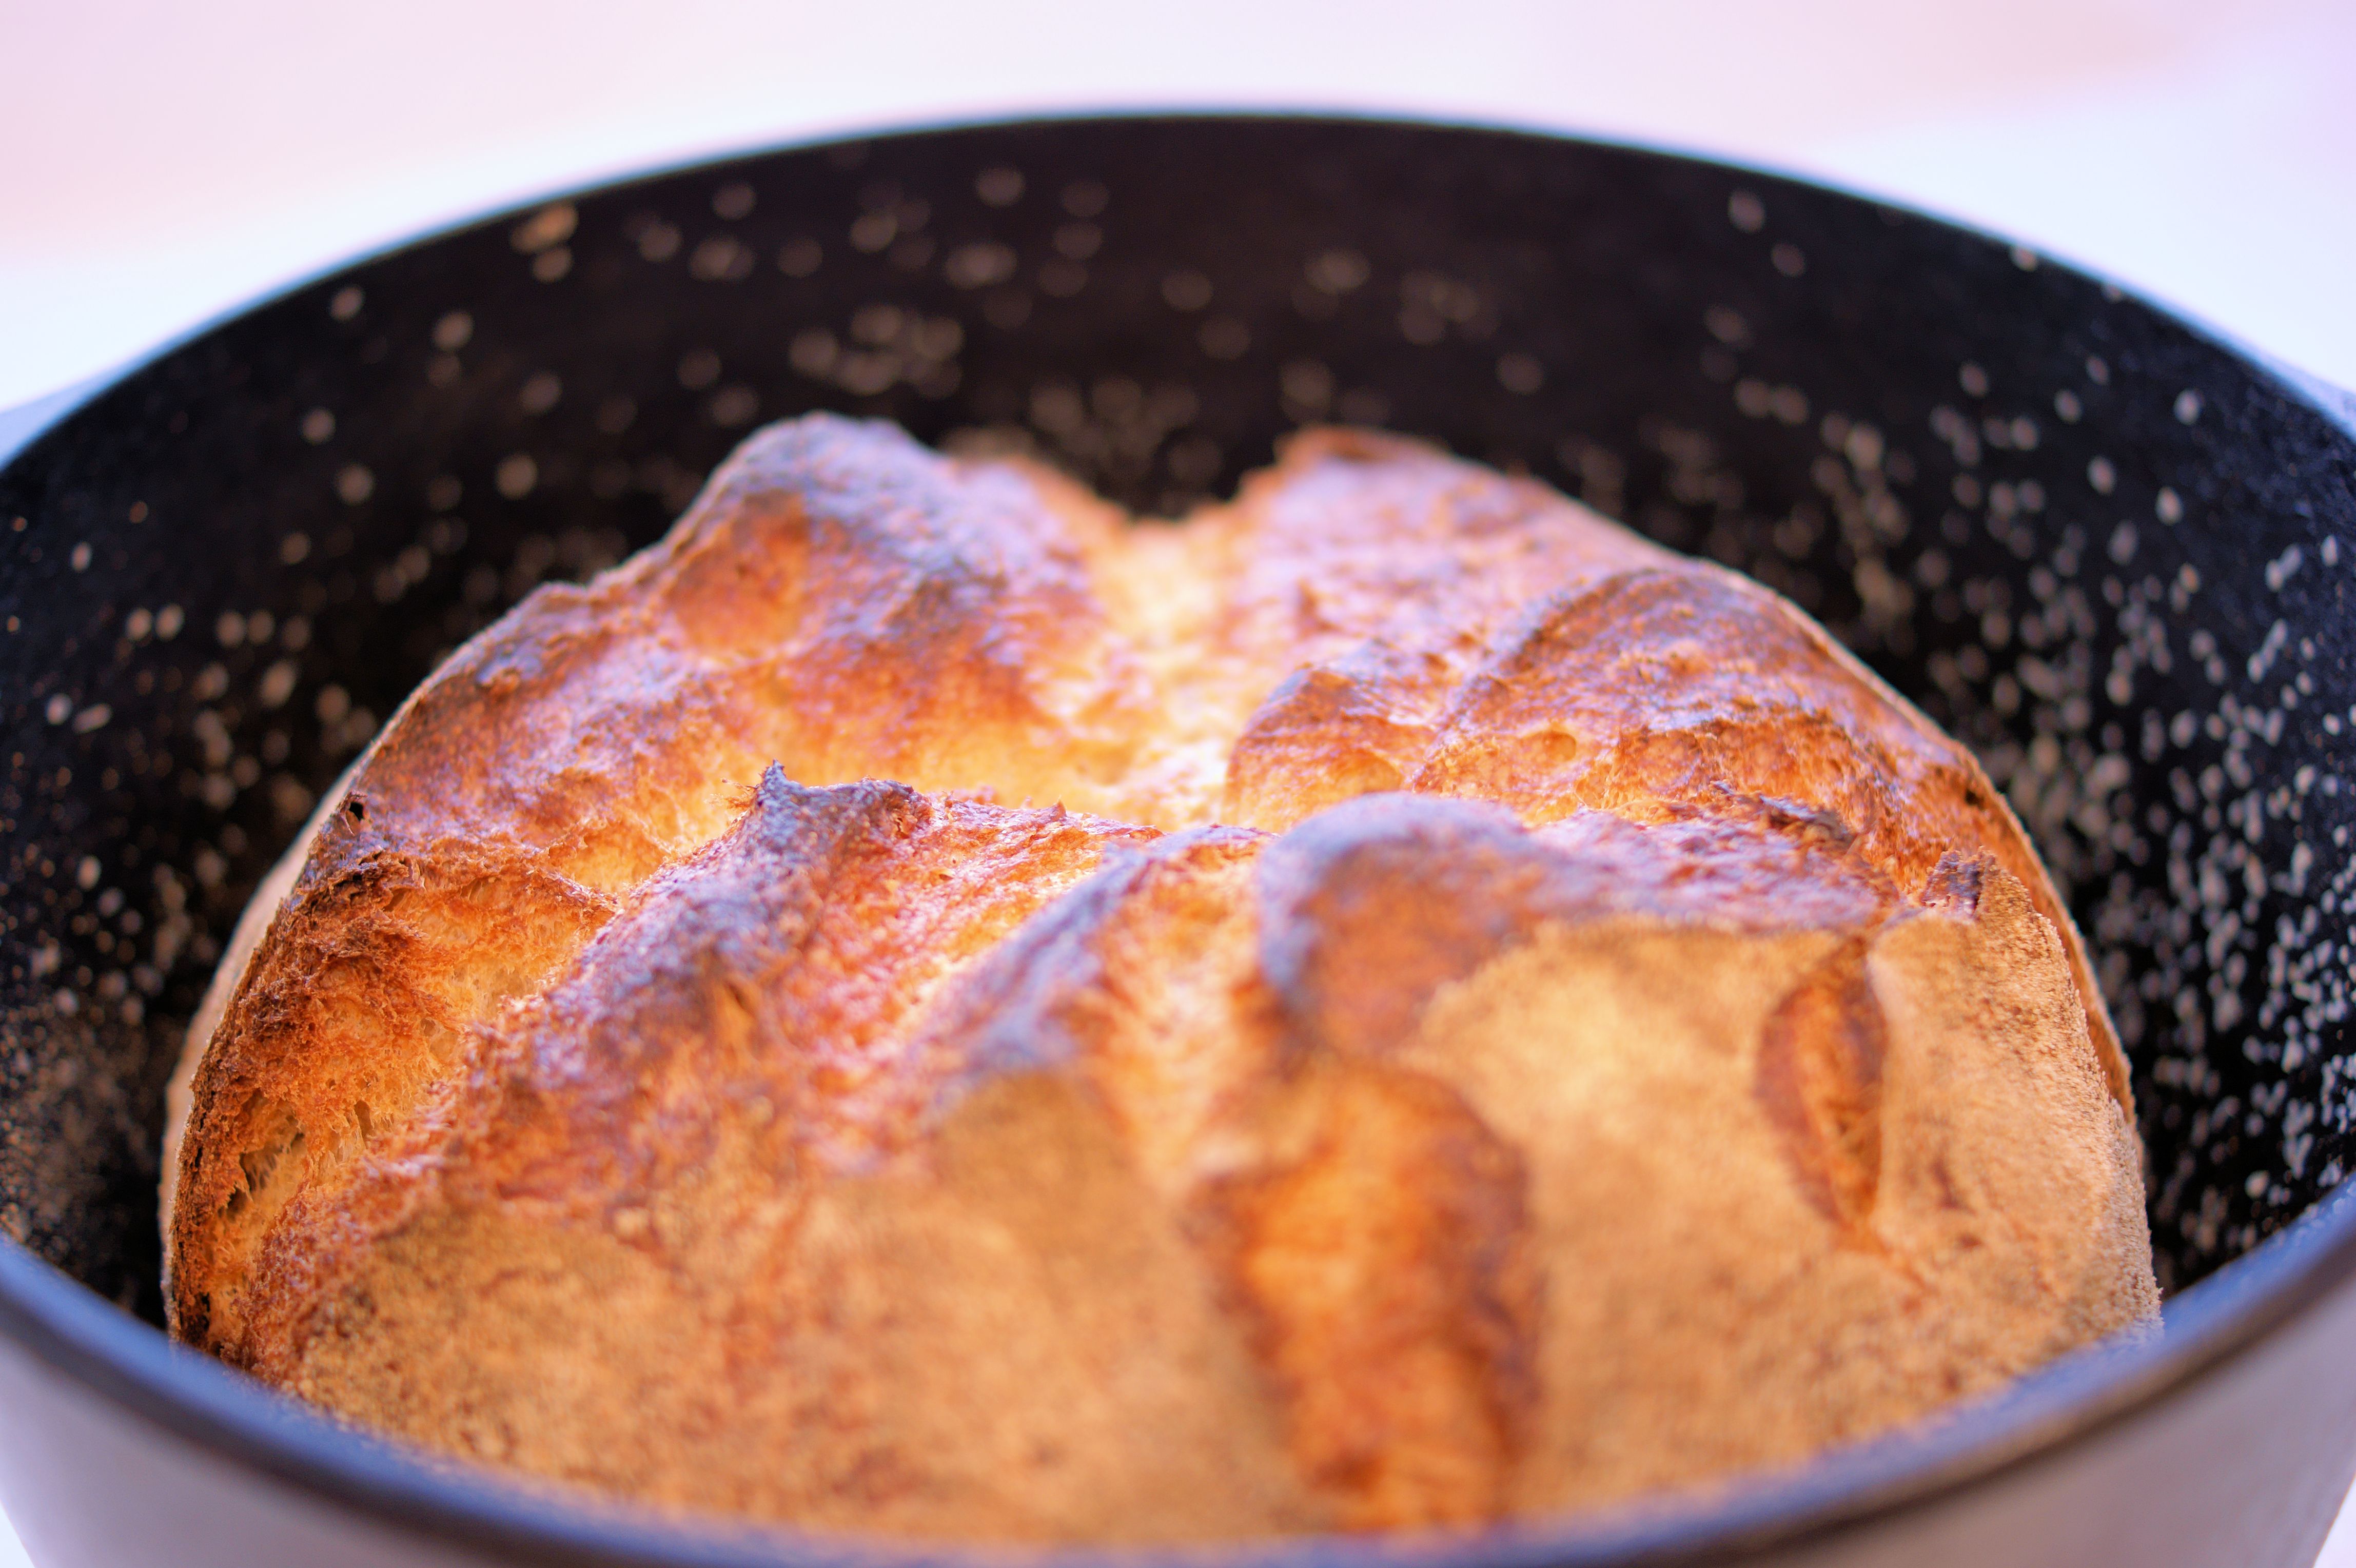
About half an hour before dough is ready, heat oven to 450 degrees. Put a 6 to 8 quart heavy covered pot (cast iron, enamel, Pyrex or ceramic) in oven as it heats. I use cast iron and lightly coat the inside with shortening, just enough for a shiny patina and add a light sprinkling of kosher salt.
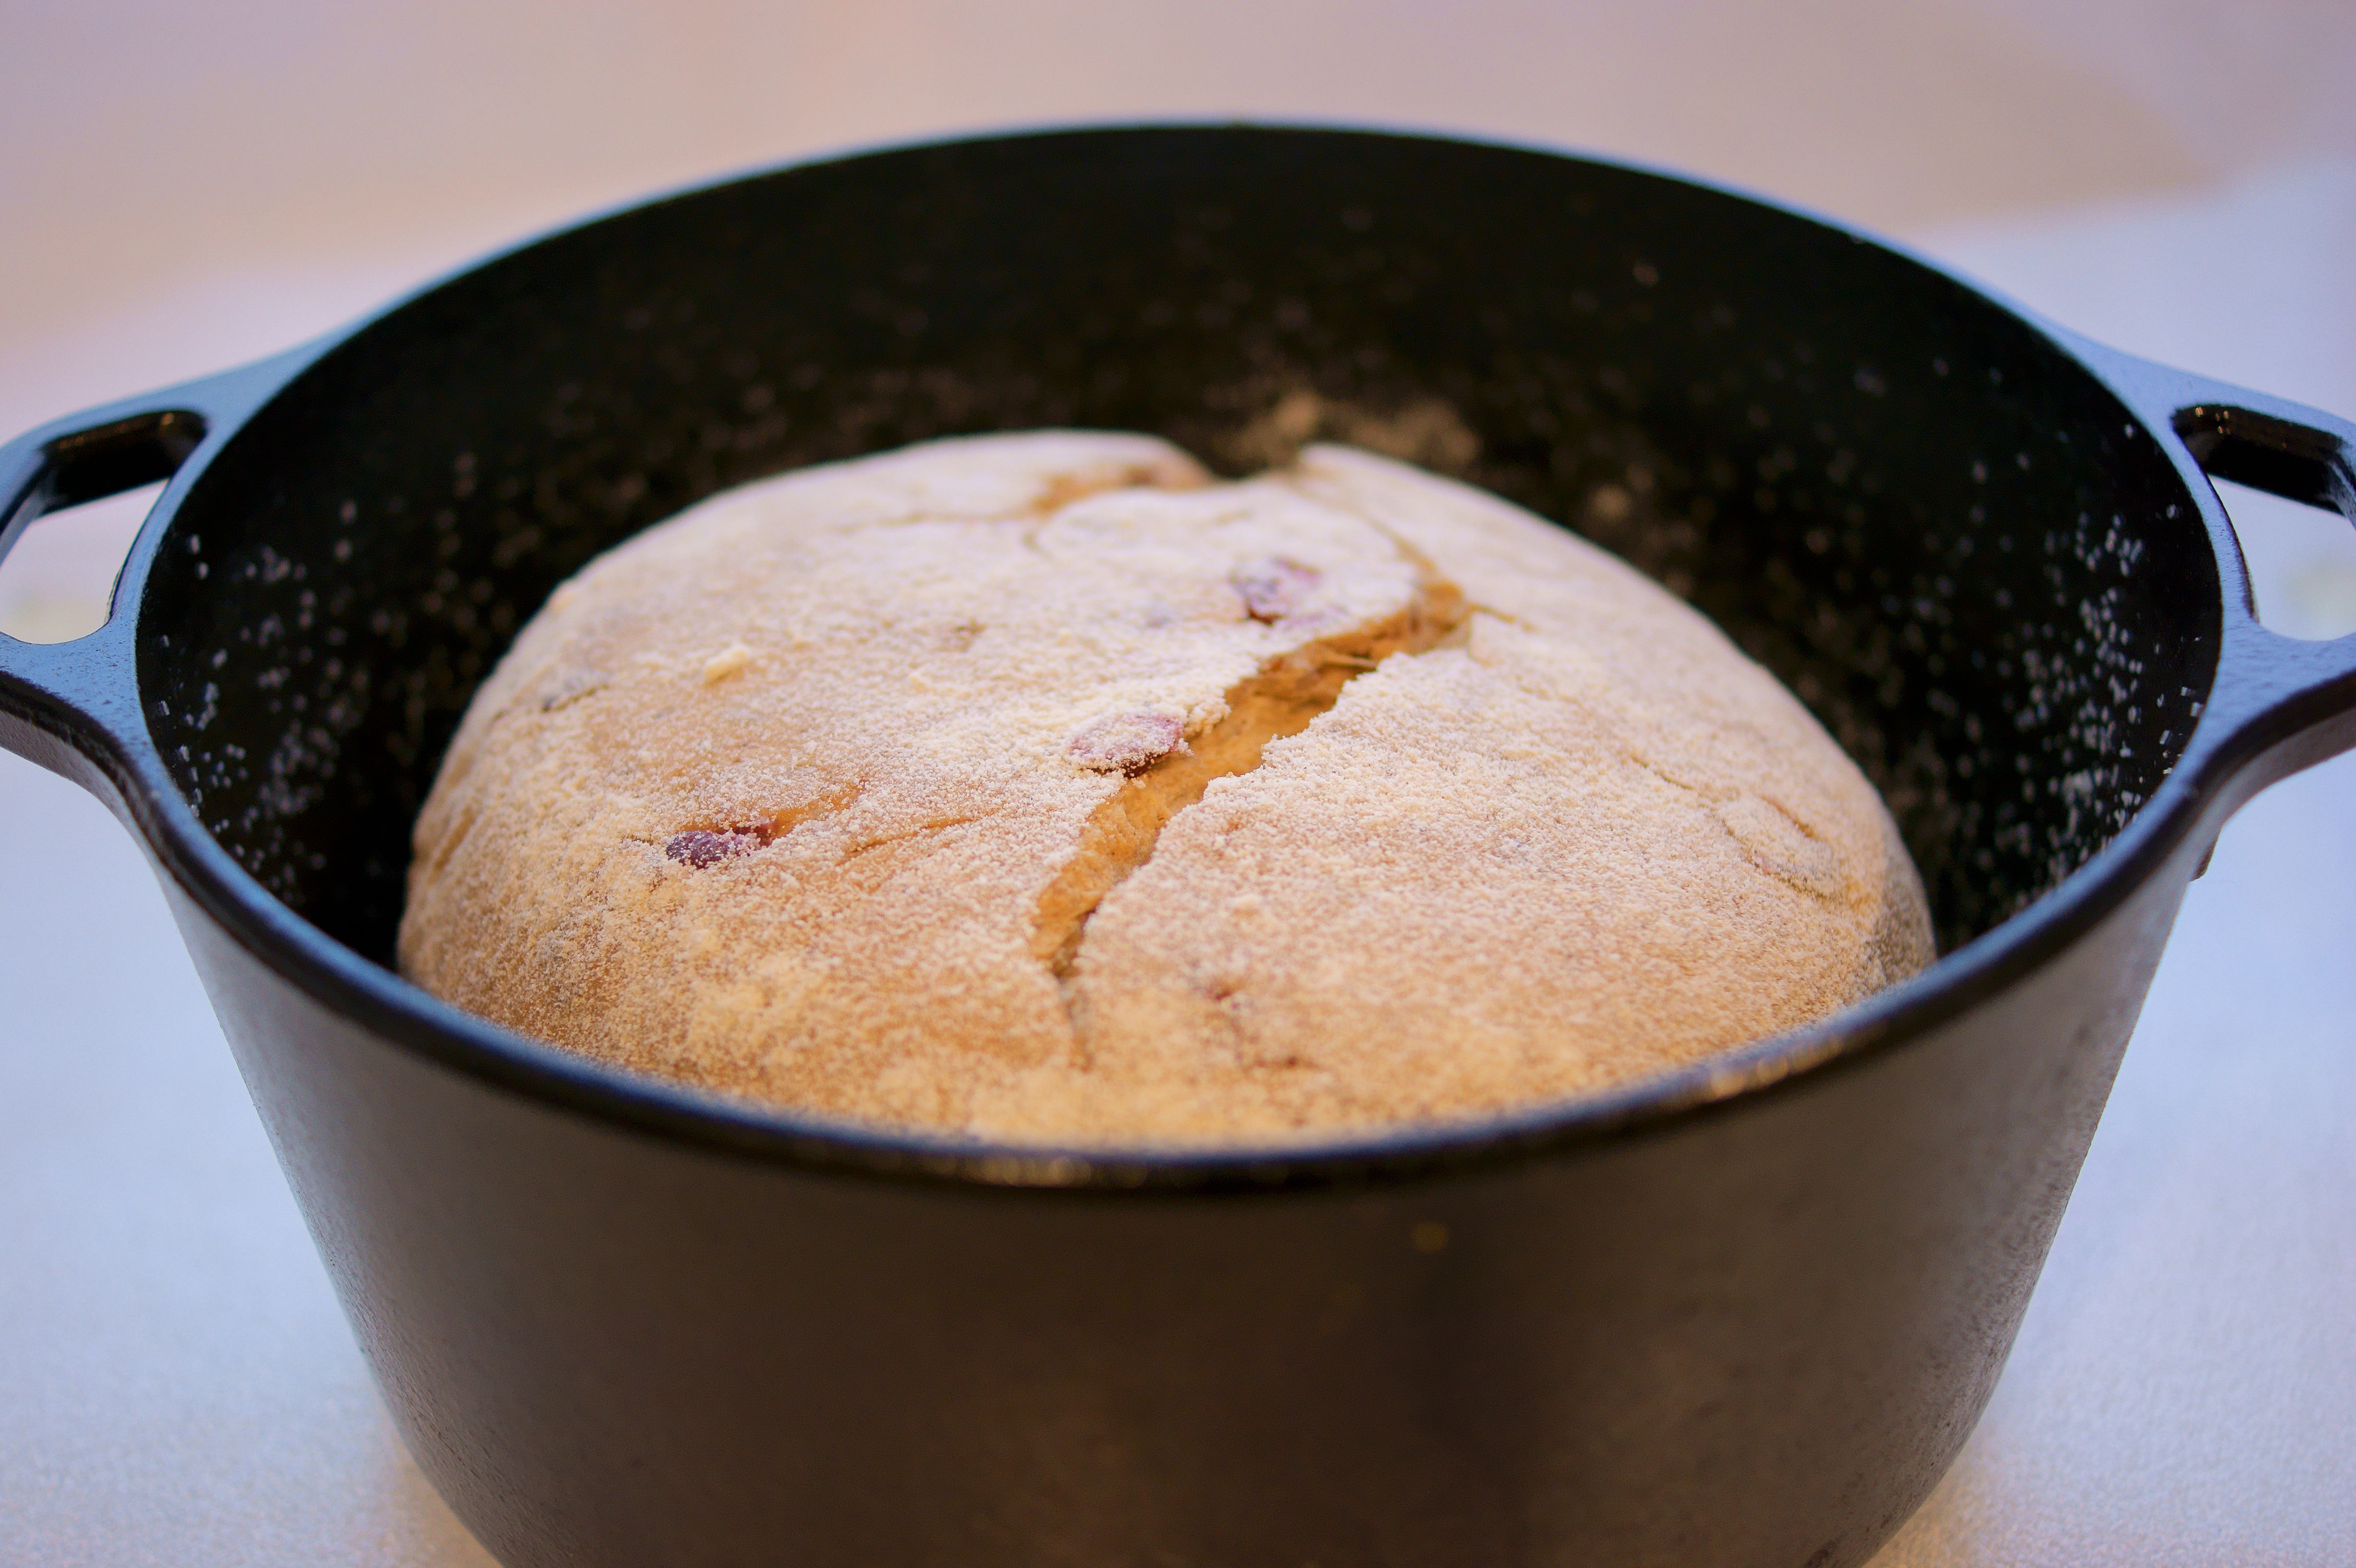
When dough is ready, carefully remove pot from oven. Remove towel from top of dough and turn dough into pot, seam side up. Shake pan once or twice if dough is unevenly distributed; it will straighten out as it bakes.
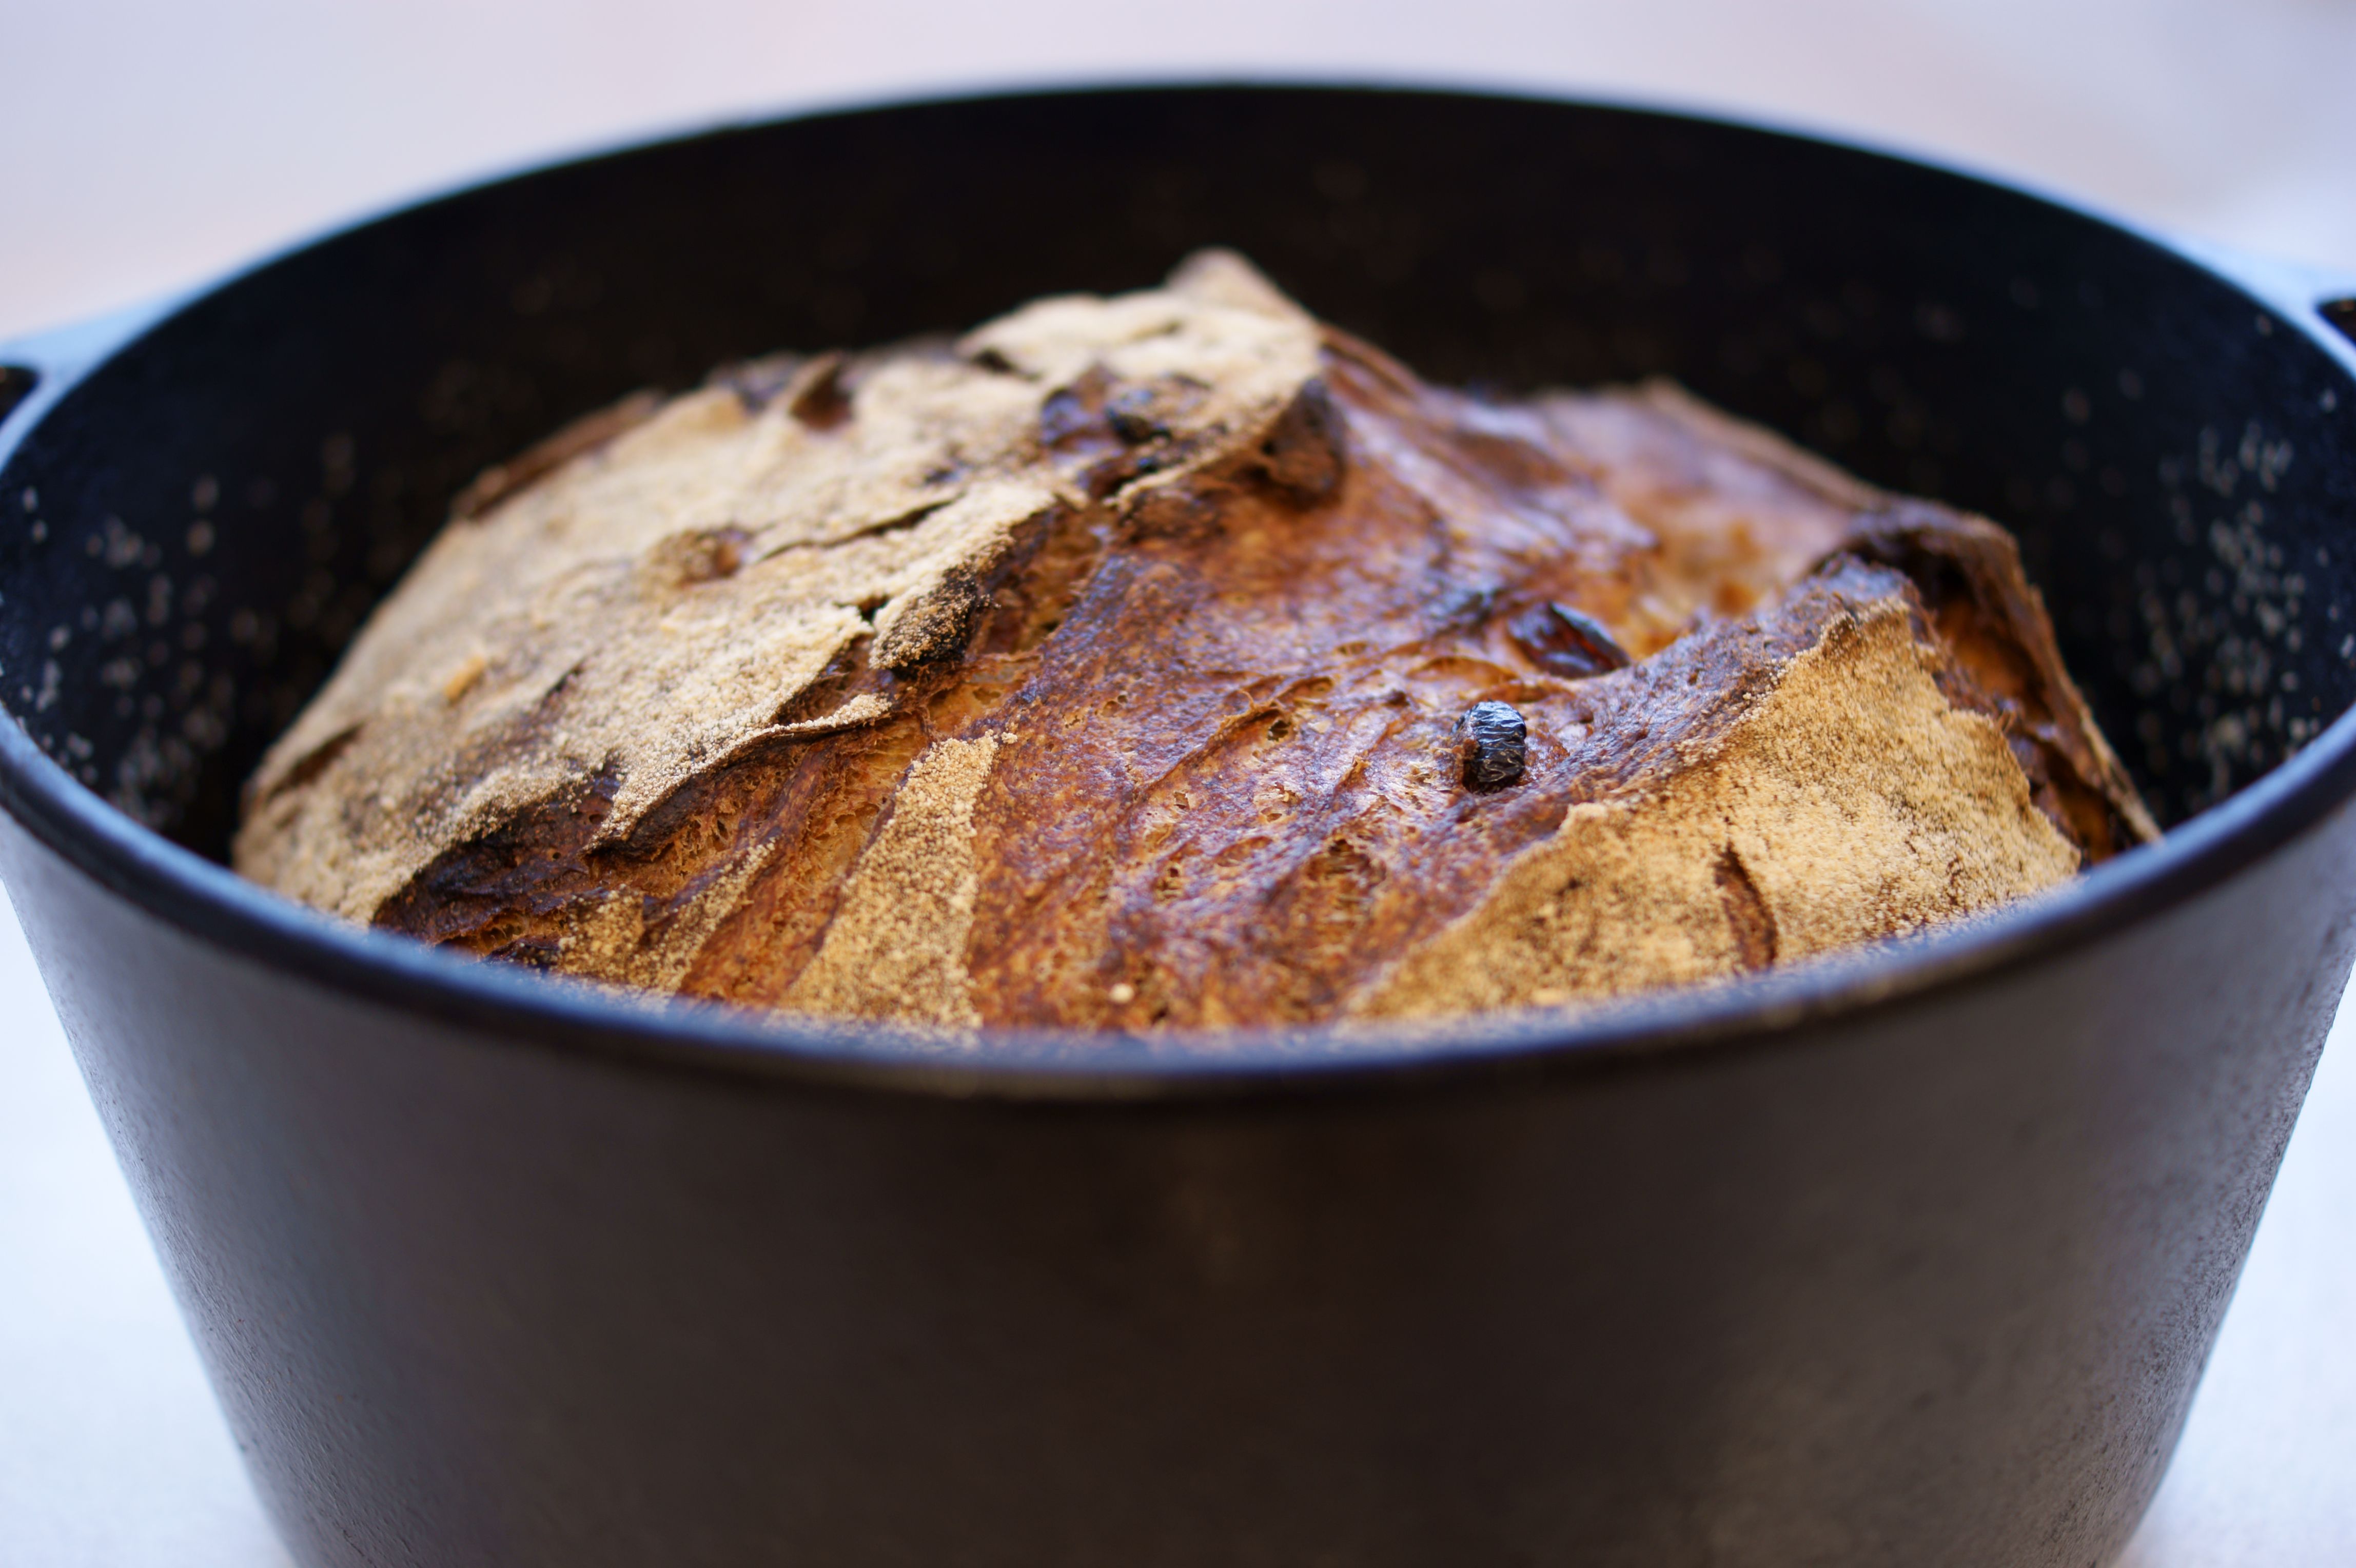
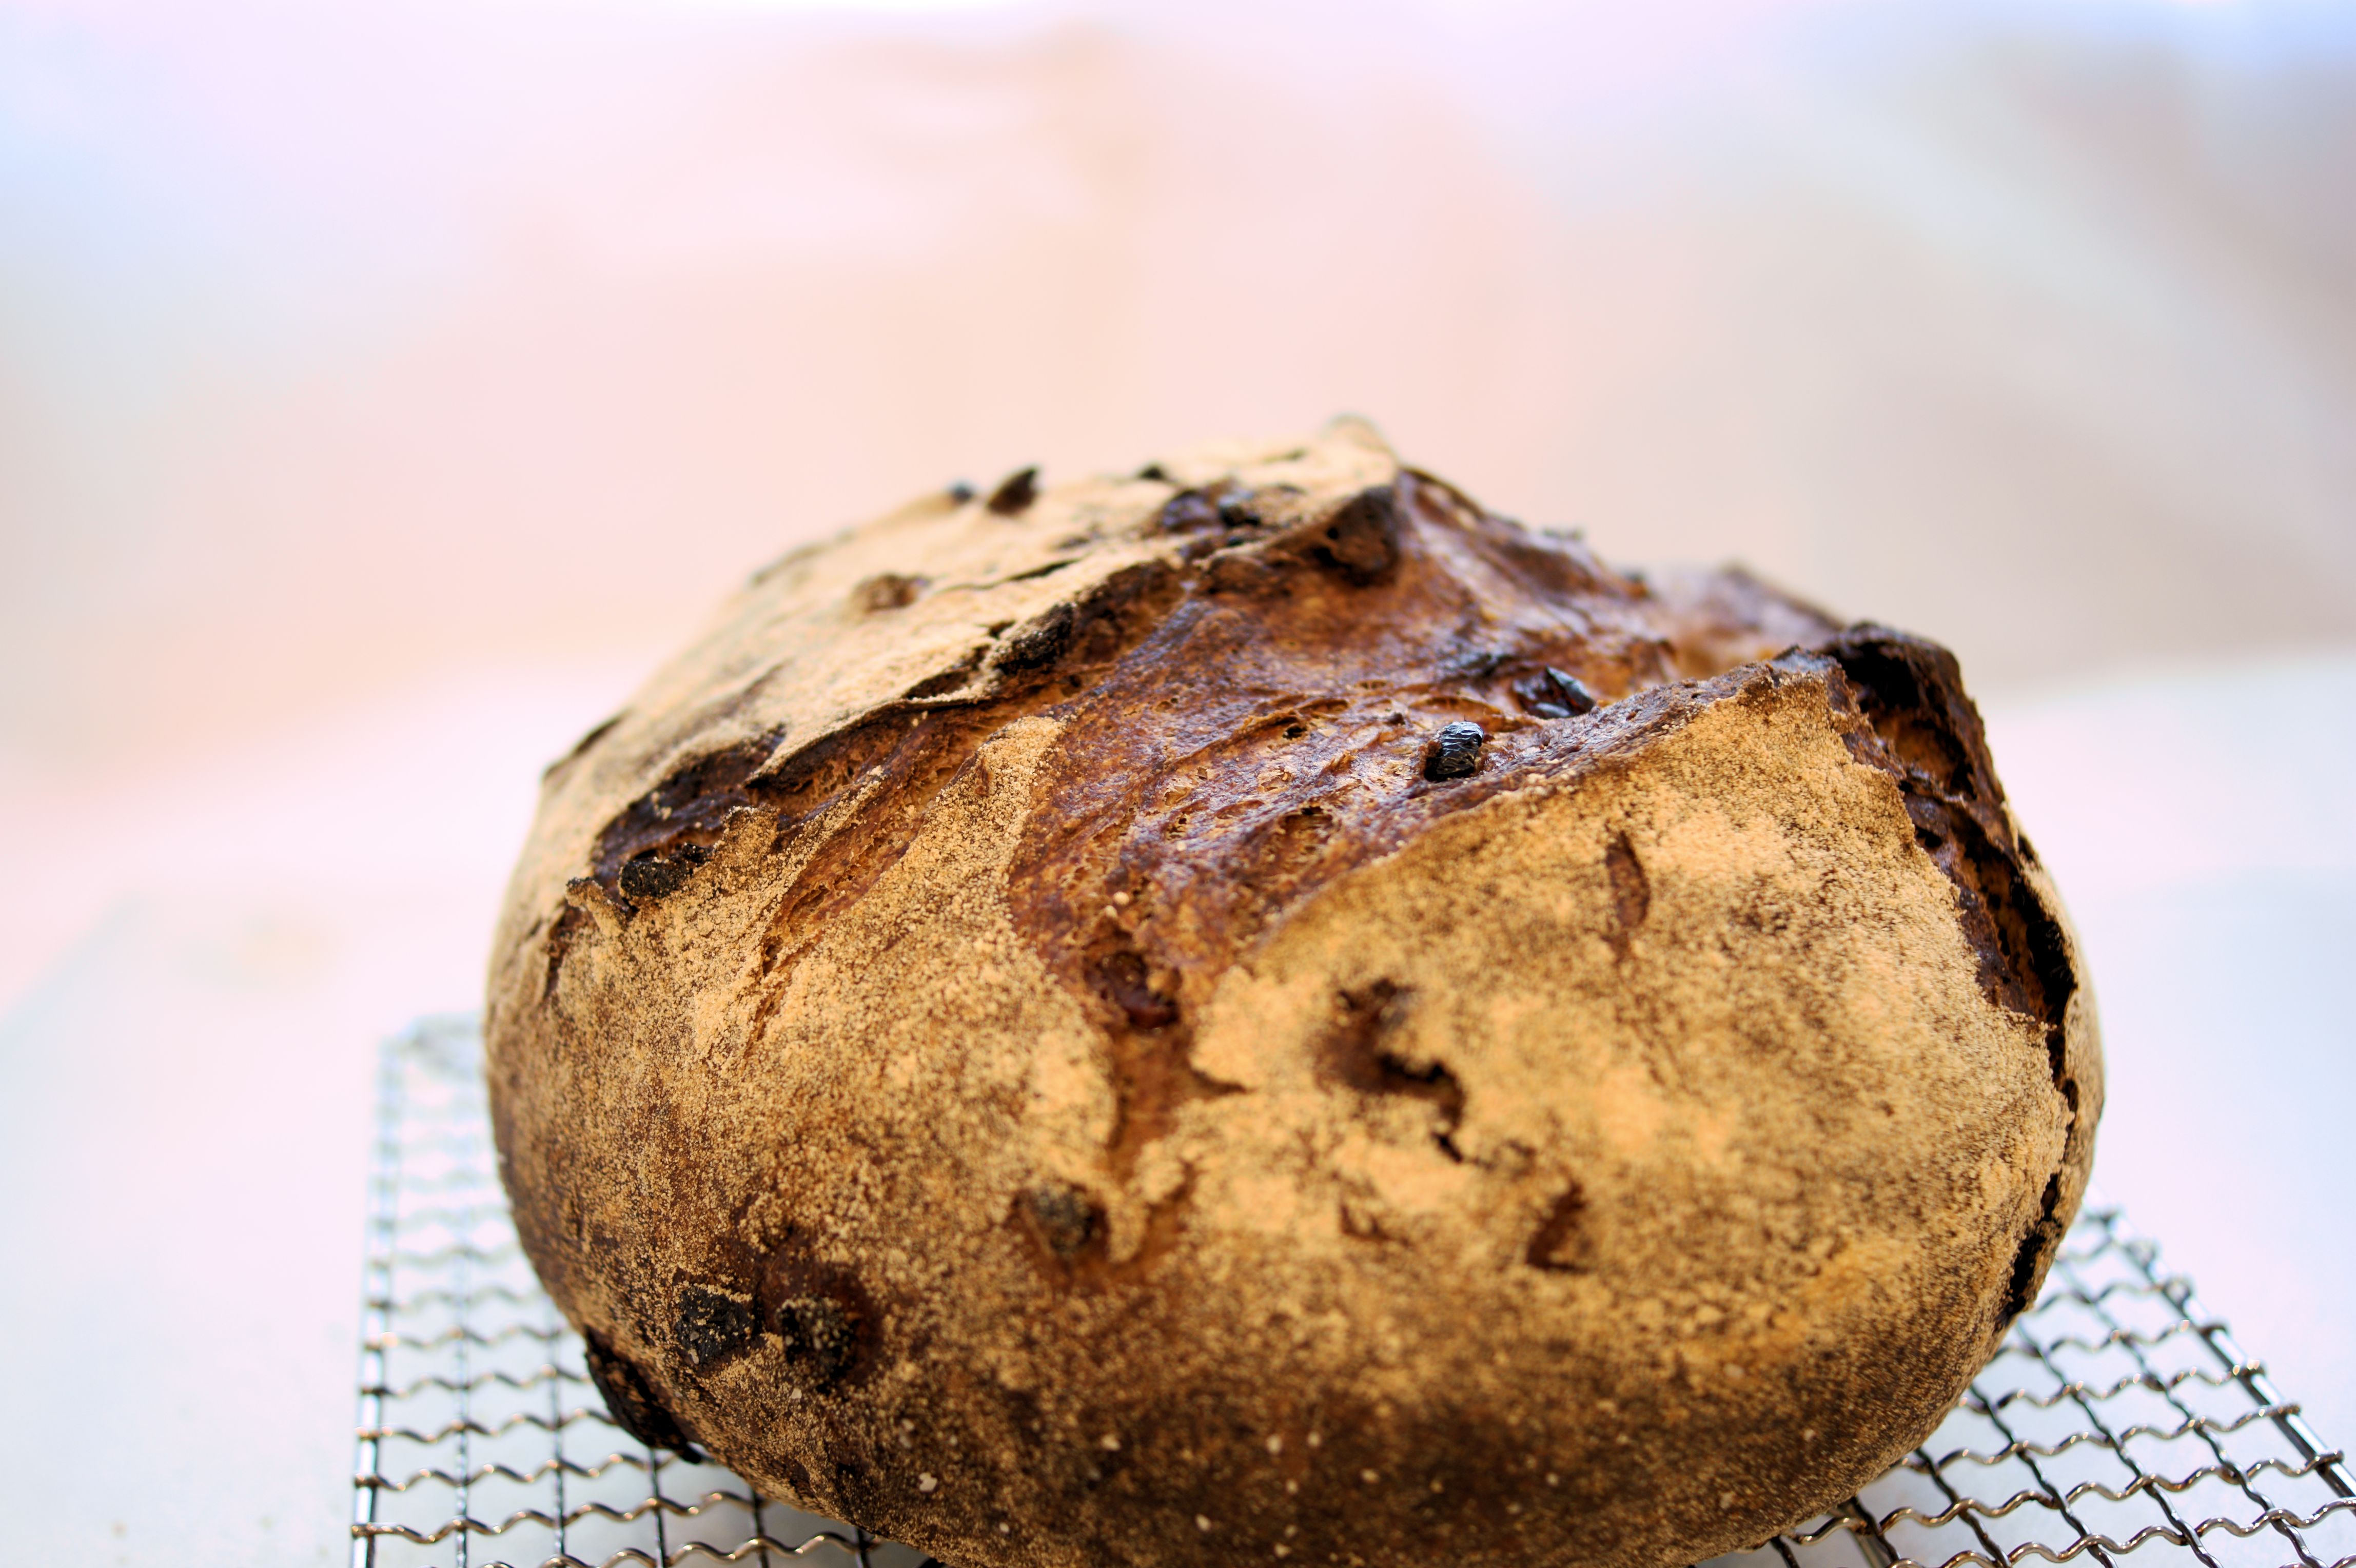
Cover with lid and bake 30 minutes, then remove lid and bake for approximately another 15 to 30 minutes, until loaf is beautifully browned.
Remove from pan and cool on rack.