Ode to Cast Iron


Yes, that is the voice of angels you’re hearing. Or, just maybe, I’m the only one who hears the angels sing every time I see cast iron cookware!SONY DSC

This is one of my most used cast iron pots. I use it to make everything from bread to red chile pod sauce to pork deshebrada.

It is the miracle cookware. I have a broad range of skillets, griddles and Dutch ovens.

Cast iron to me is what Windex is to Gus Portokalos (see the movie “My Big Fat Greek Wedding” if you didn’t get that reference).

Enough said.

Best Cranberries in the Galaxy! Seriously!

Double “O,” double “M,” double “G” is the only way to describe this dish.

This cranberry dish is most associated with Thanksgiving dinner, but if you’re like us, you’ll be making them up all year long. Stir them into your next serving of yogurt or vanilla ice cream. Smear them on top of your toast. You’ll be figuring out a dozen new uses for them.
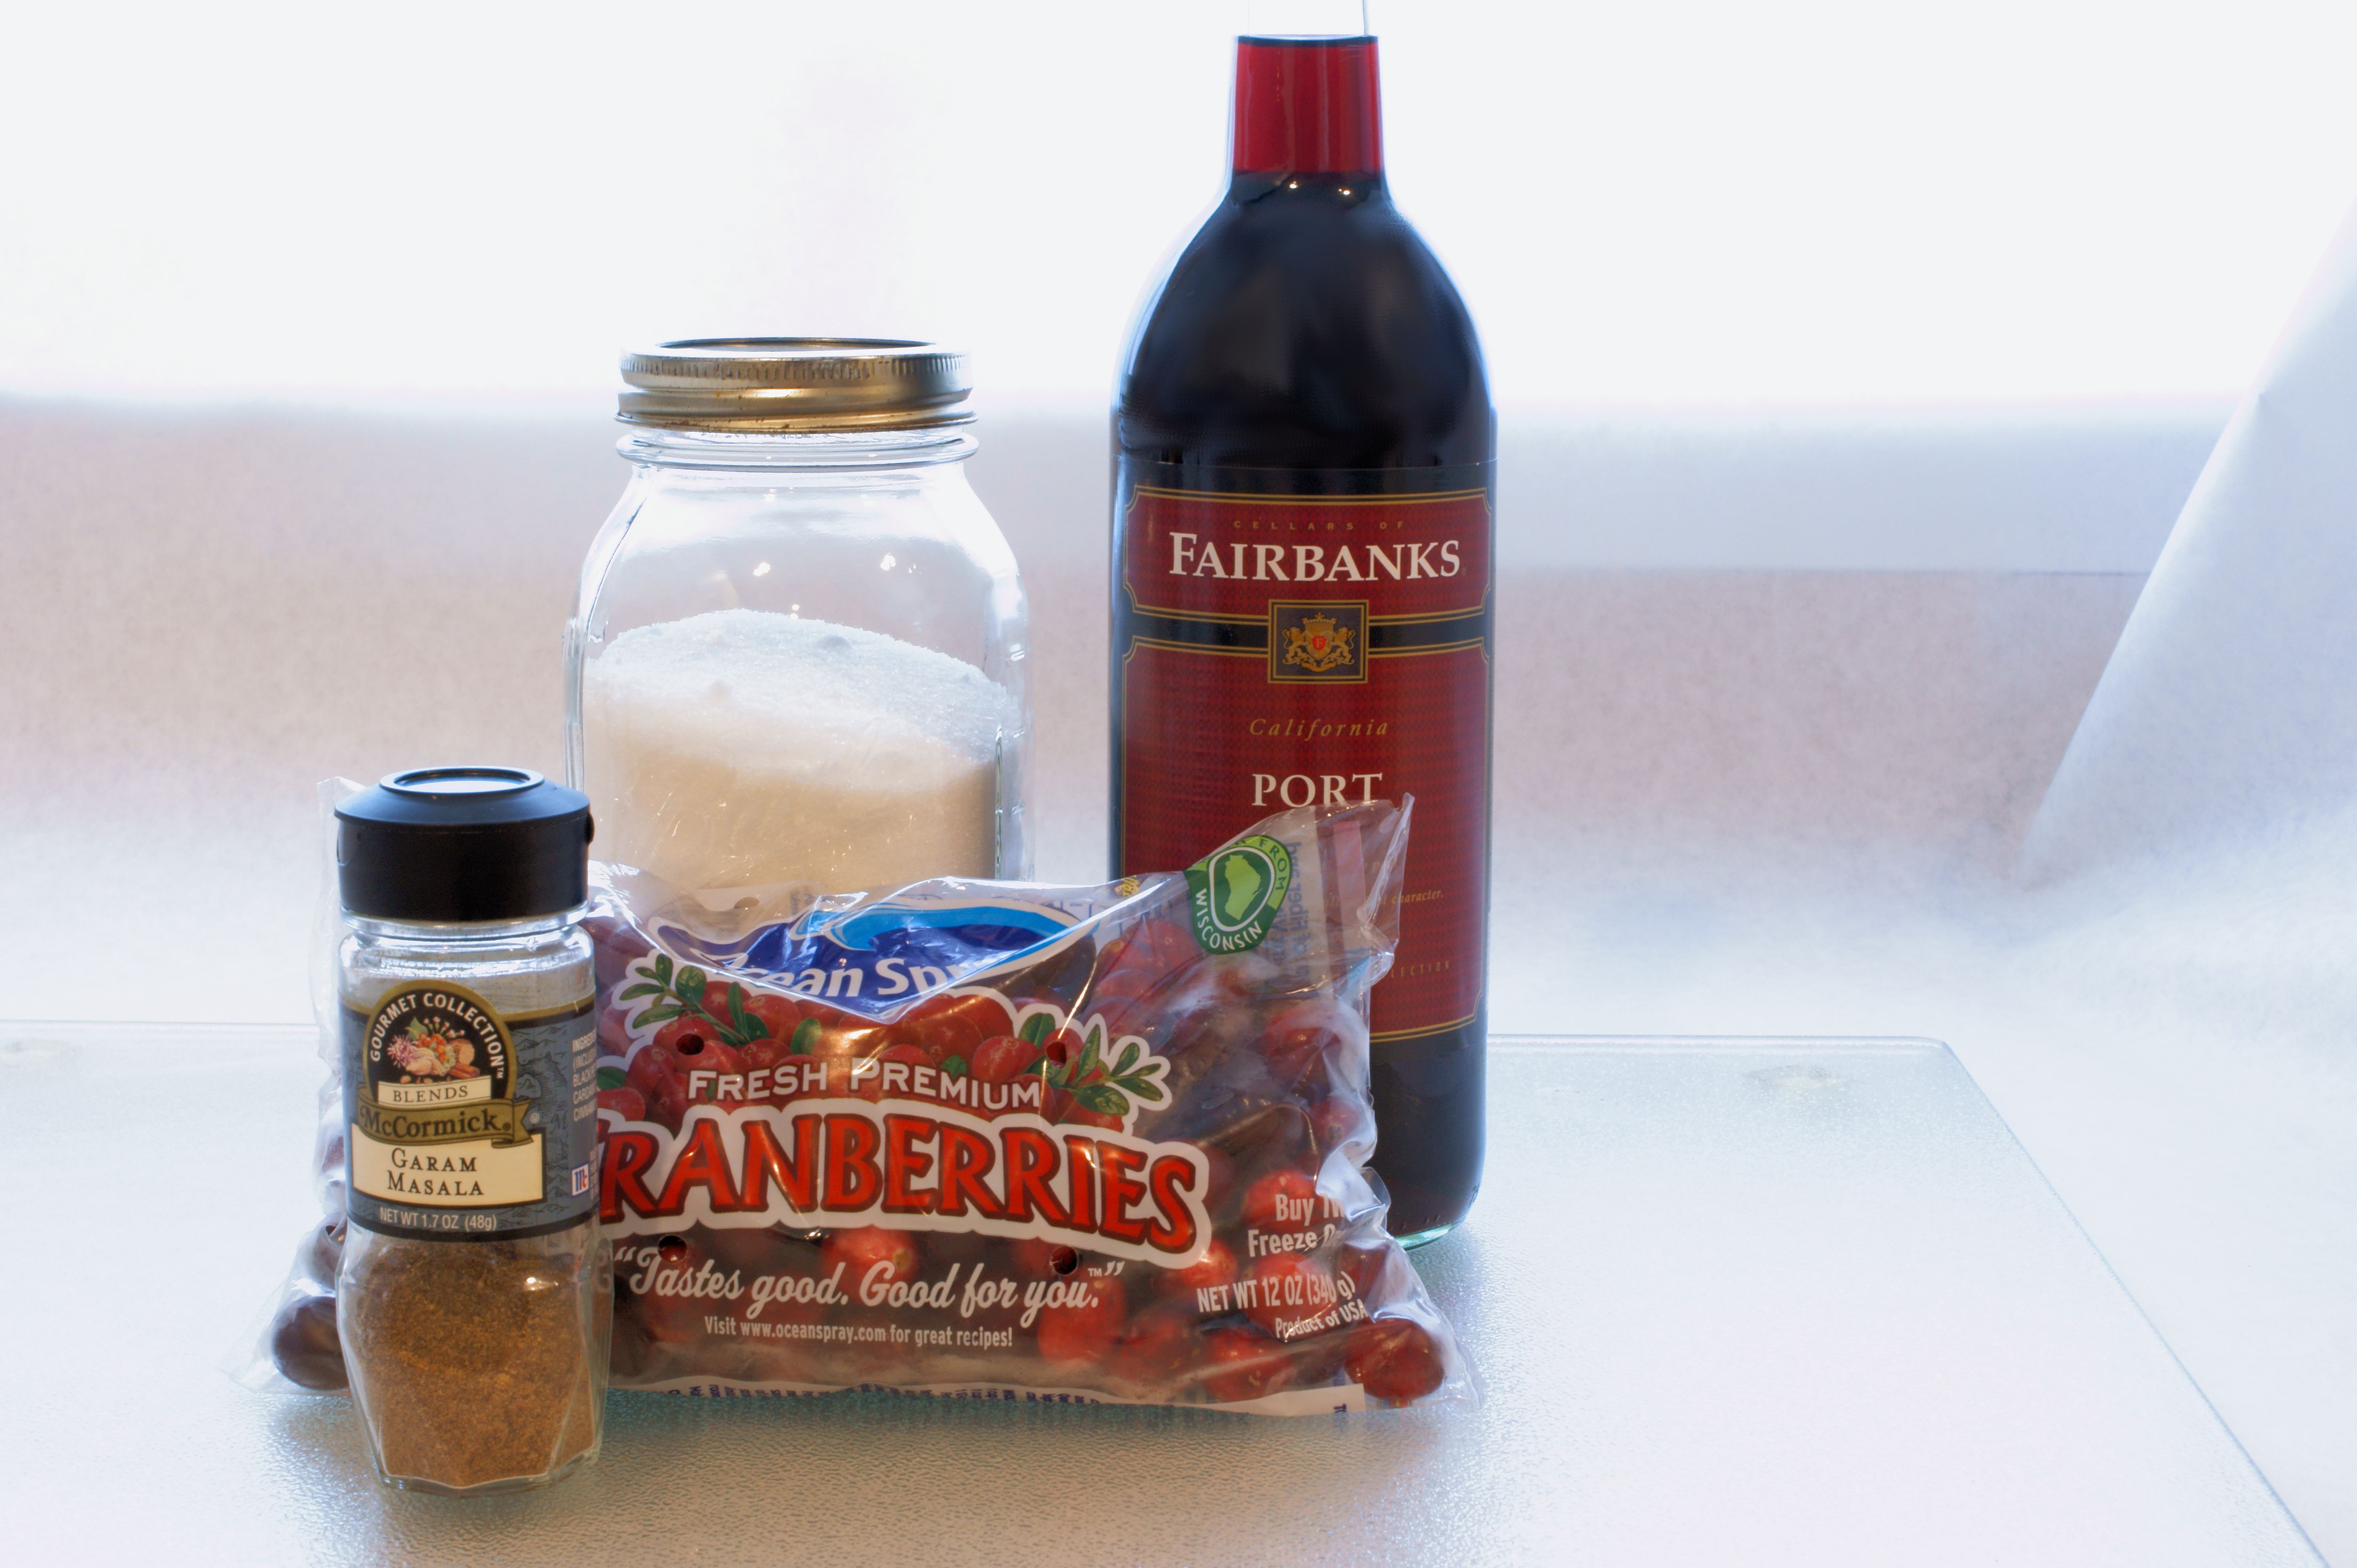
Ingredients:

  • 1 package (12 ounces) cranberries, rinsed (you can use frozen whole cranberries)
  • 1 cup sugar
  • 1 cup Ruby Port wine
  • 1 teaspoon Garam Masala (if you can’t find it in your local store, search for a recipe online, it’s pretty easy to make)

SONY DSC

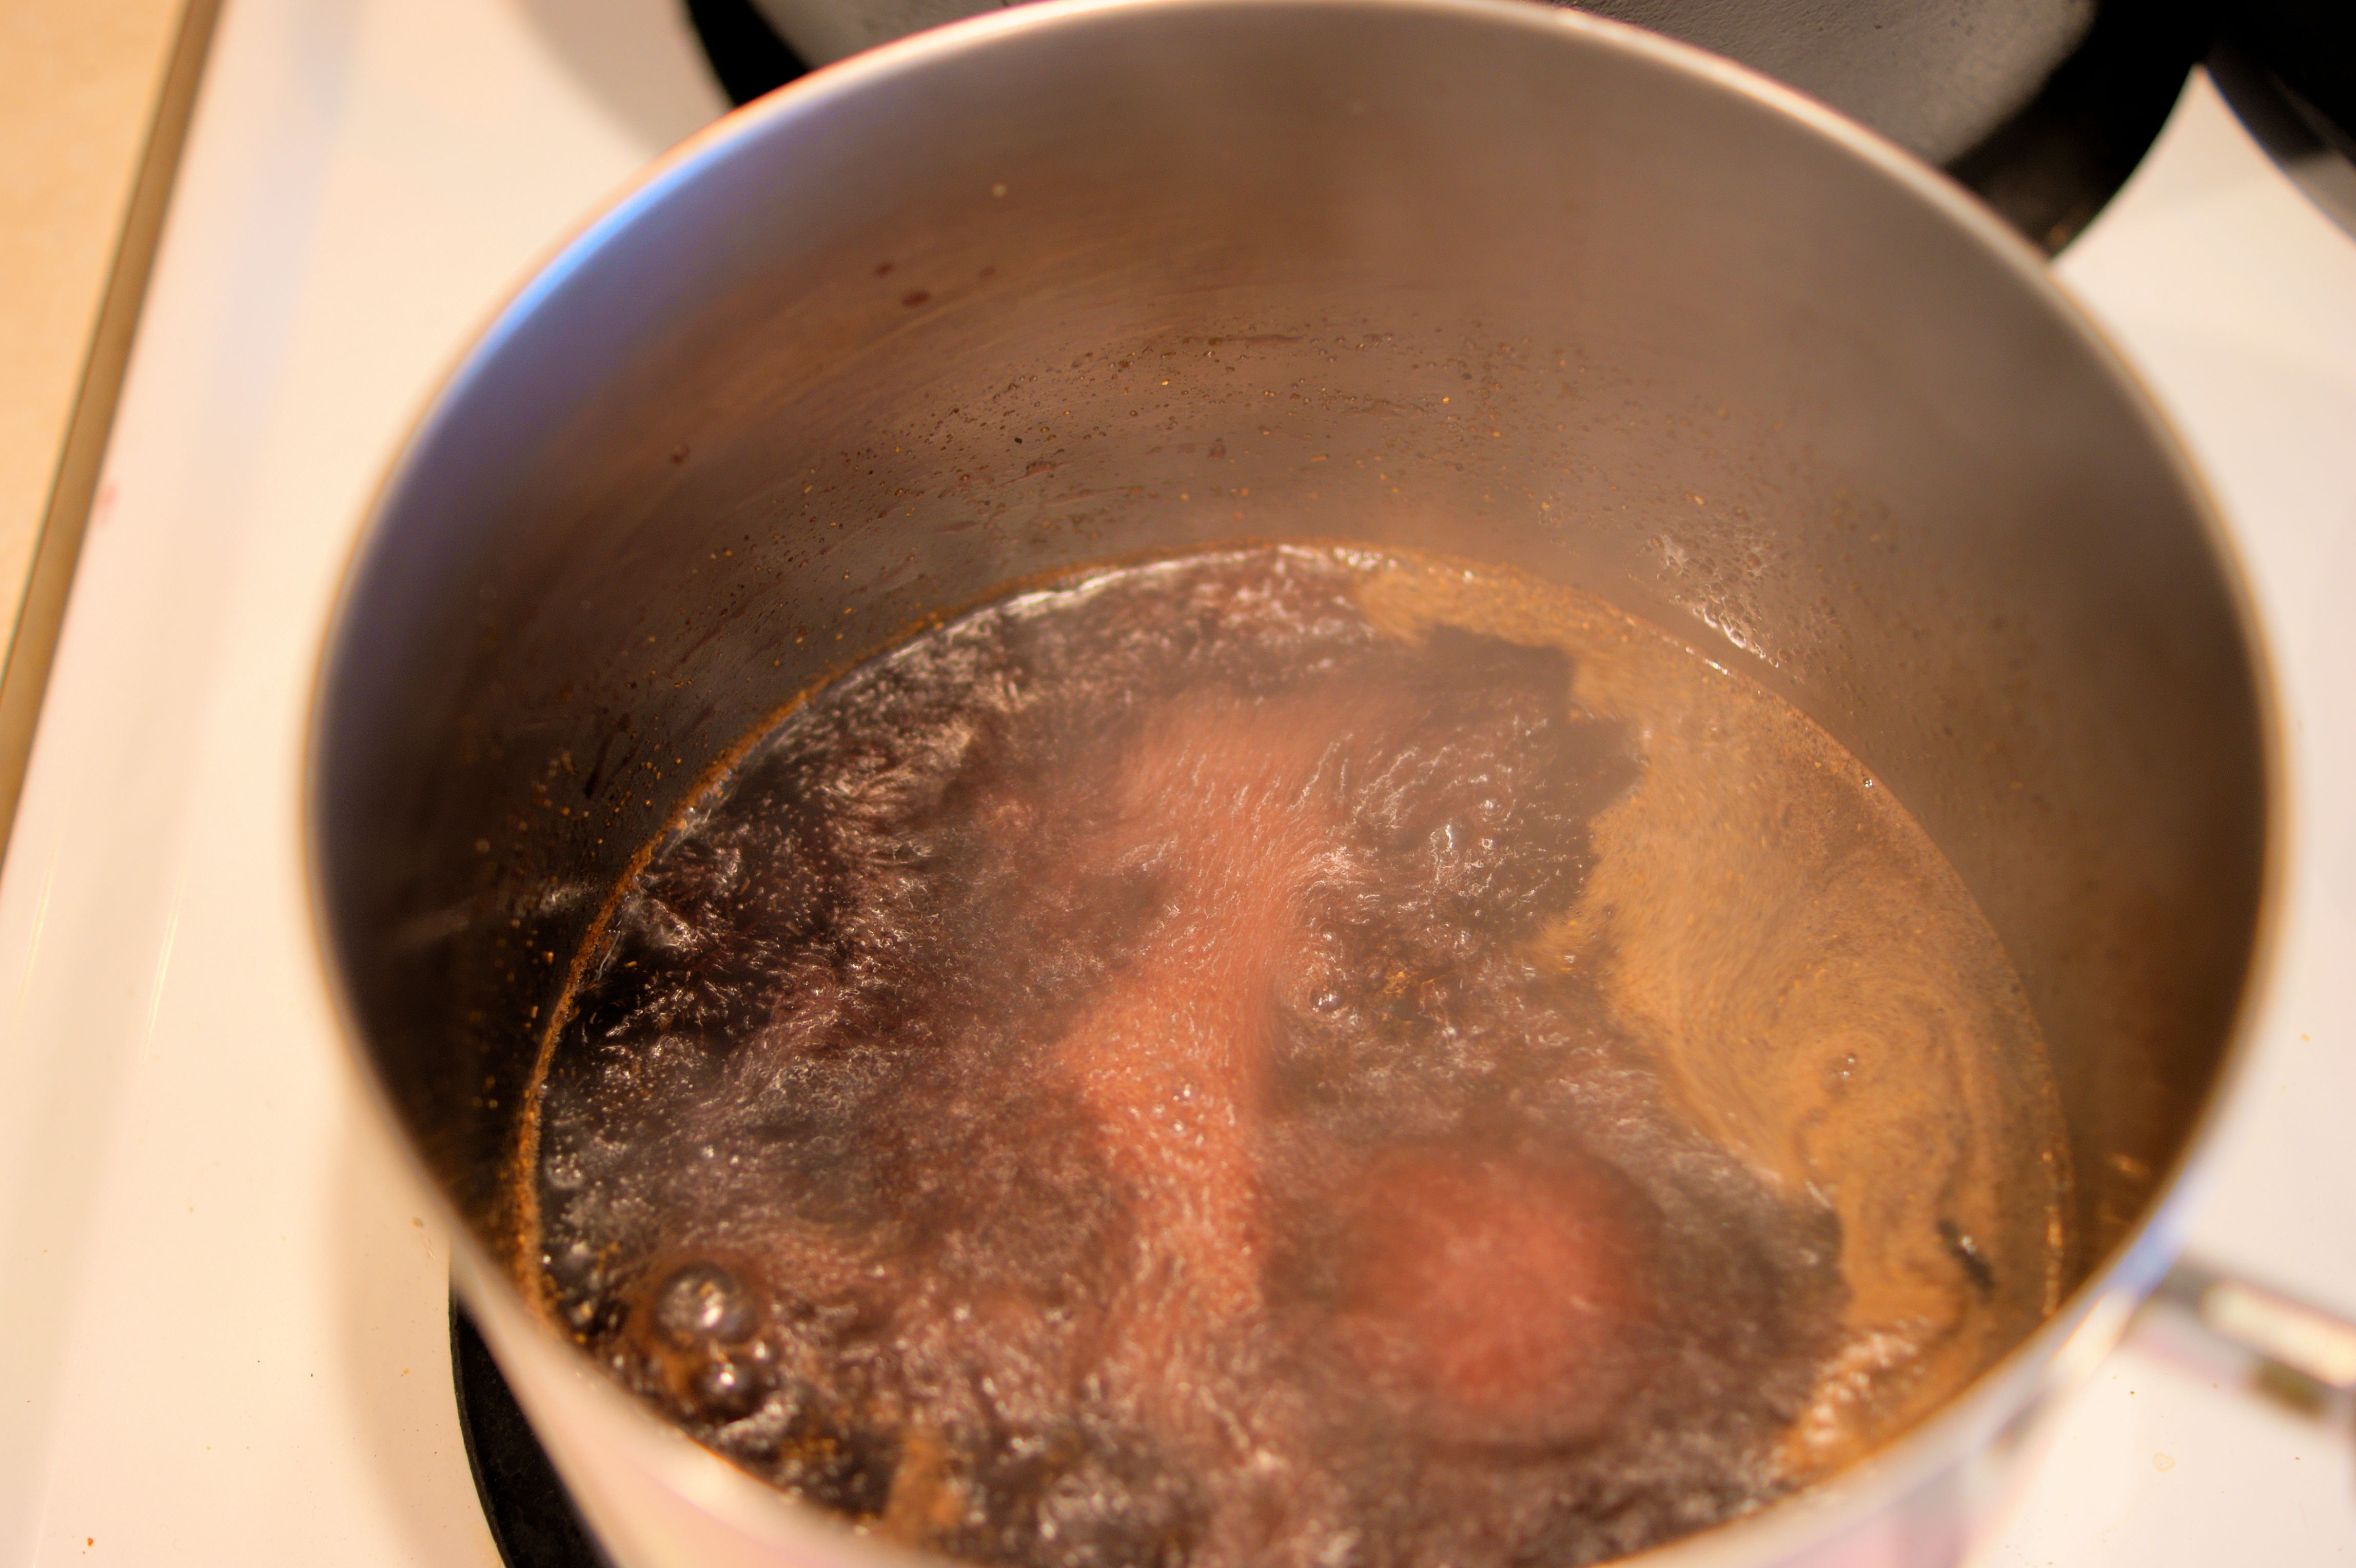
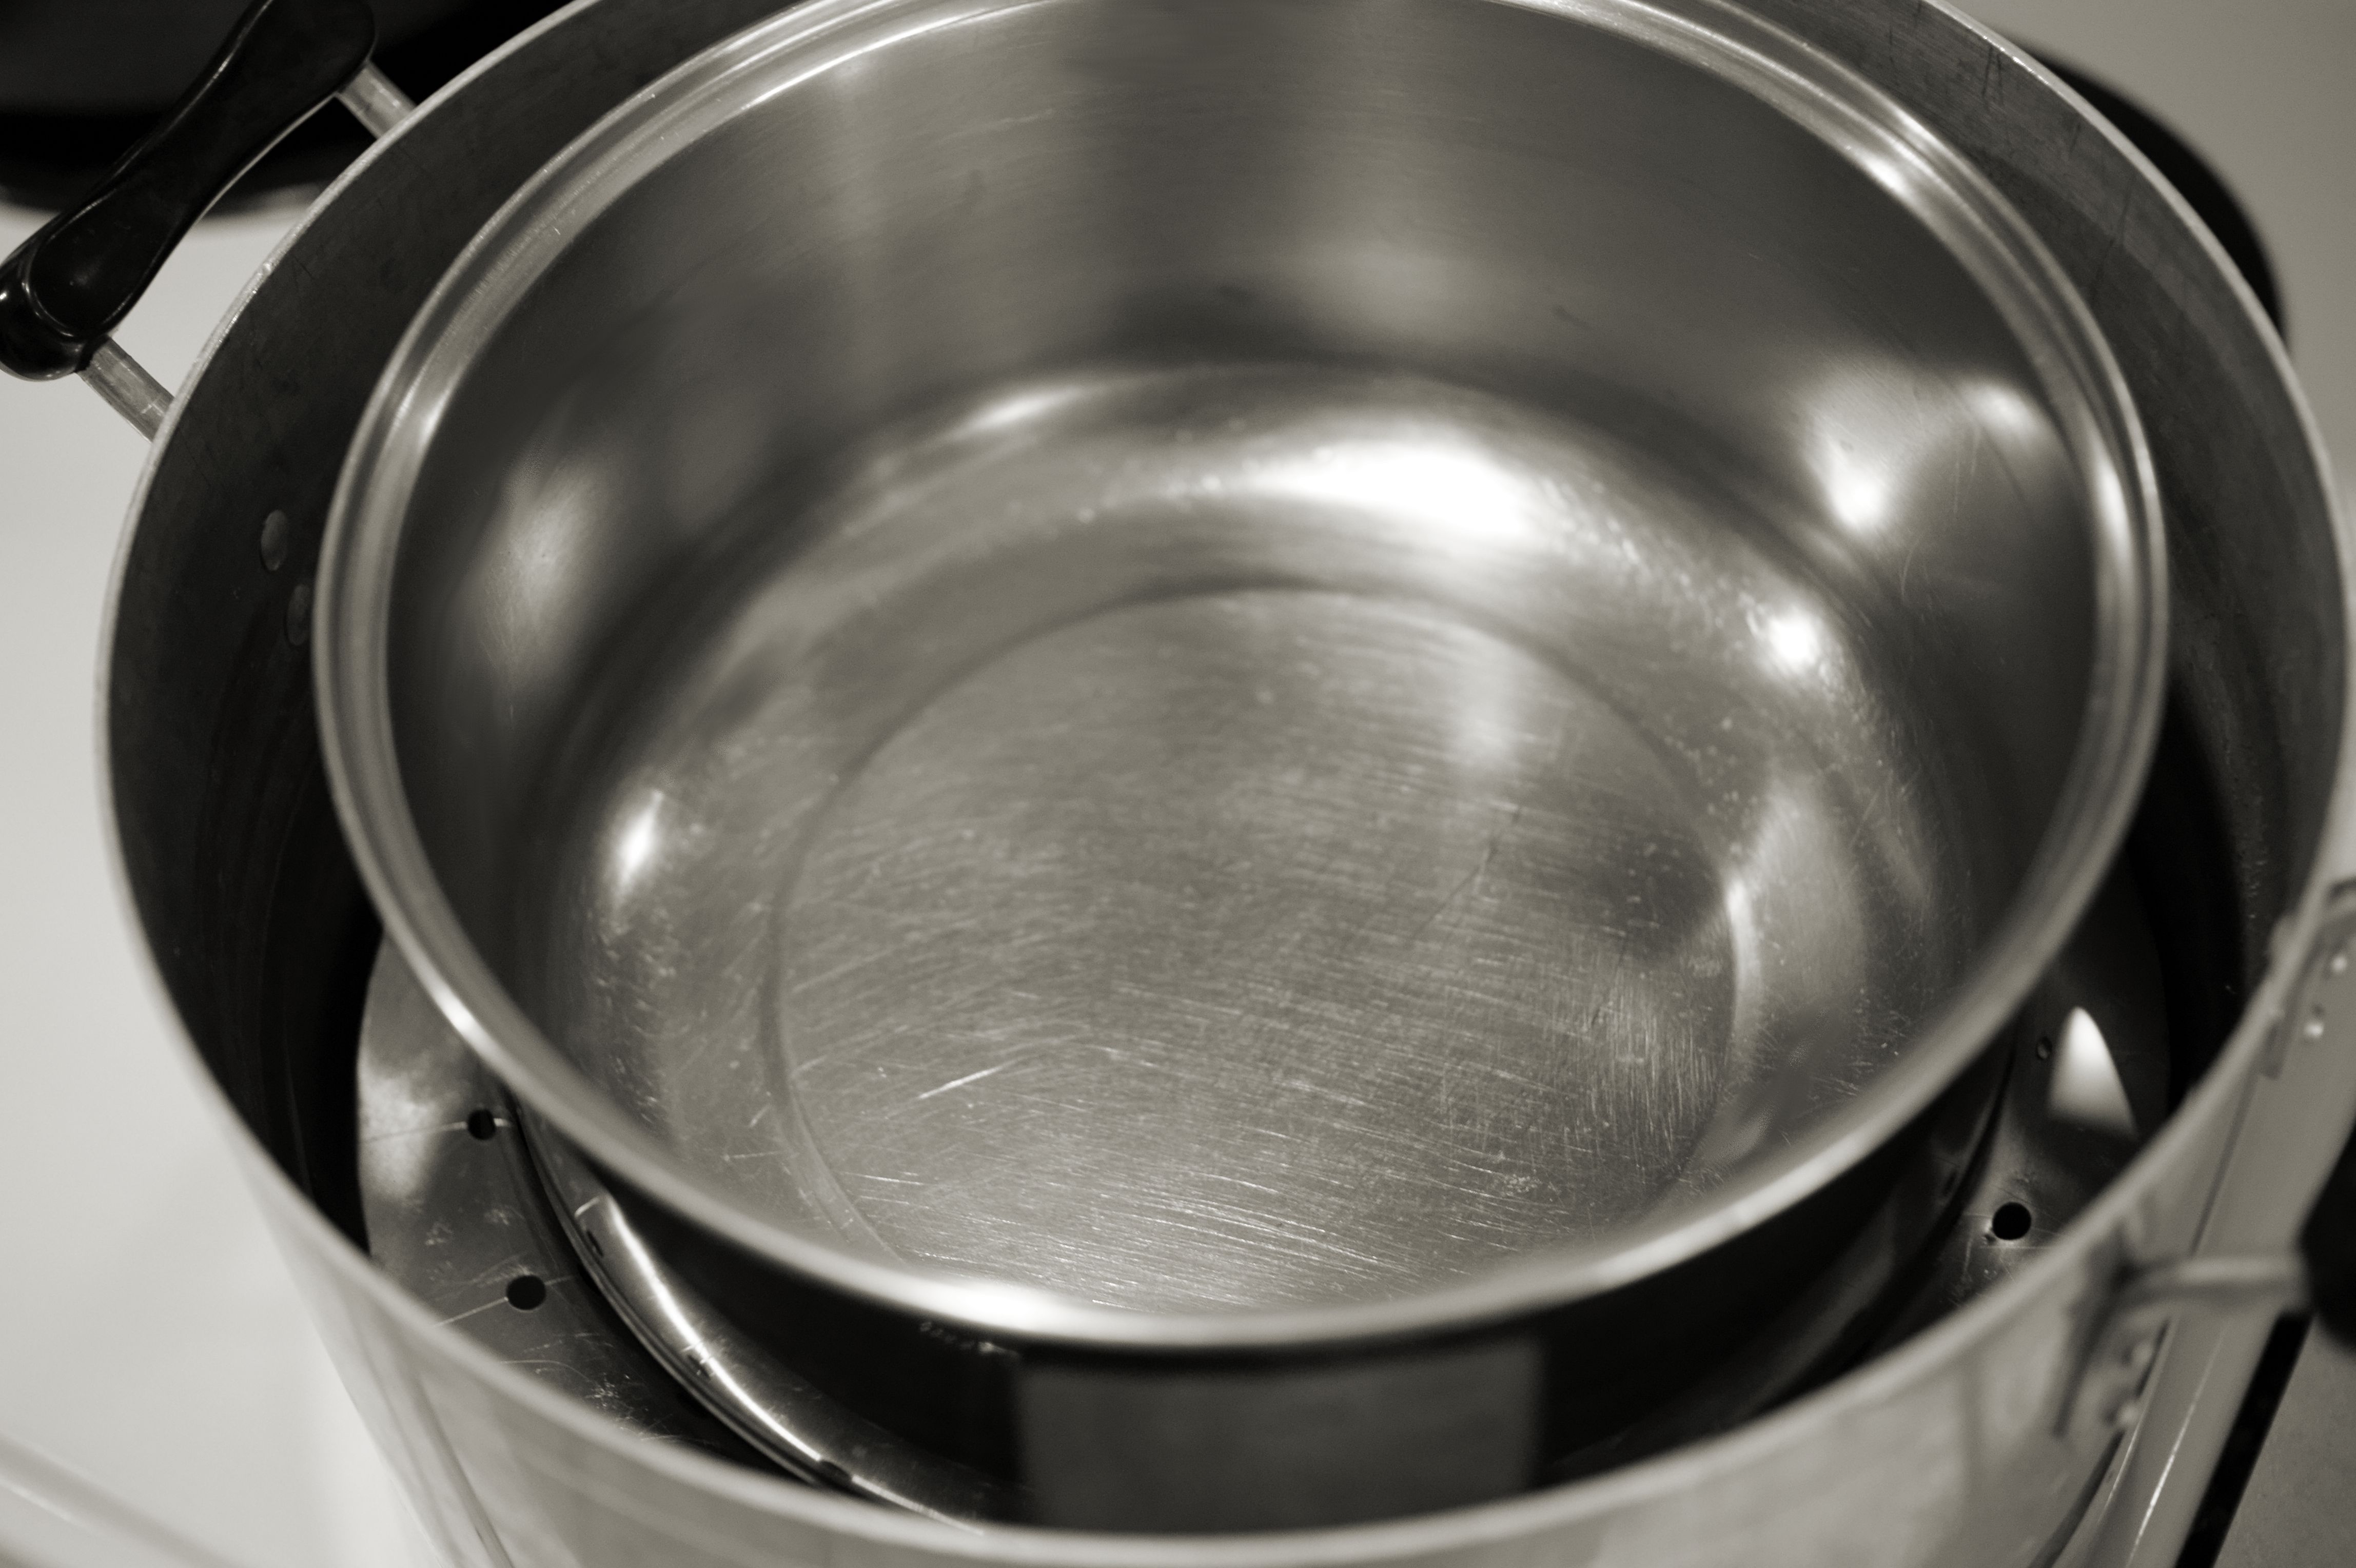
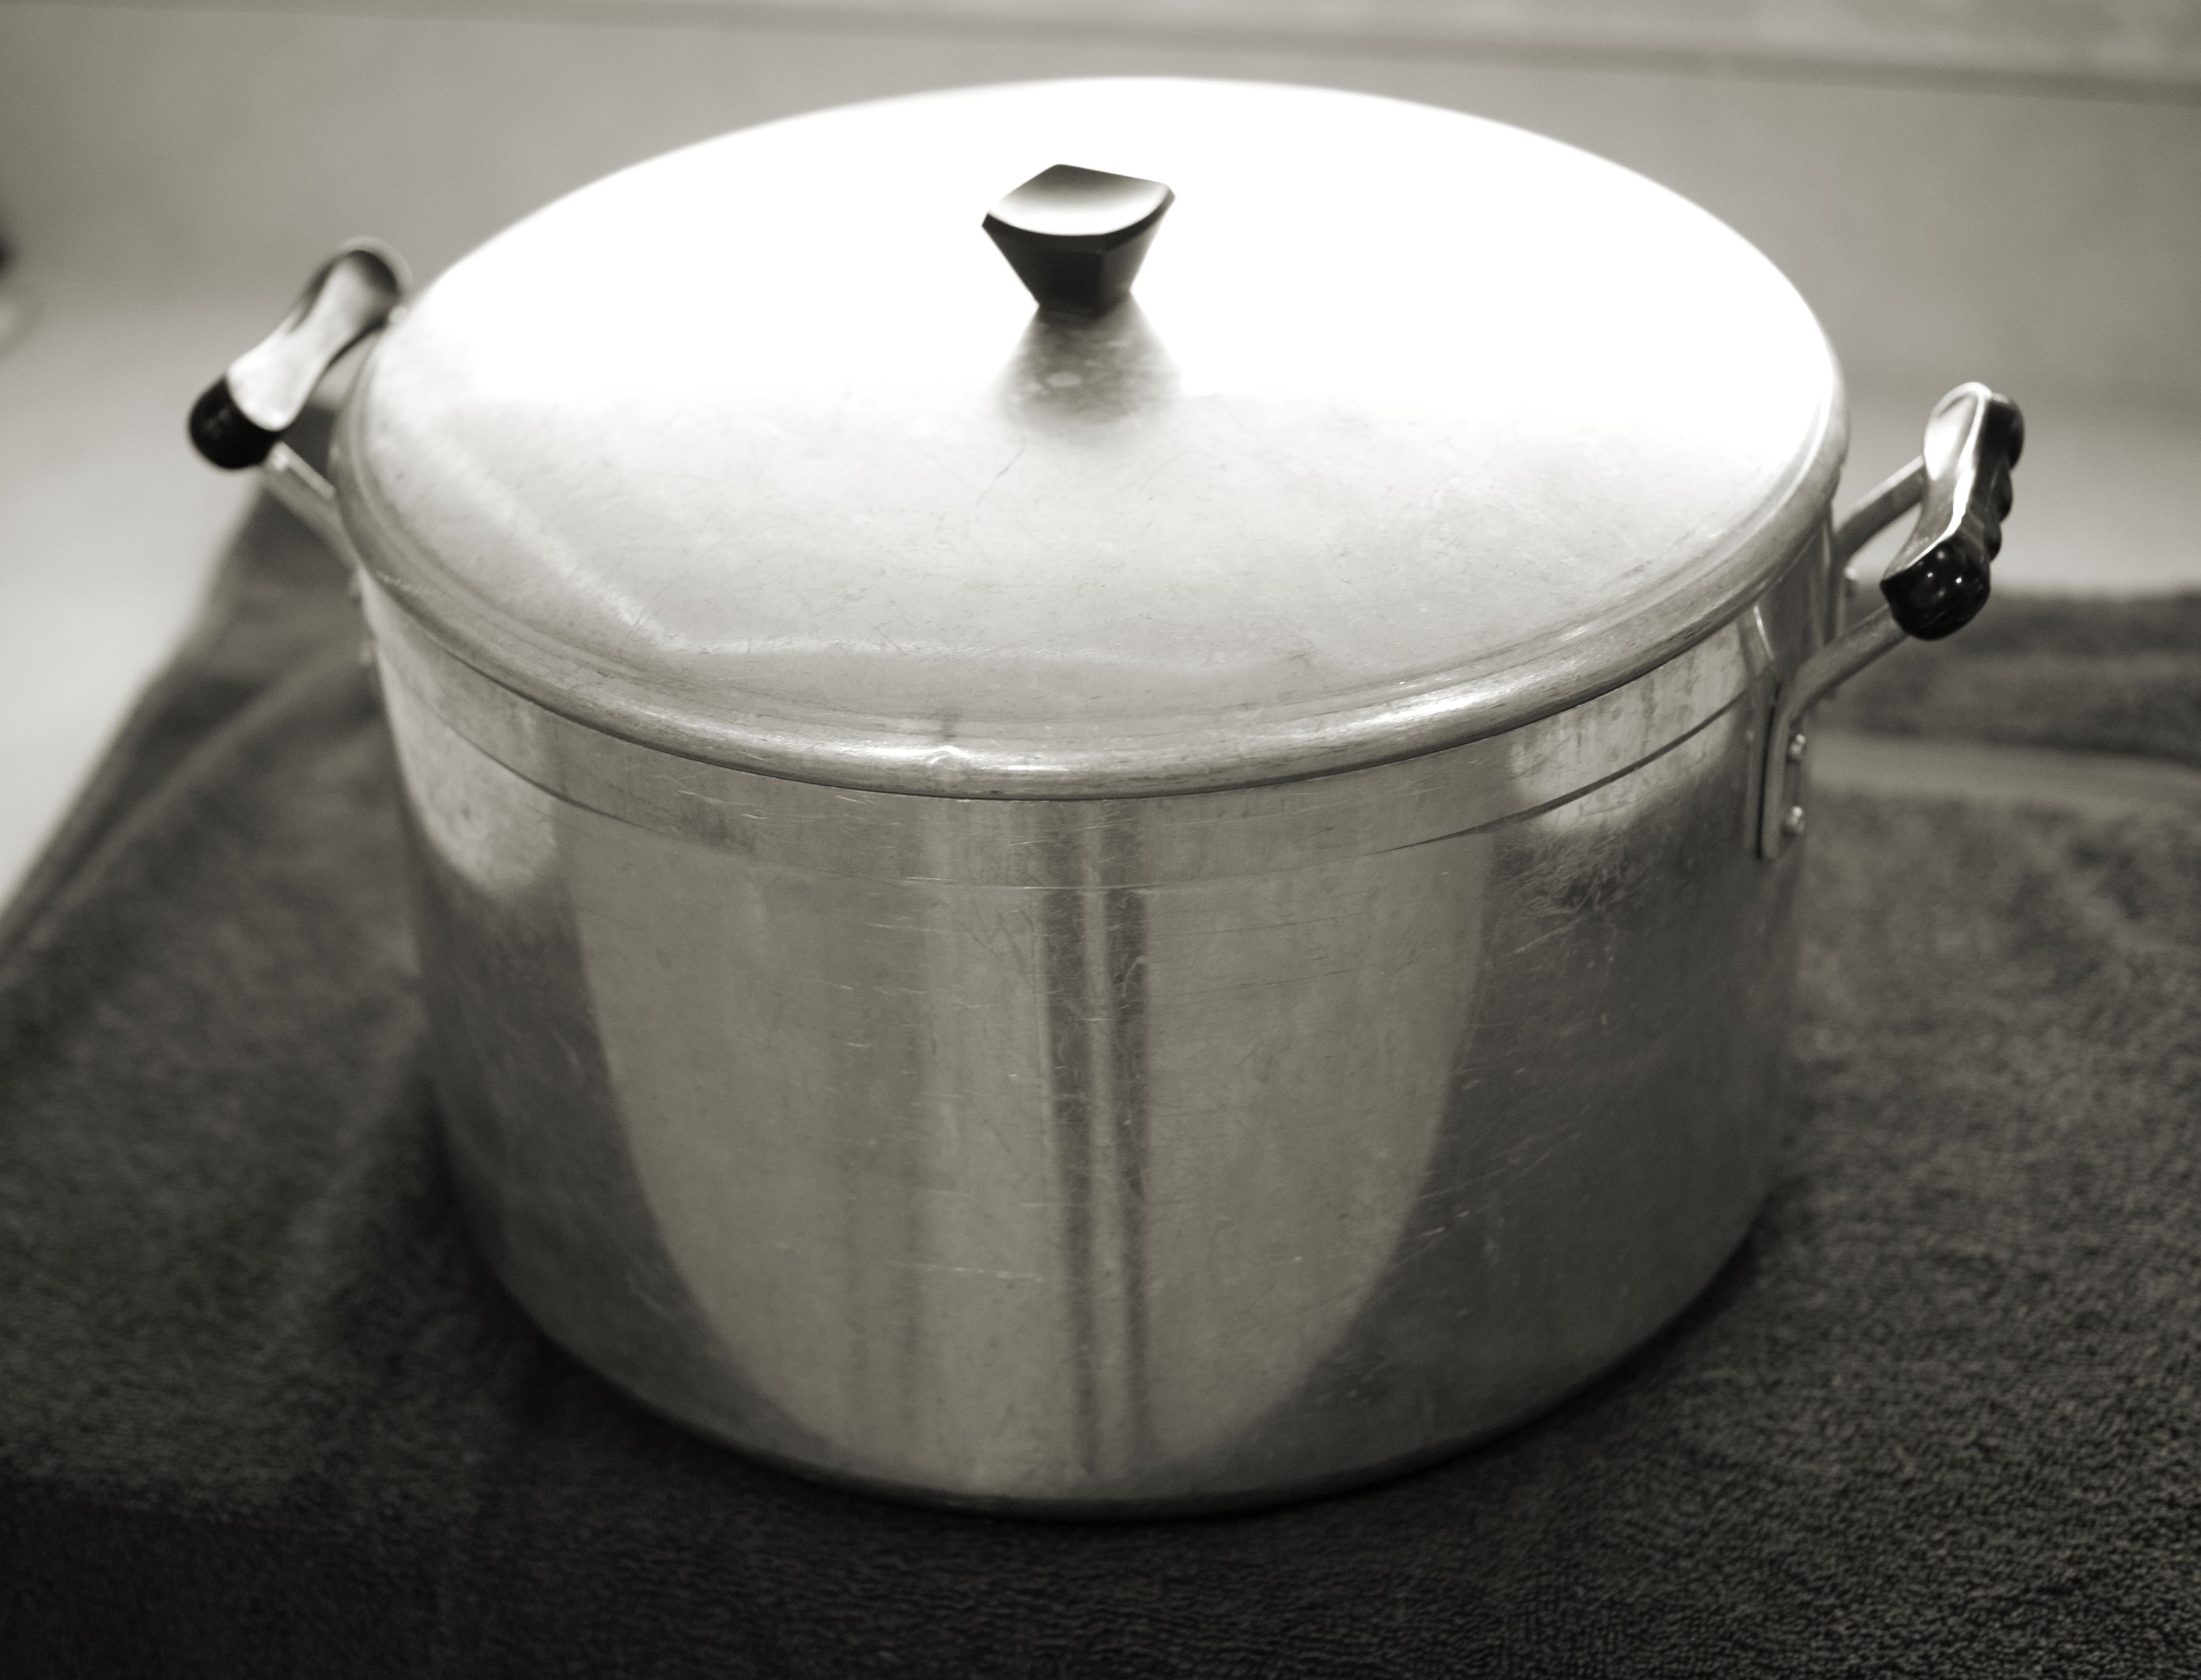
In a medium size pan, mix sugar, wine and Garam Masala. Bring to boil over medium-high heat, stirring occasionally.

SONY DSC

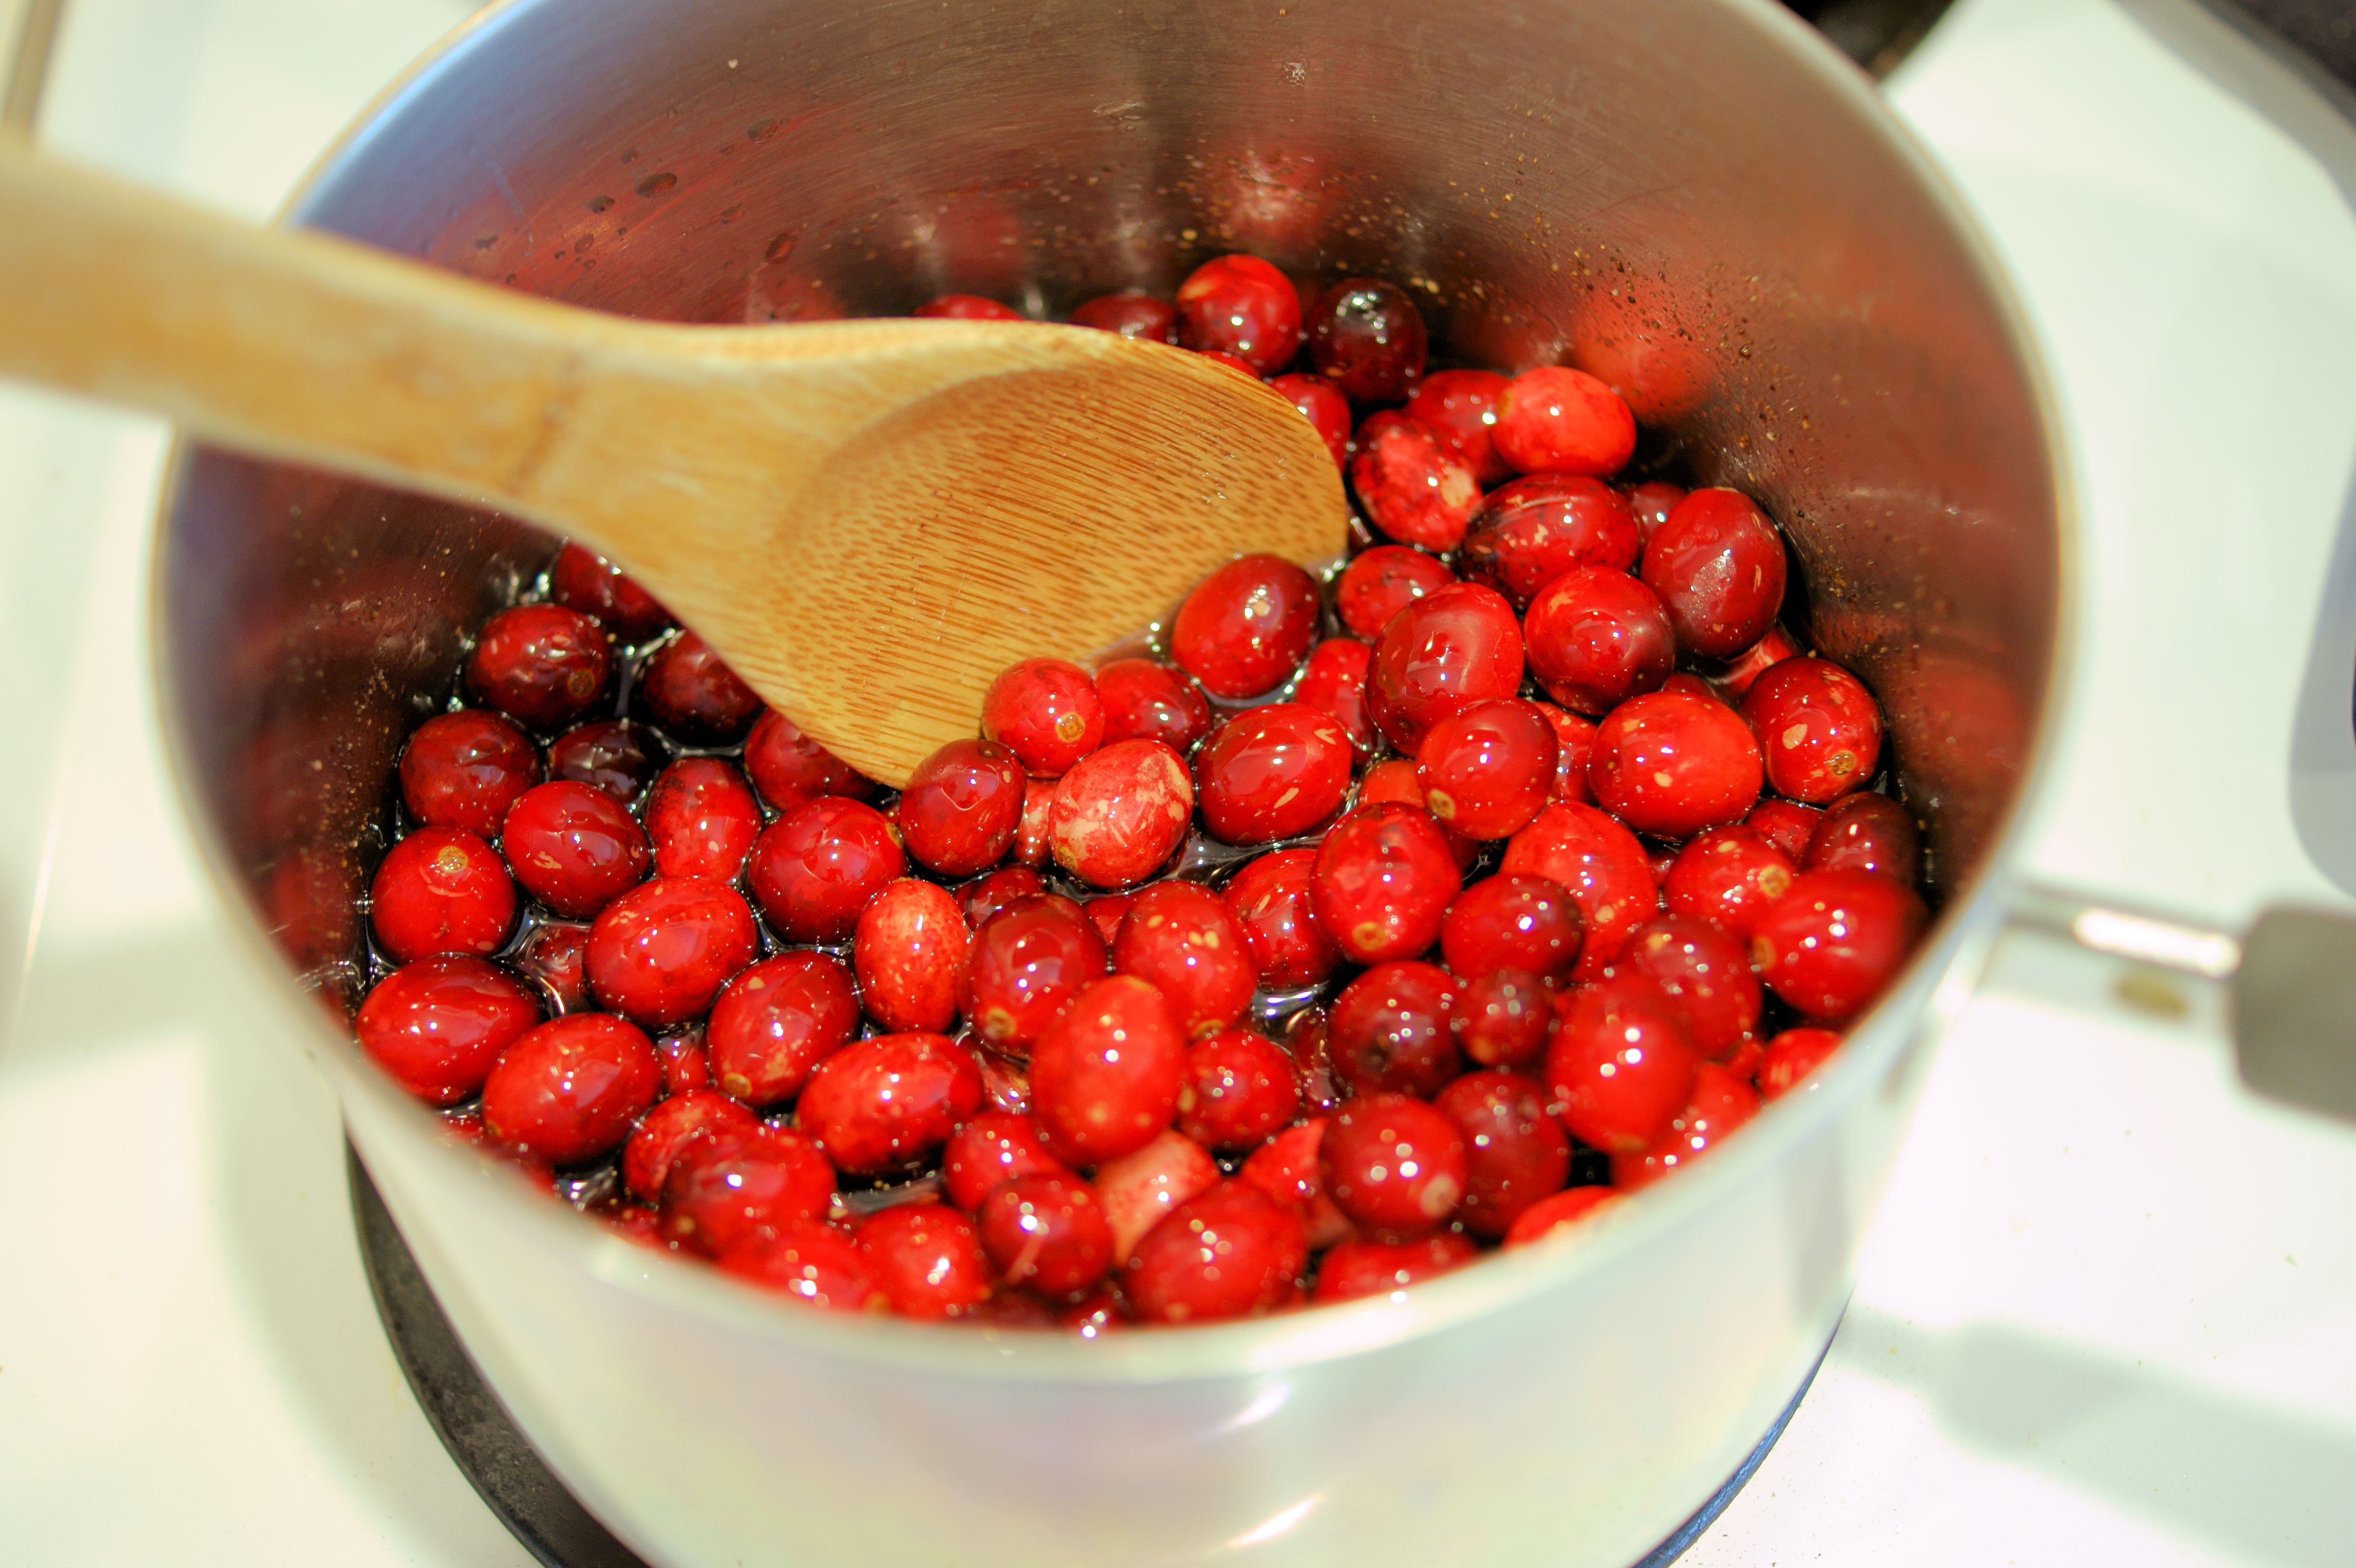
Add the cranberries and reduce heat to medium.

Allow to cook for 10 minutes and gently stir occasionally (like a stir or two every minute).

SONY DSC

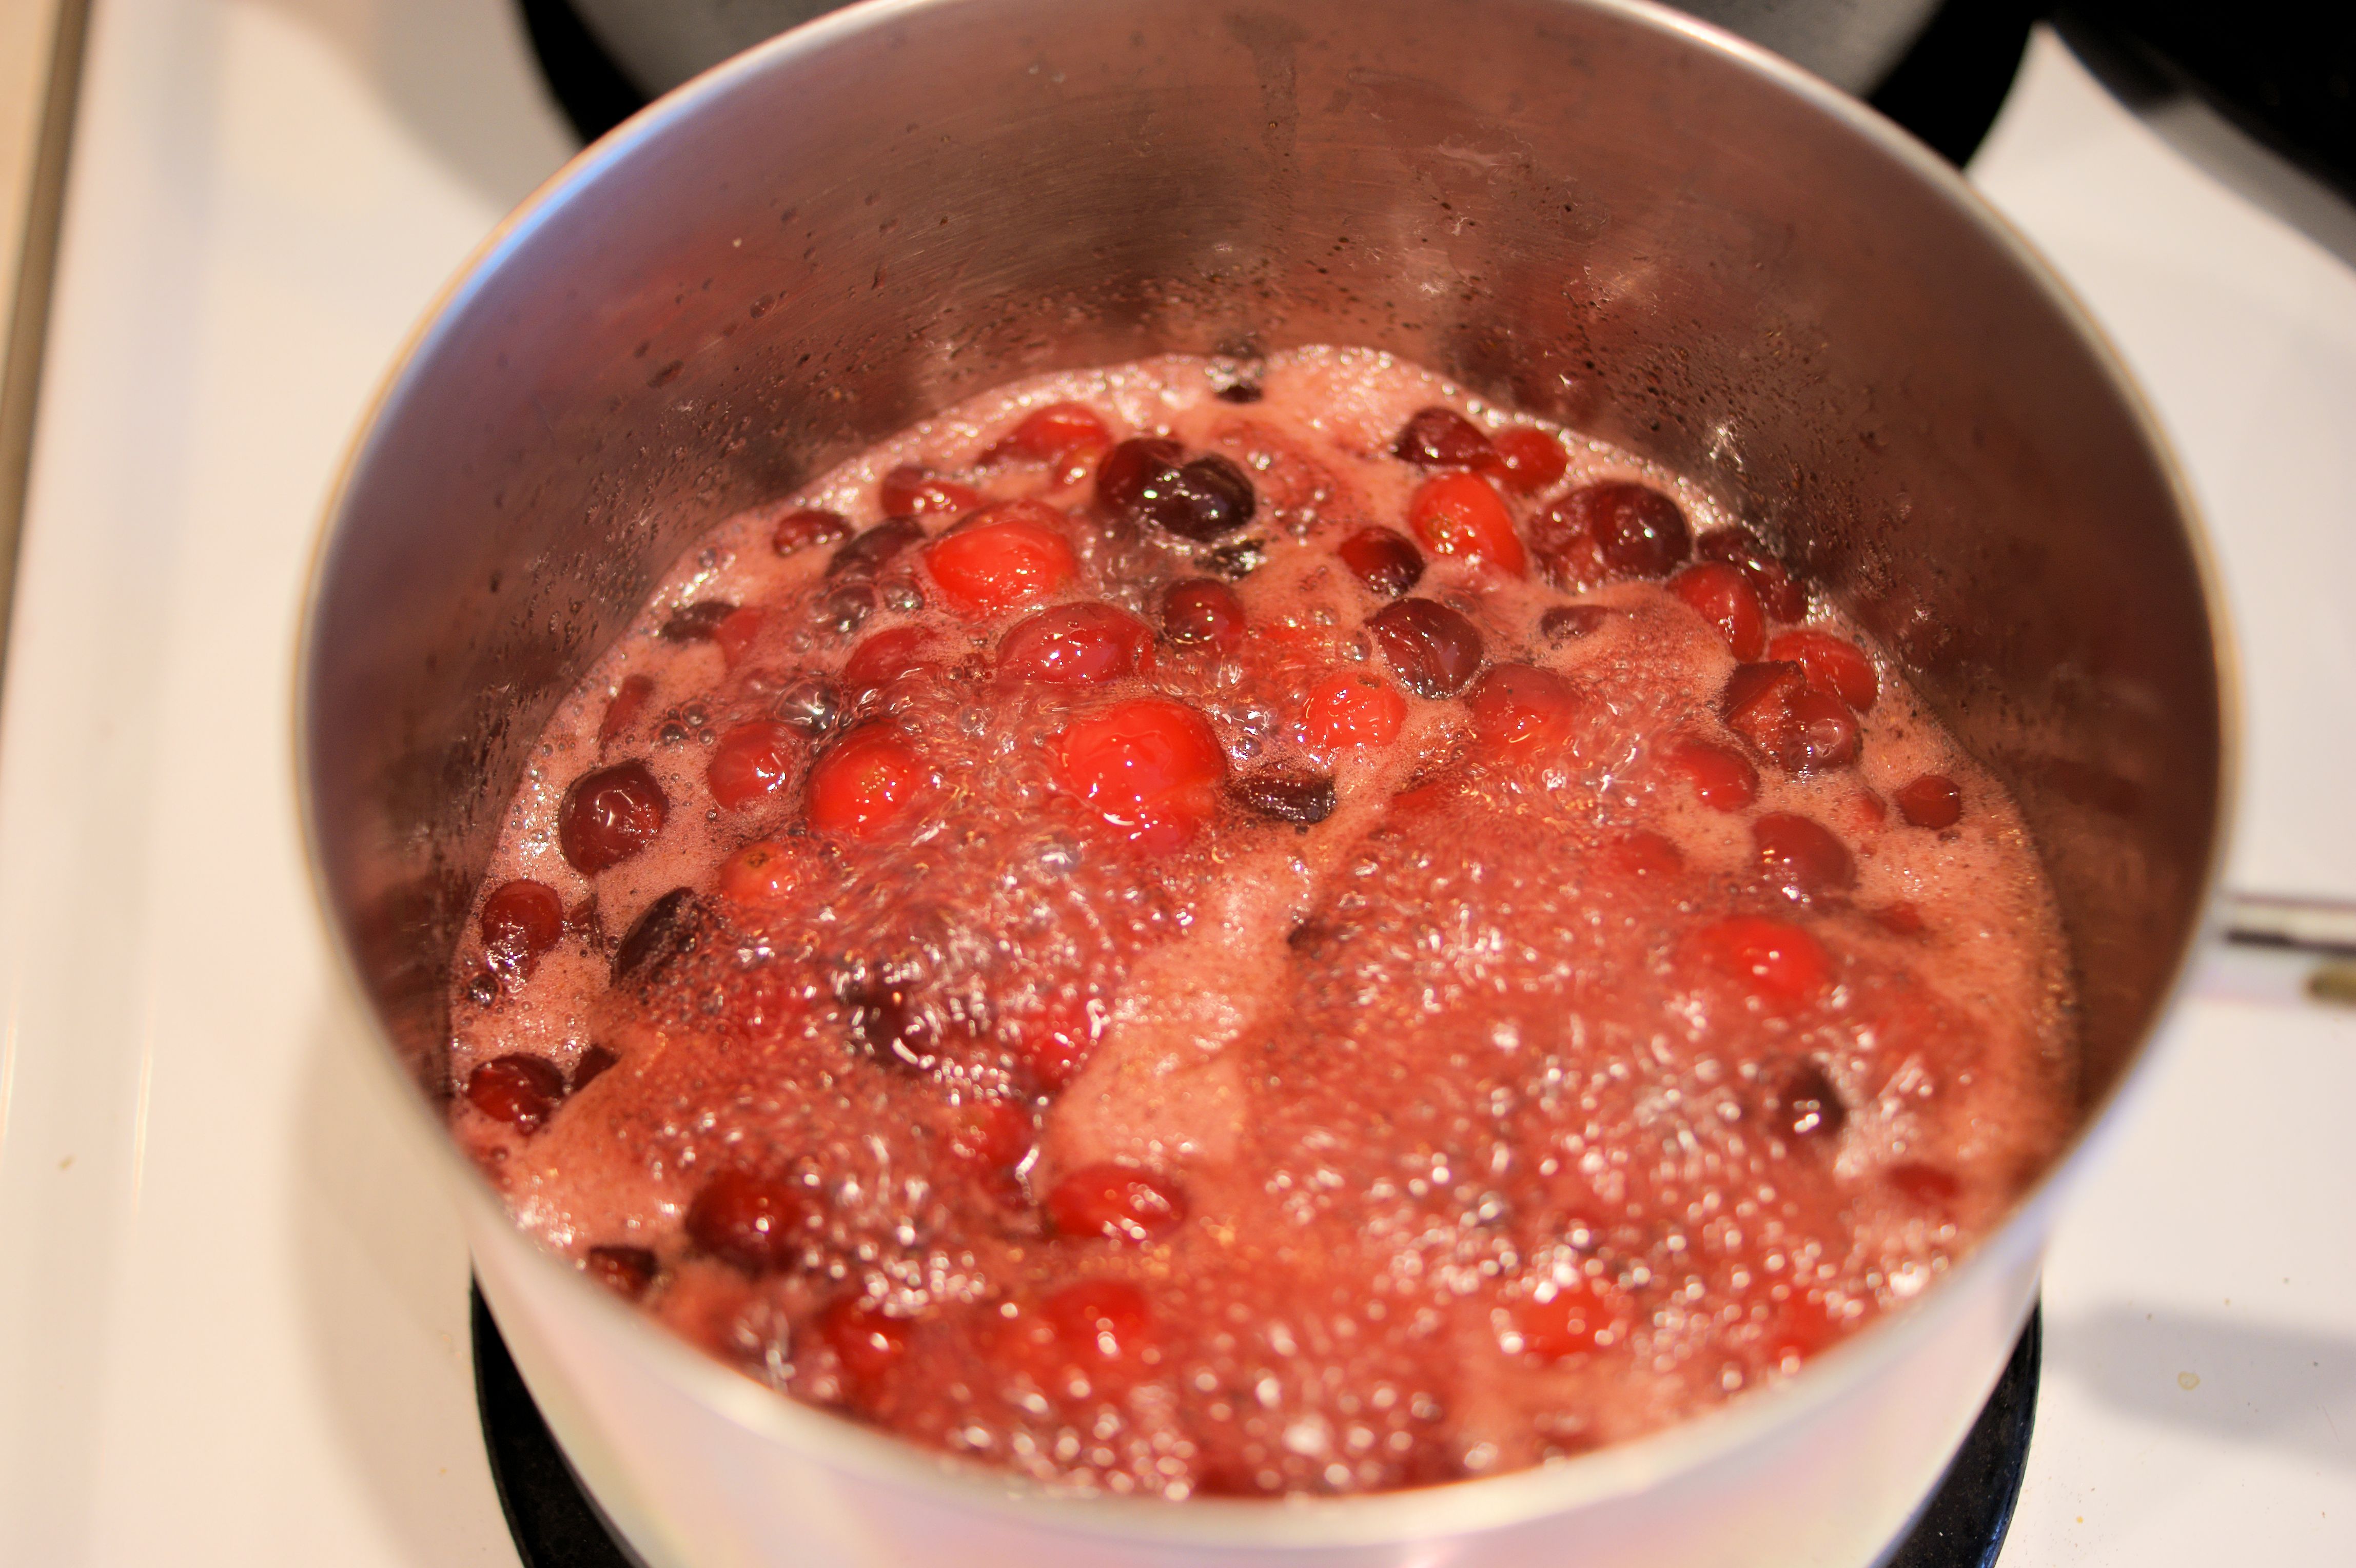
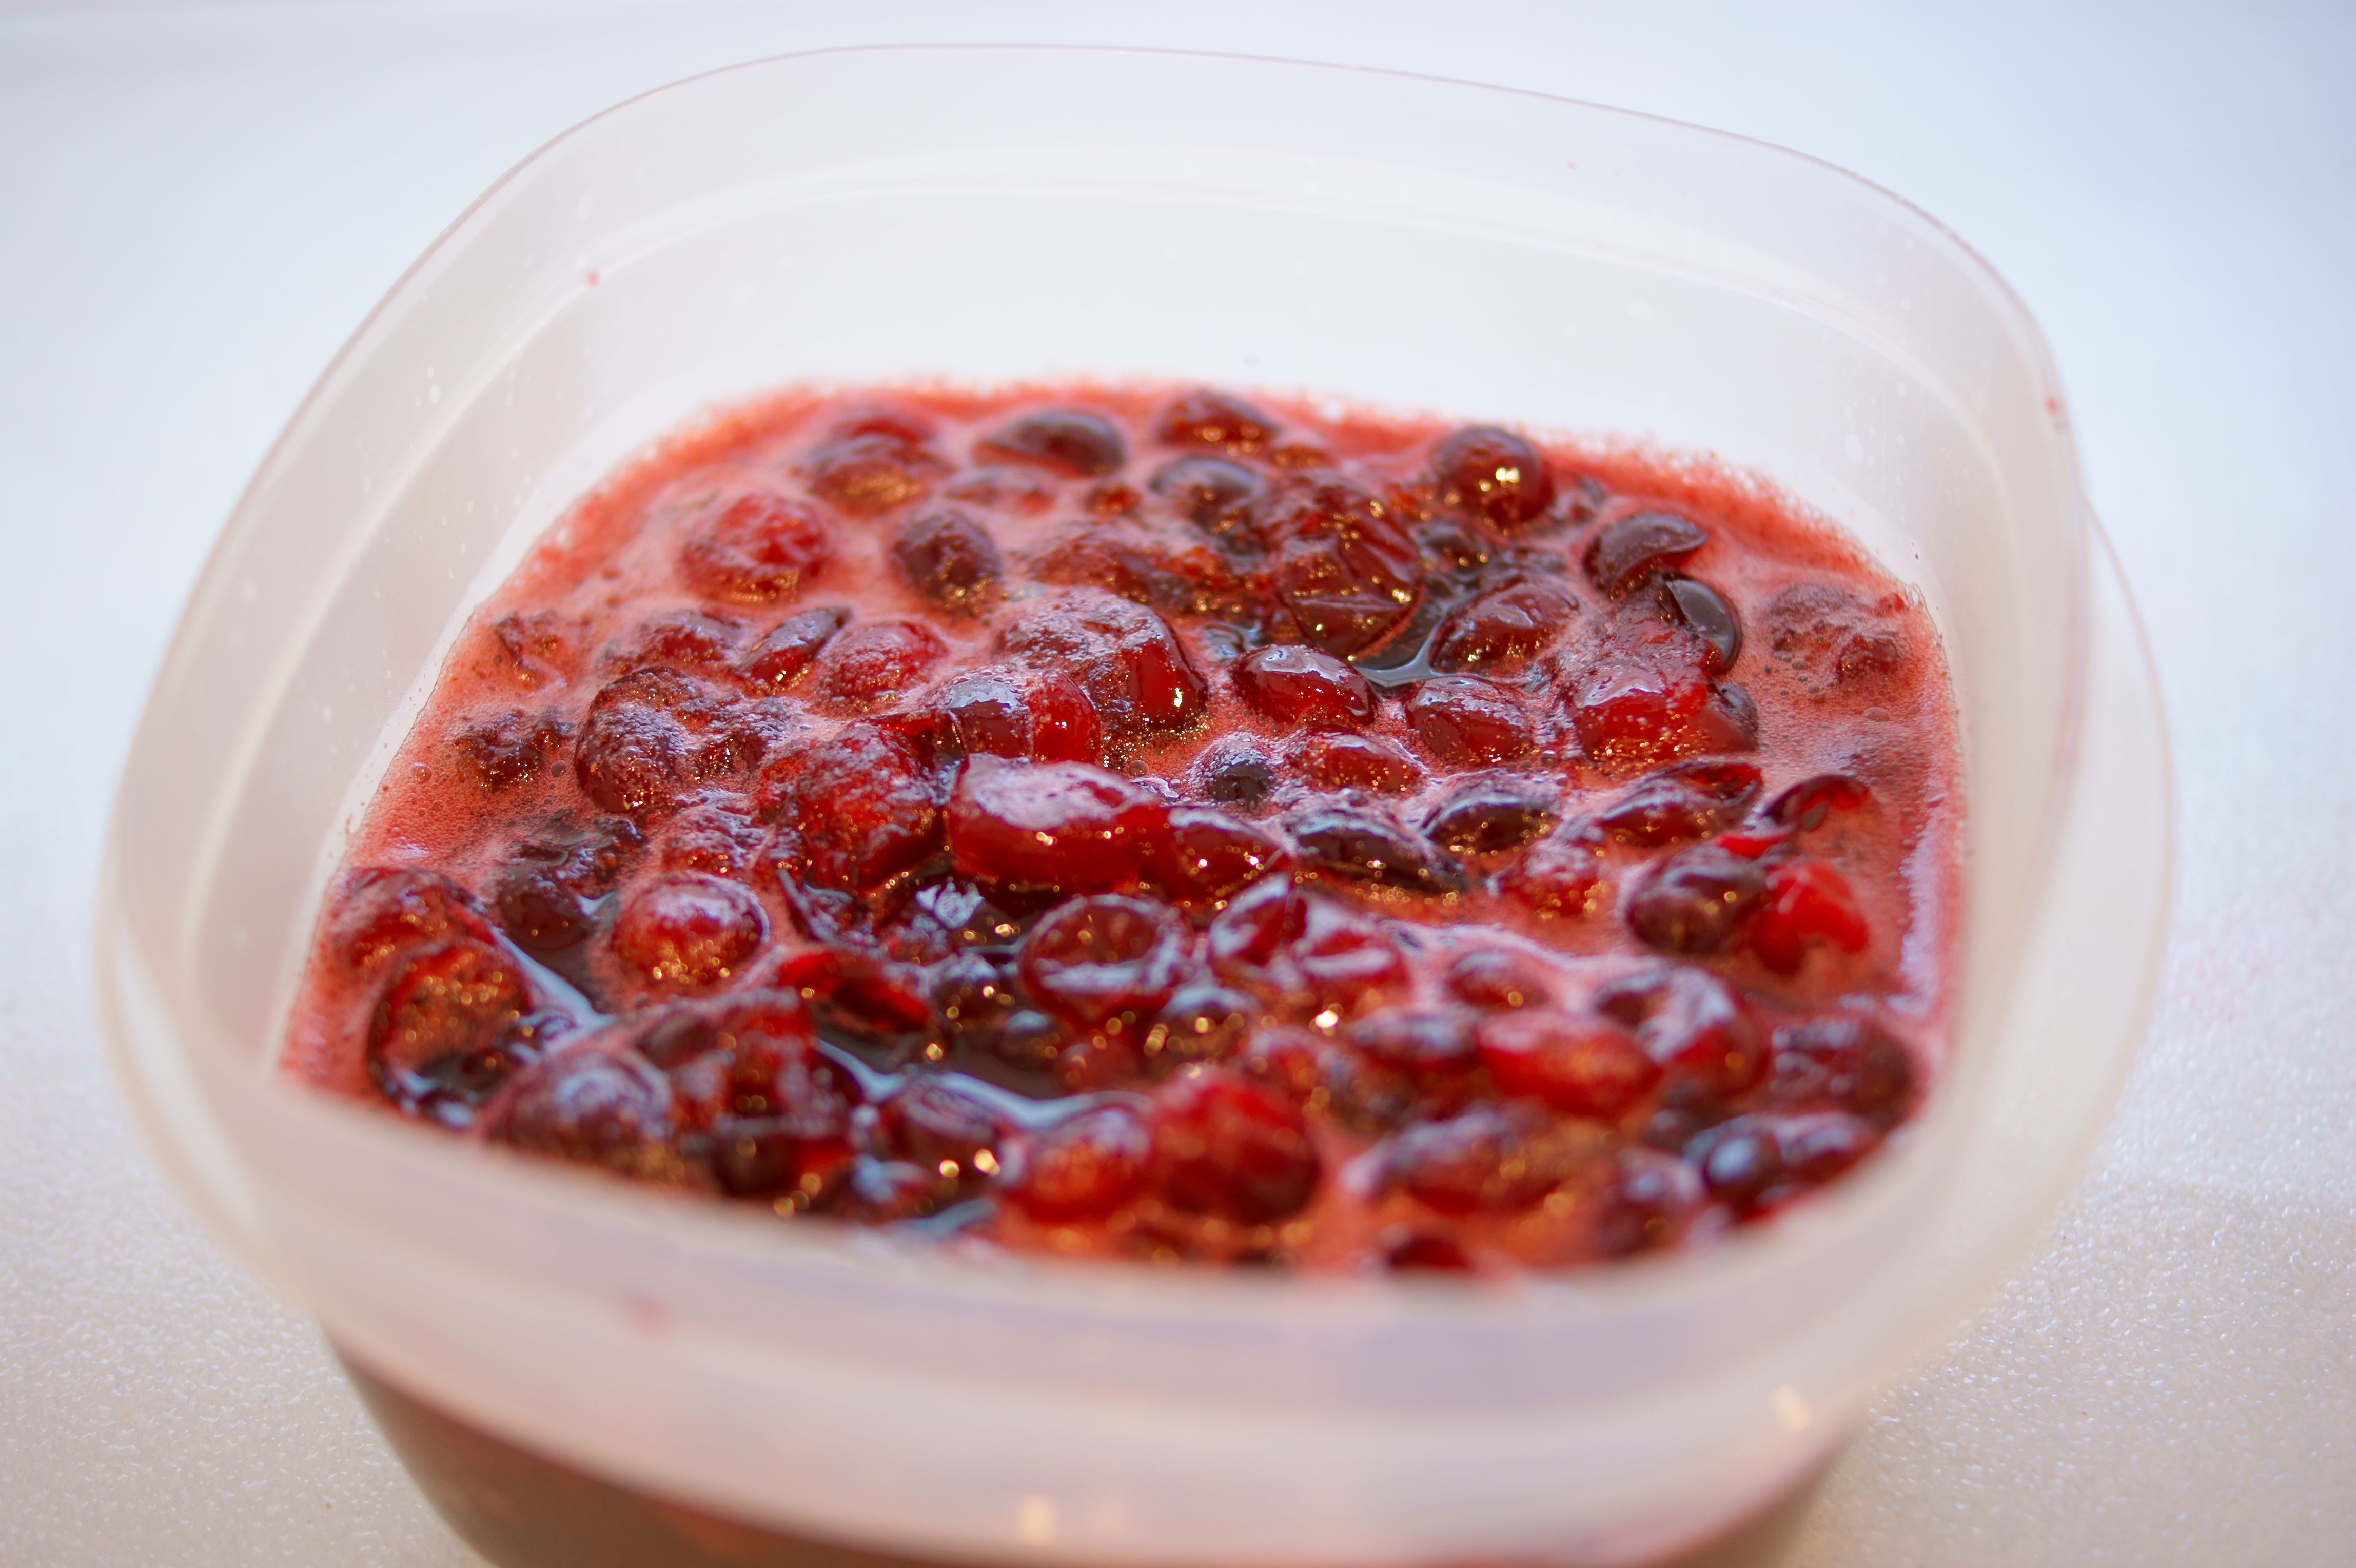
This is how they look just before removing from heat.

SONY DSC

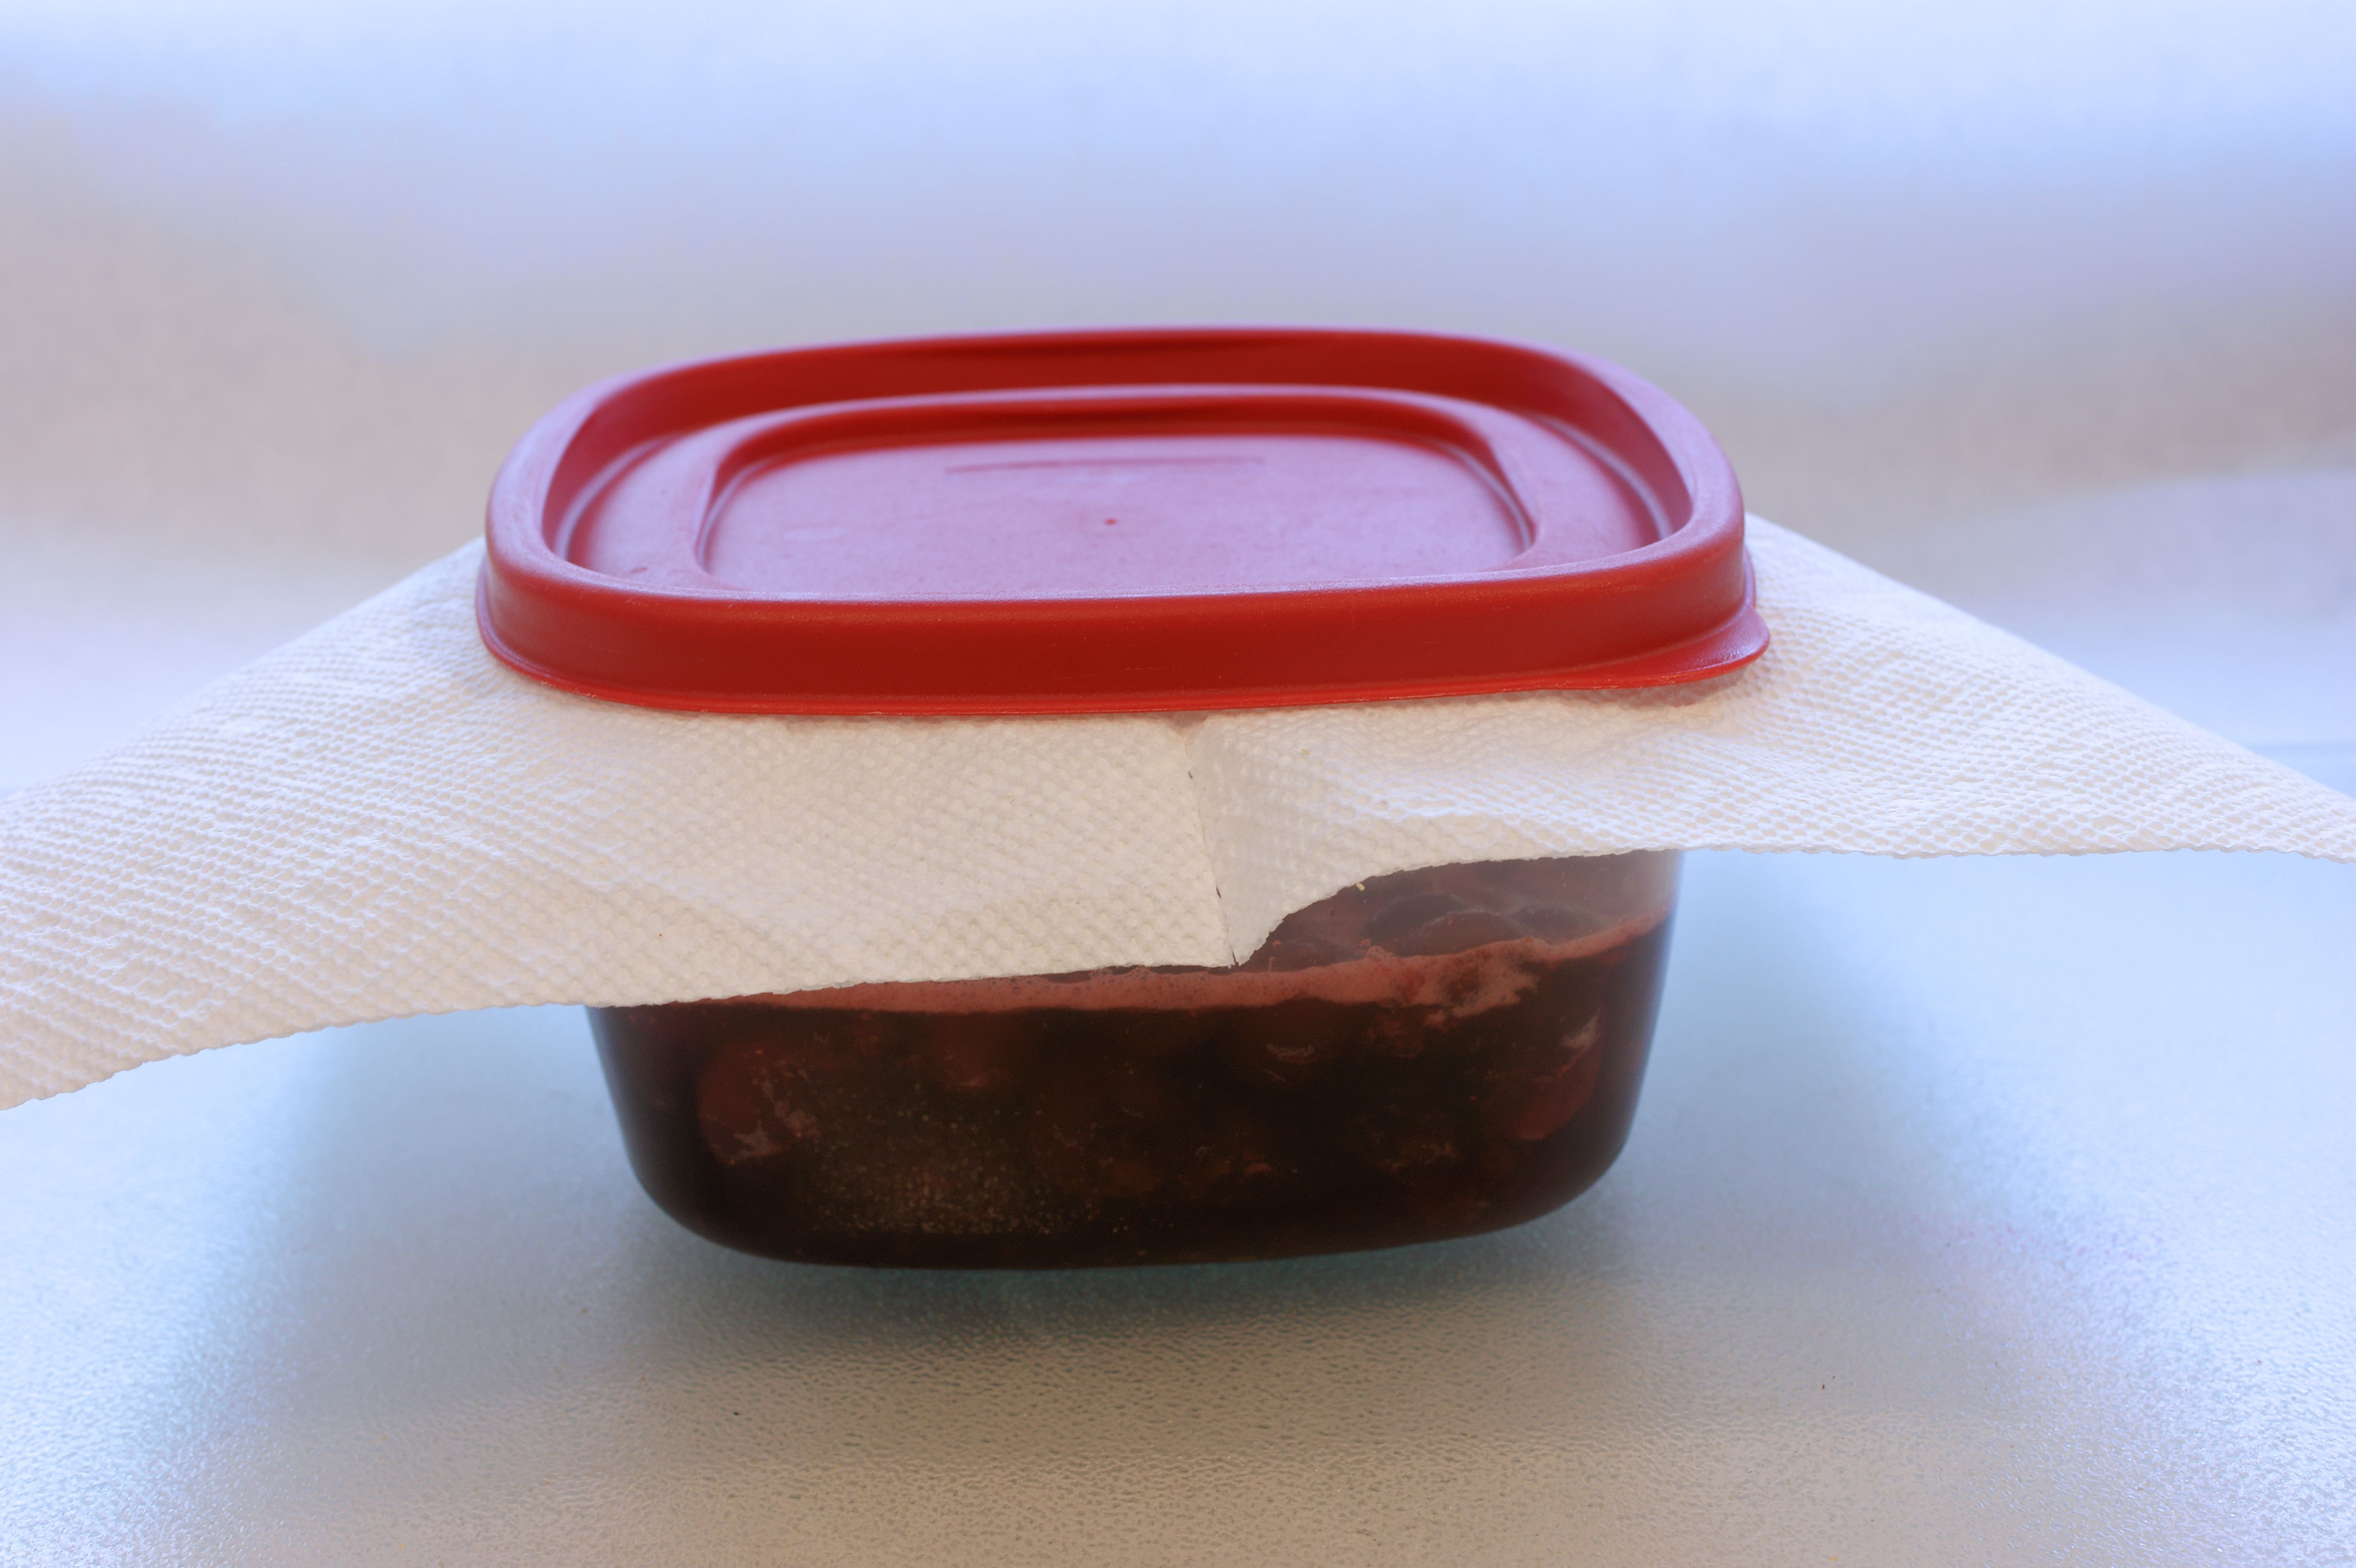
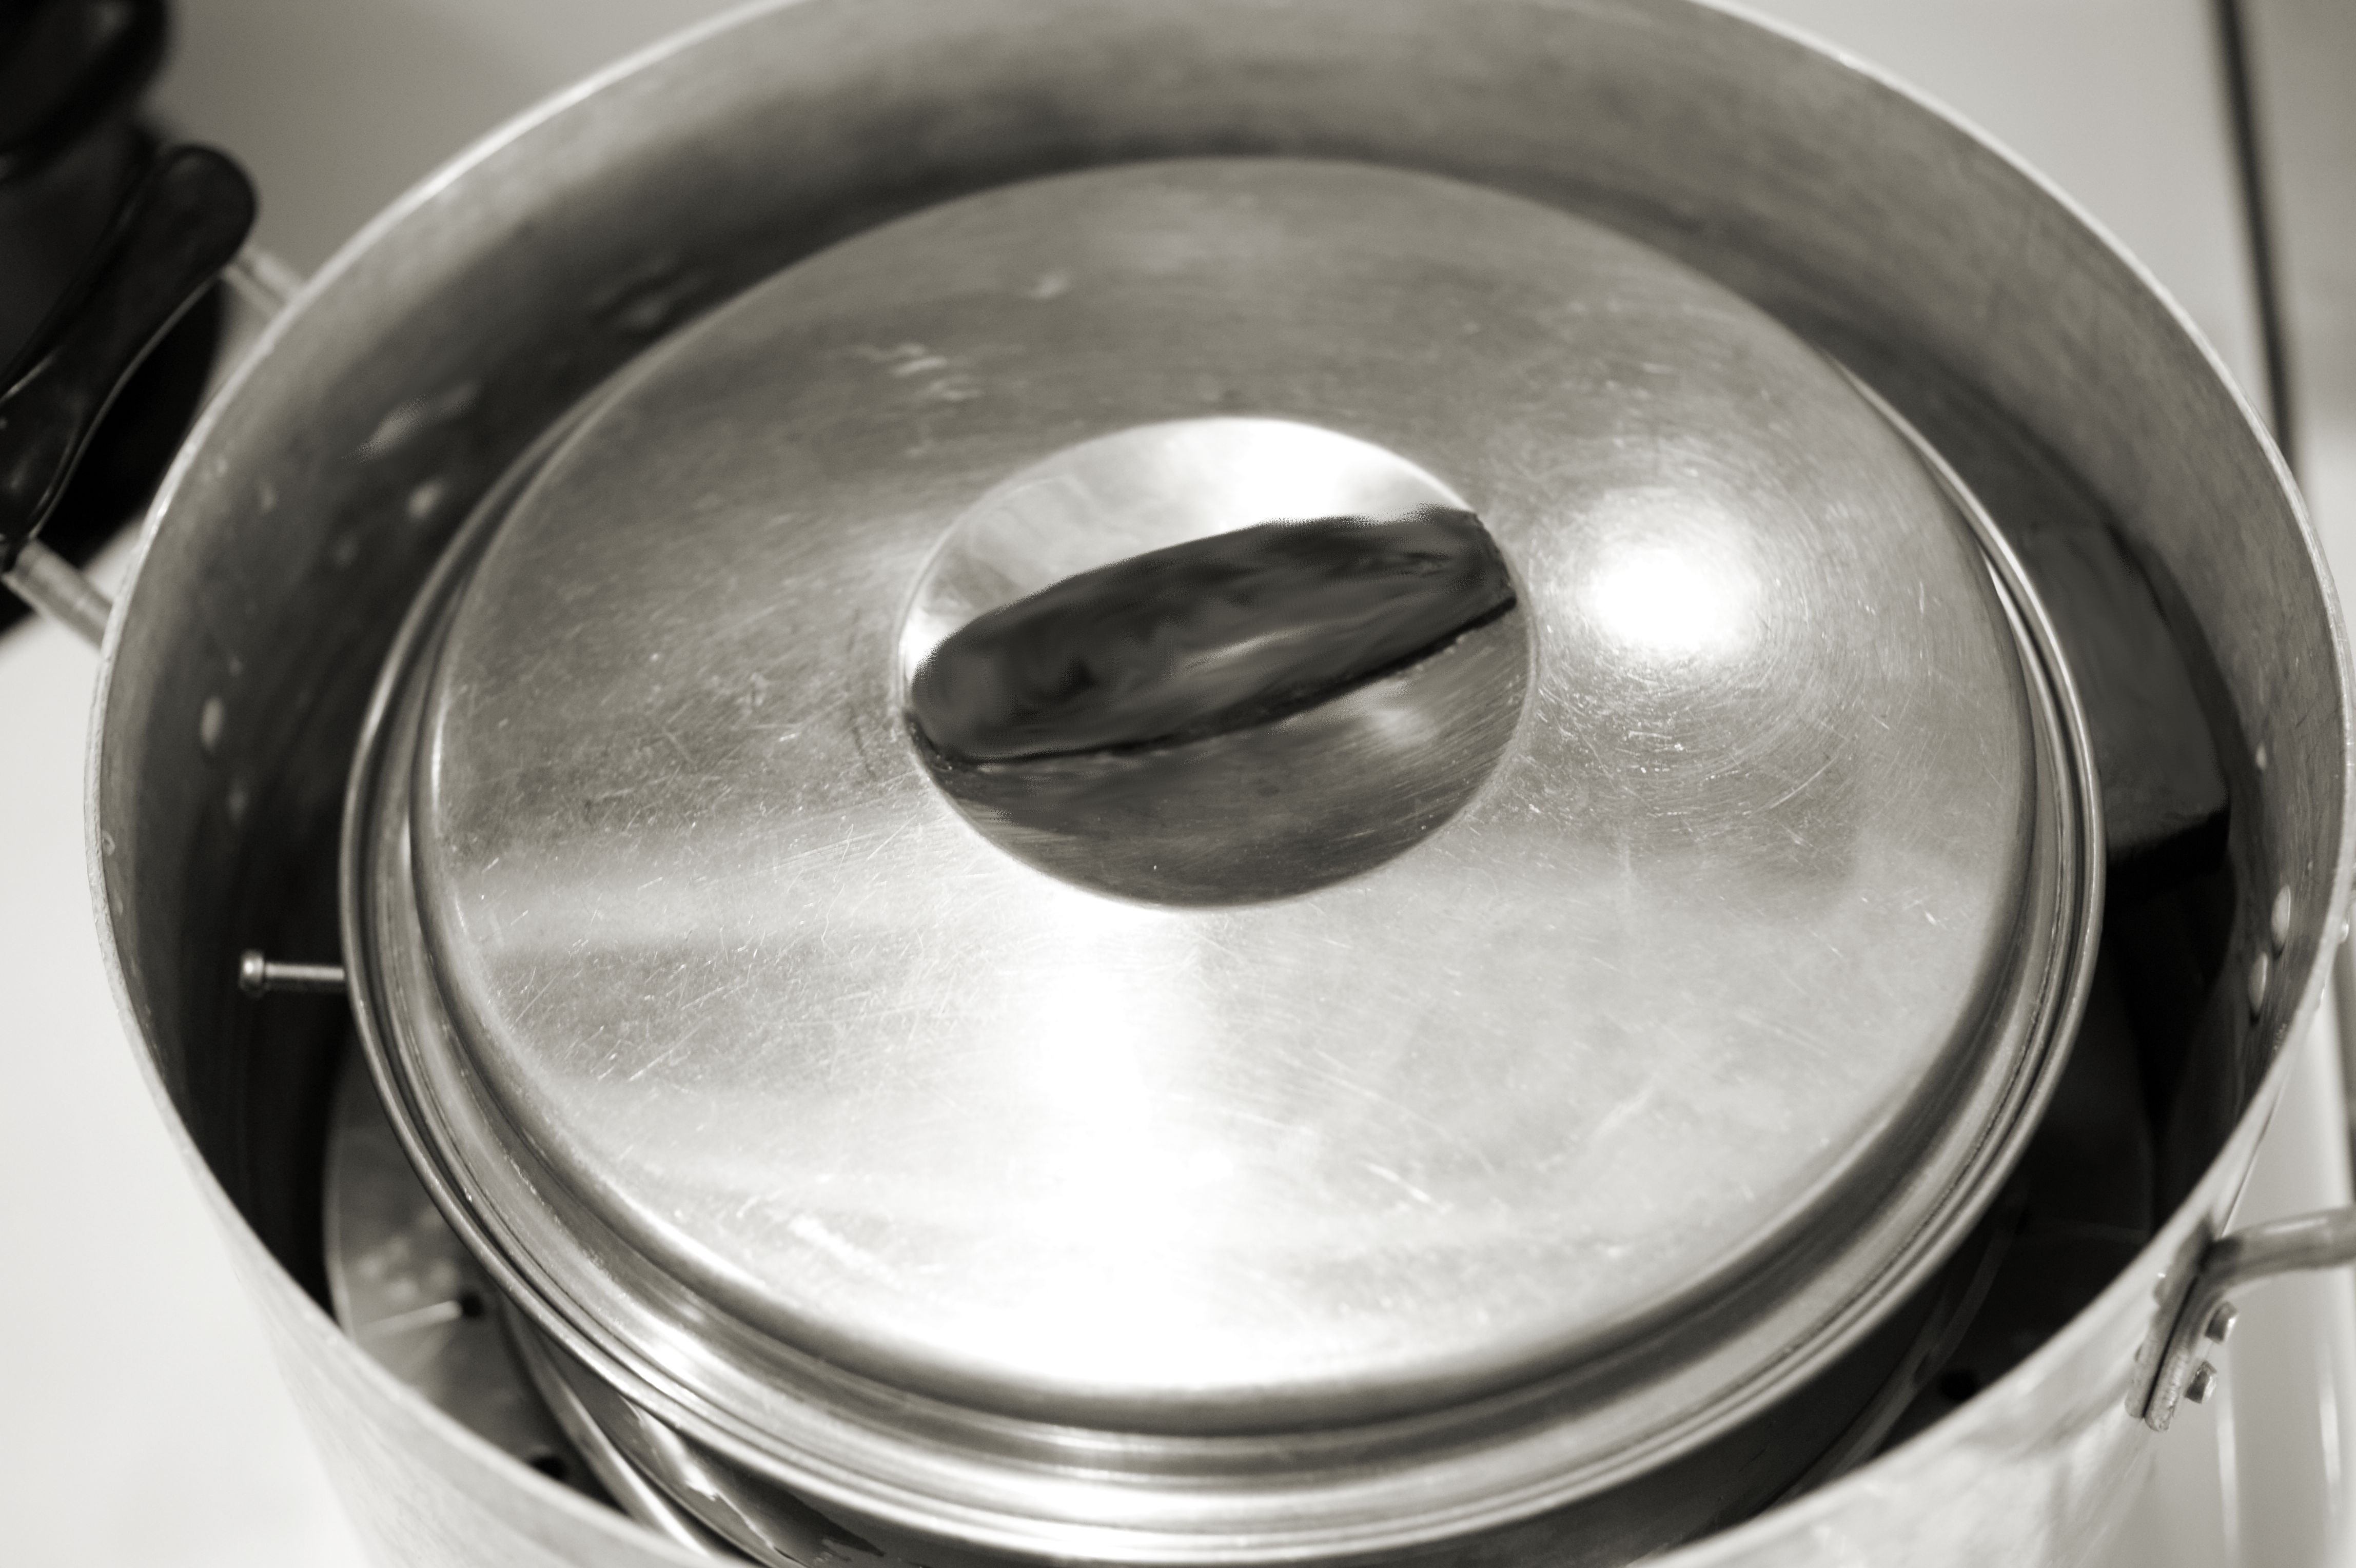
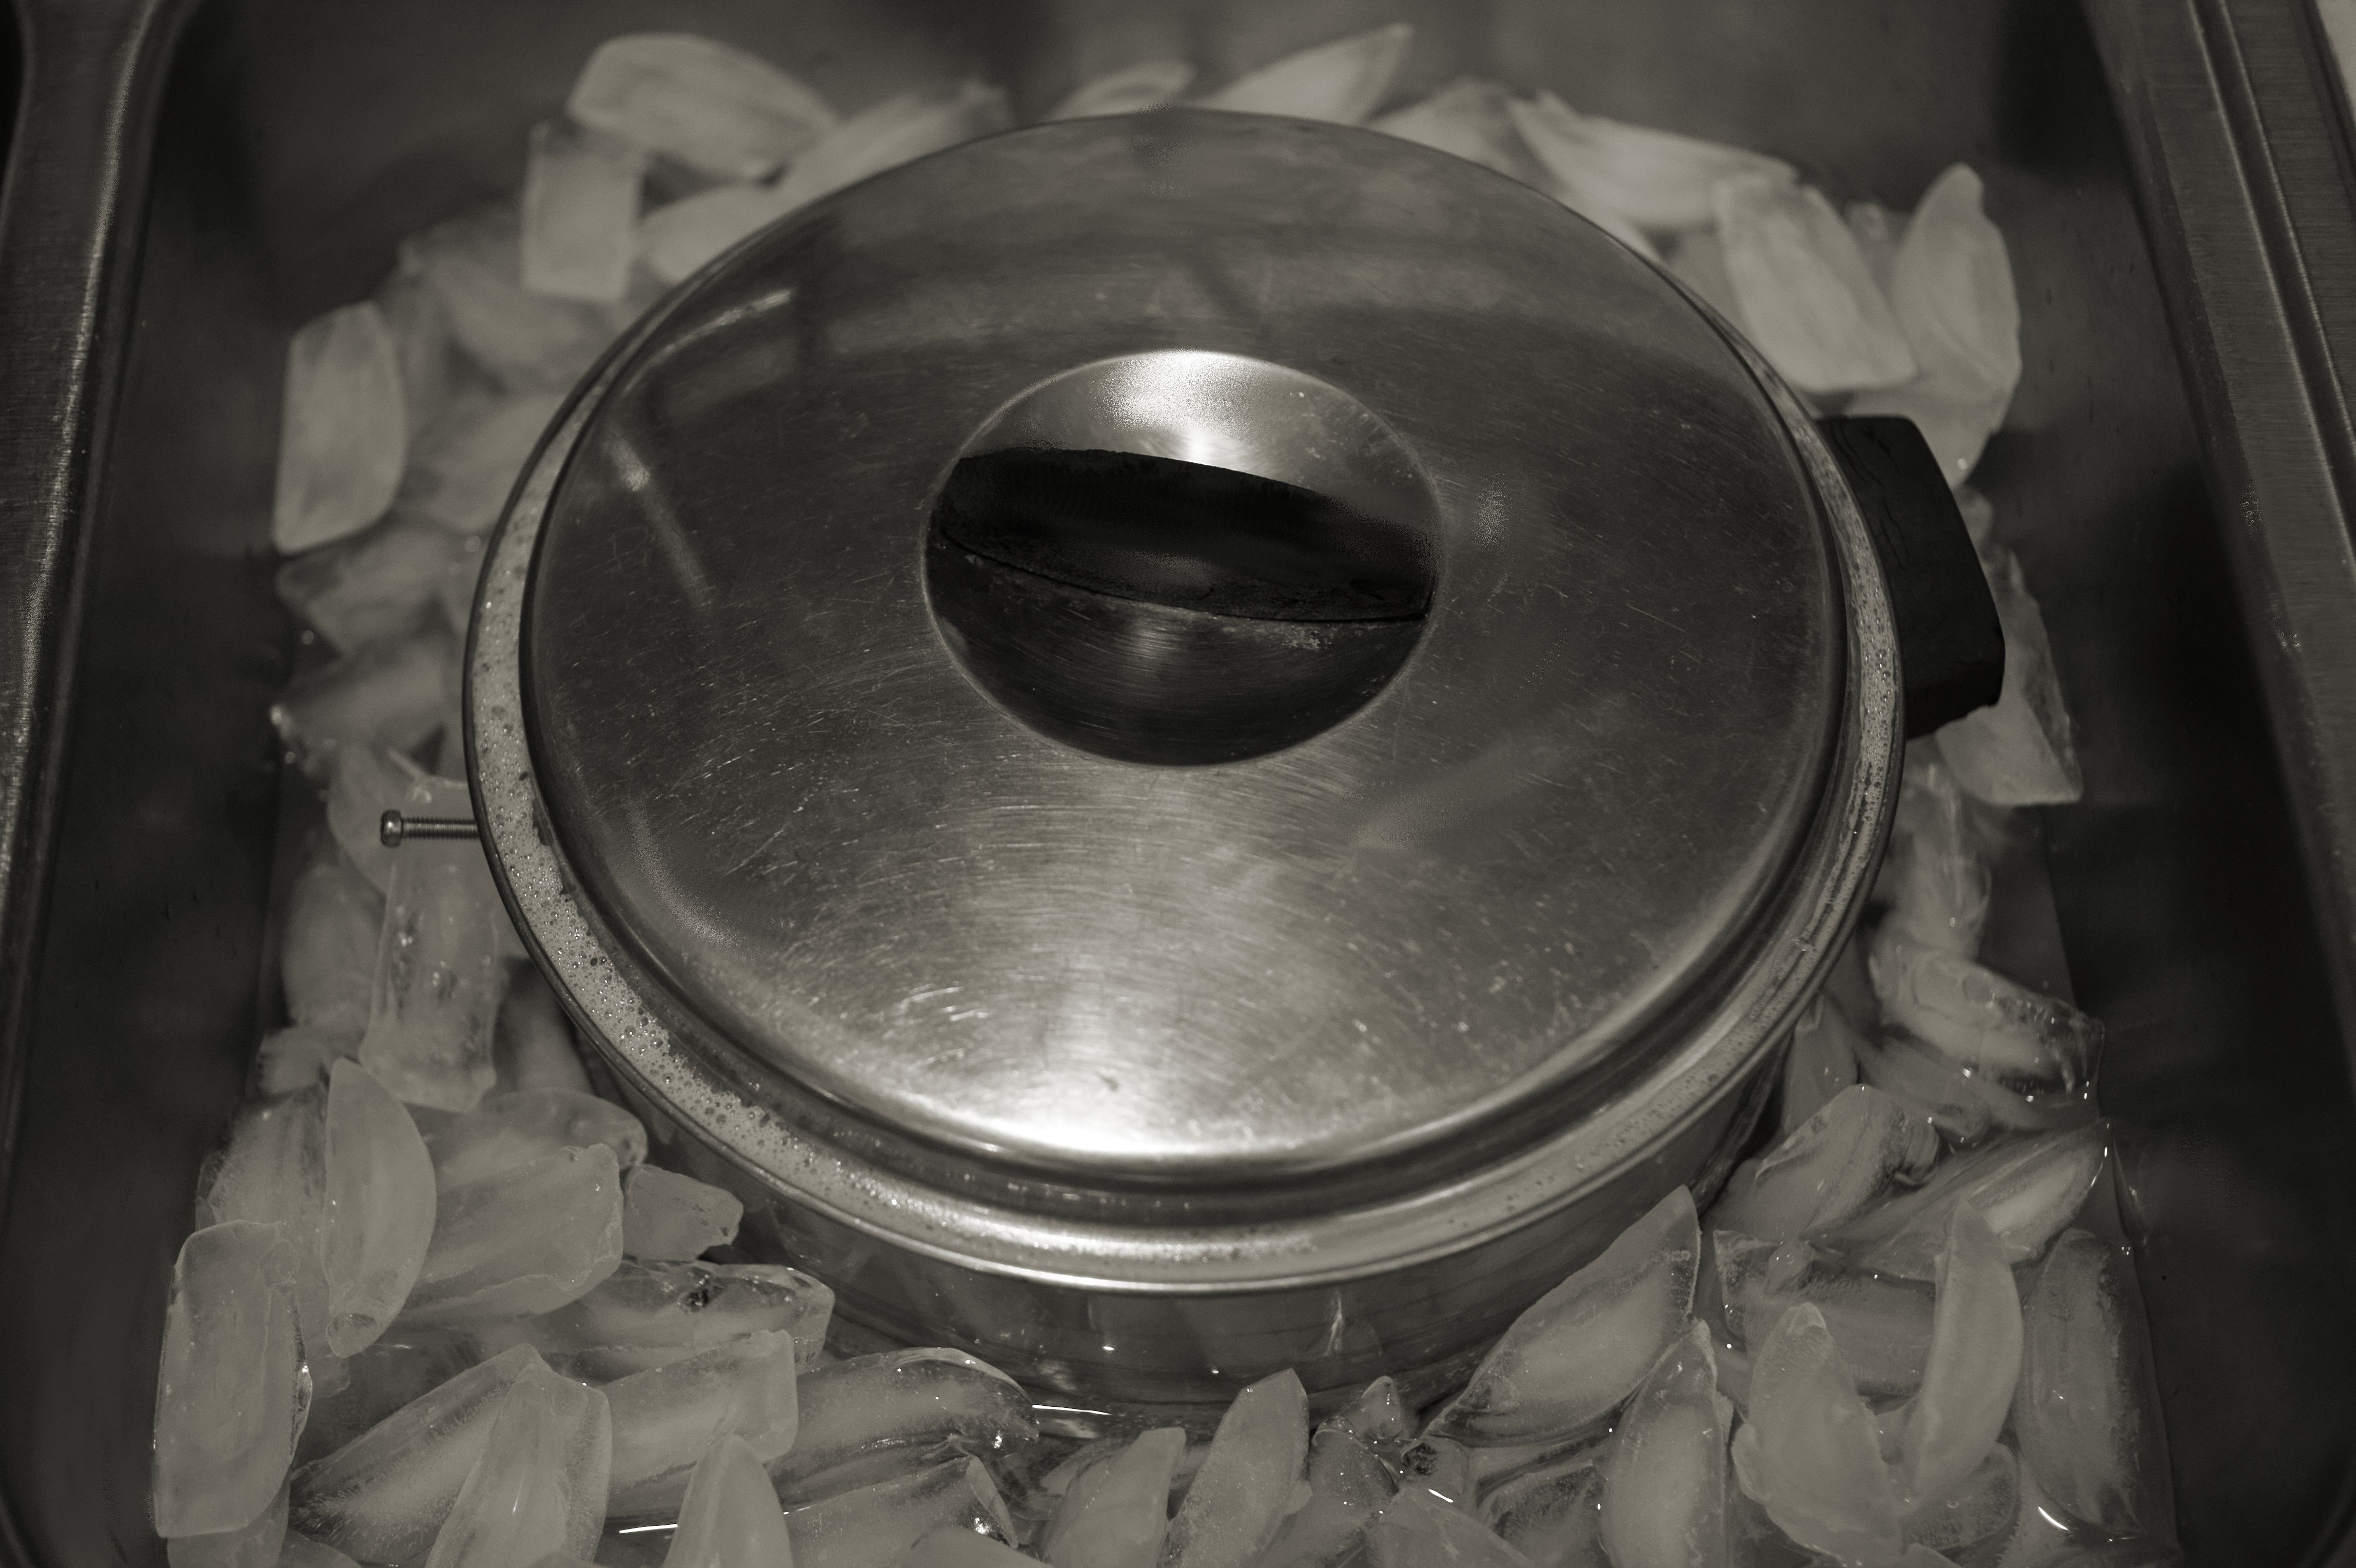
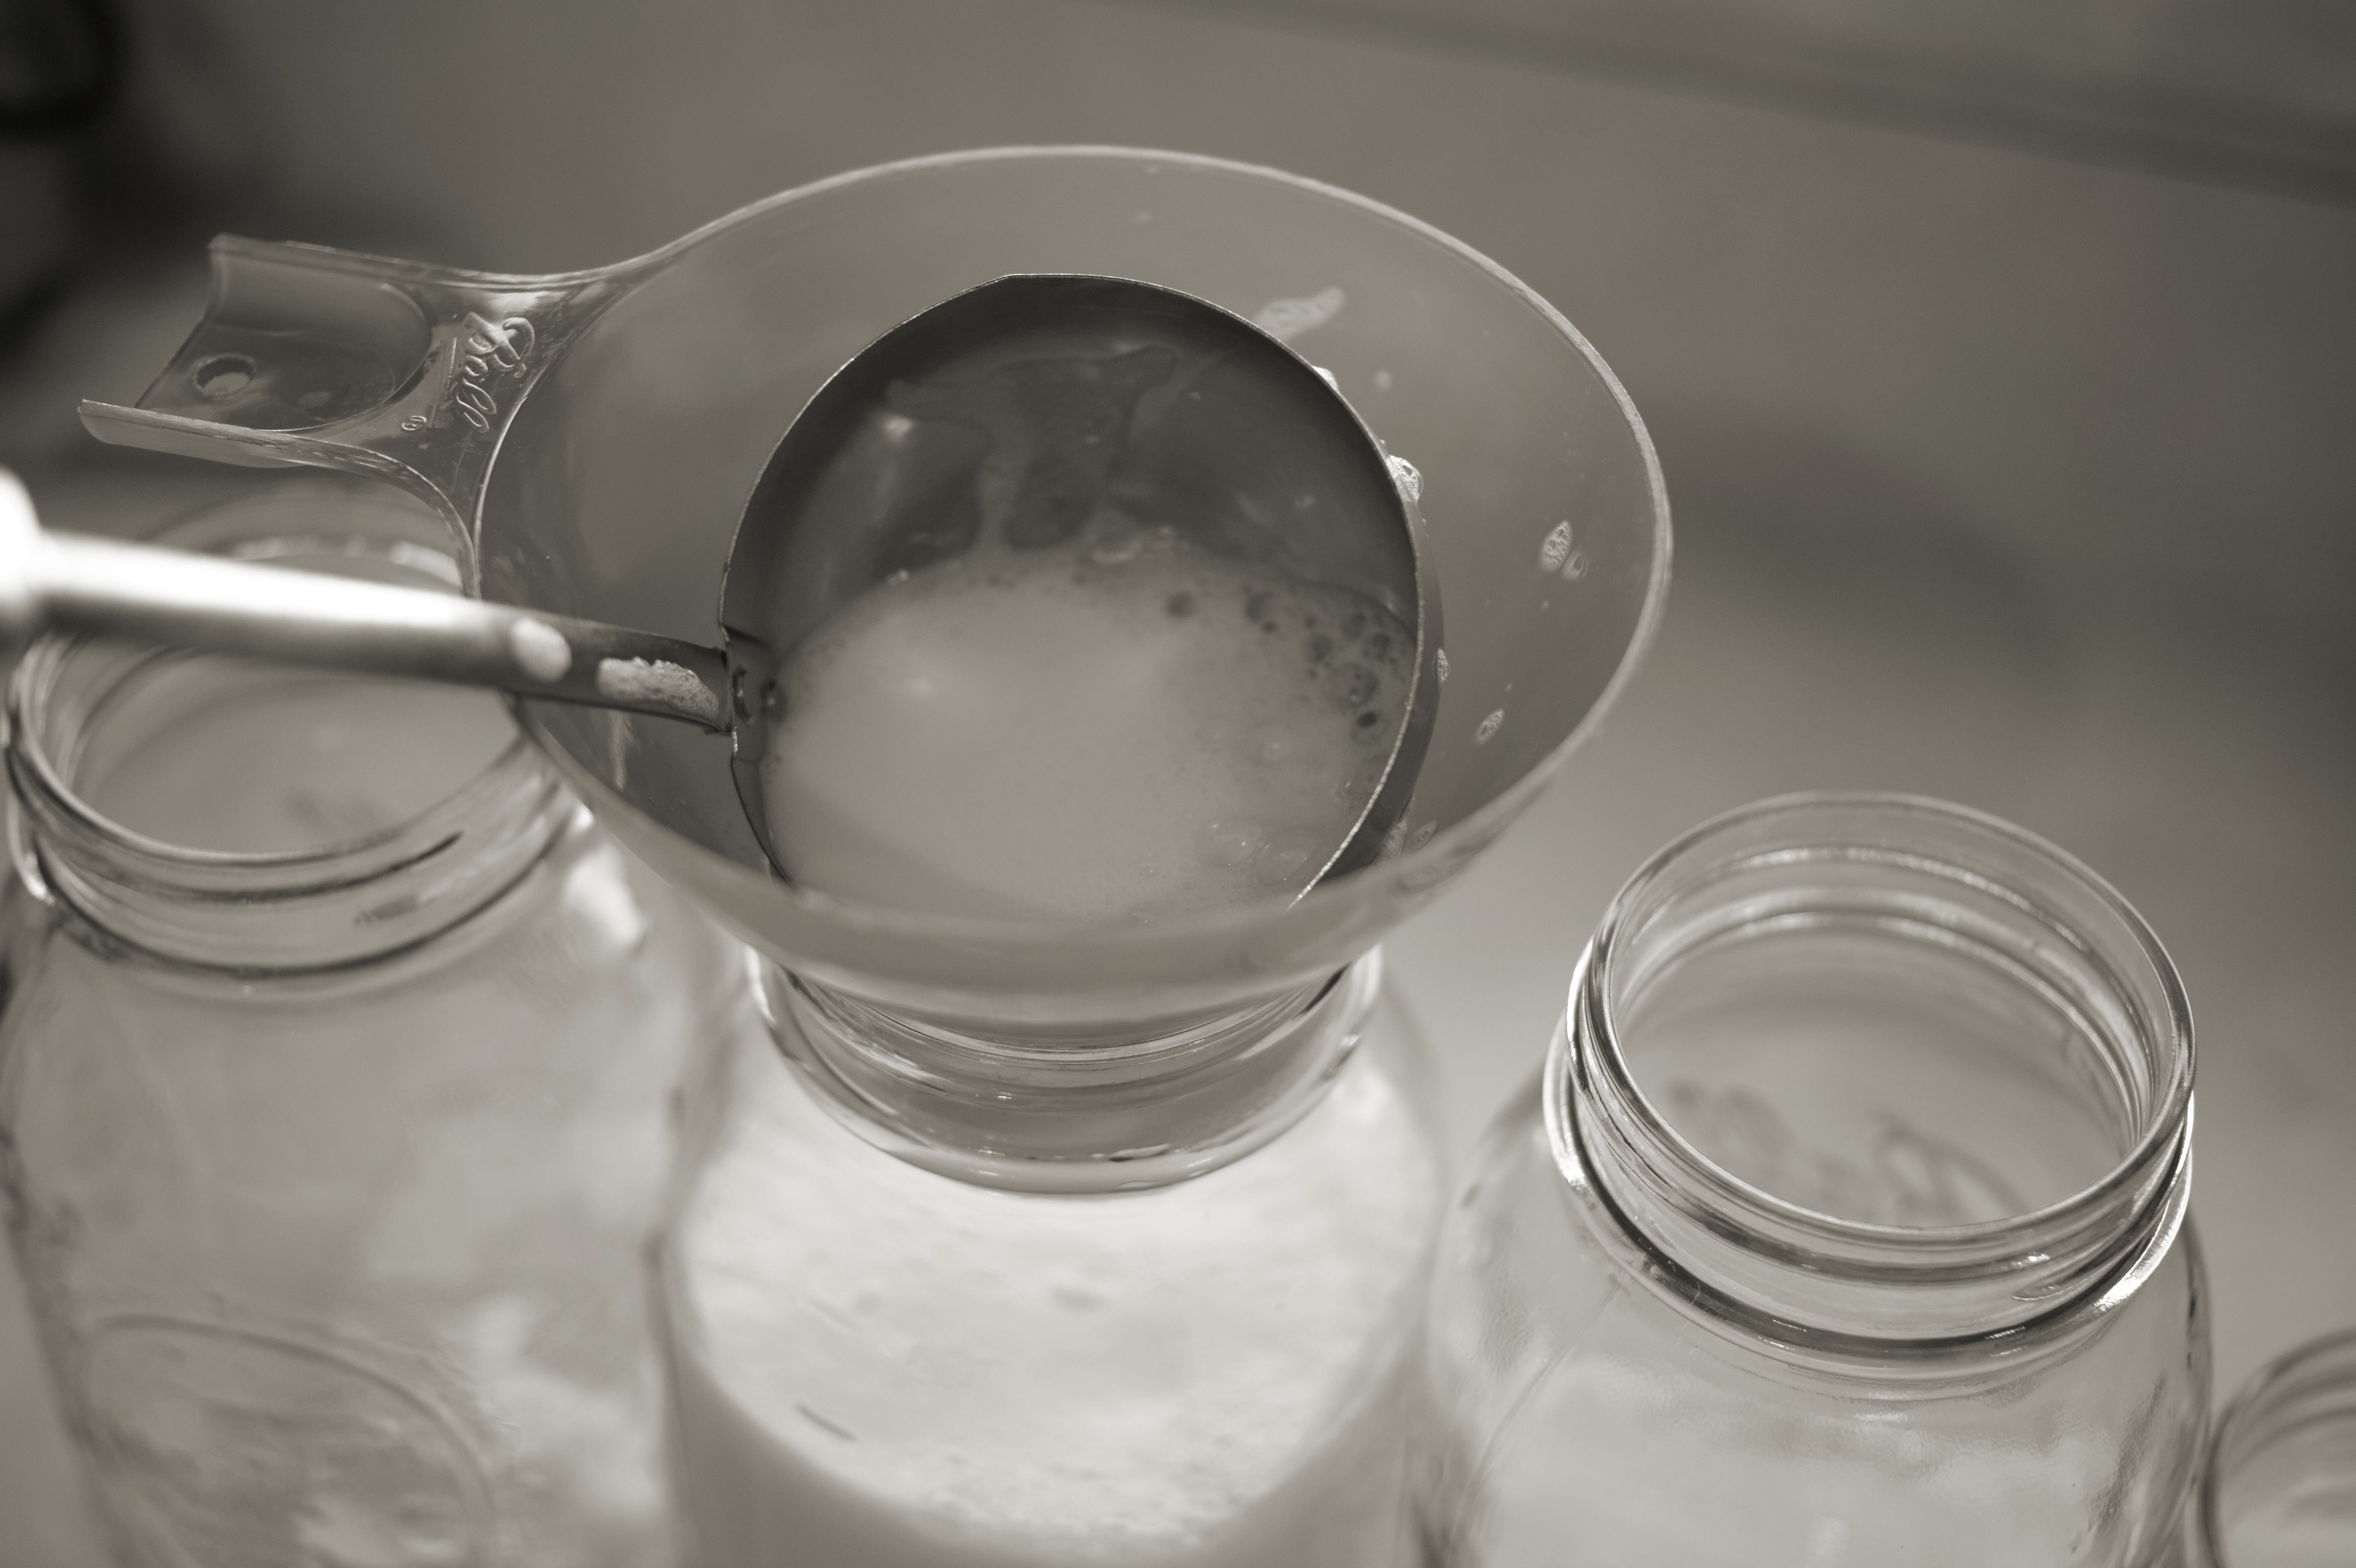
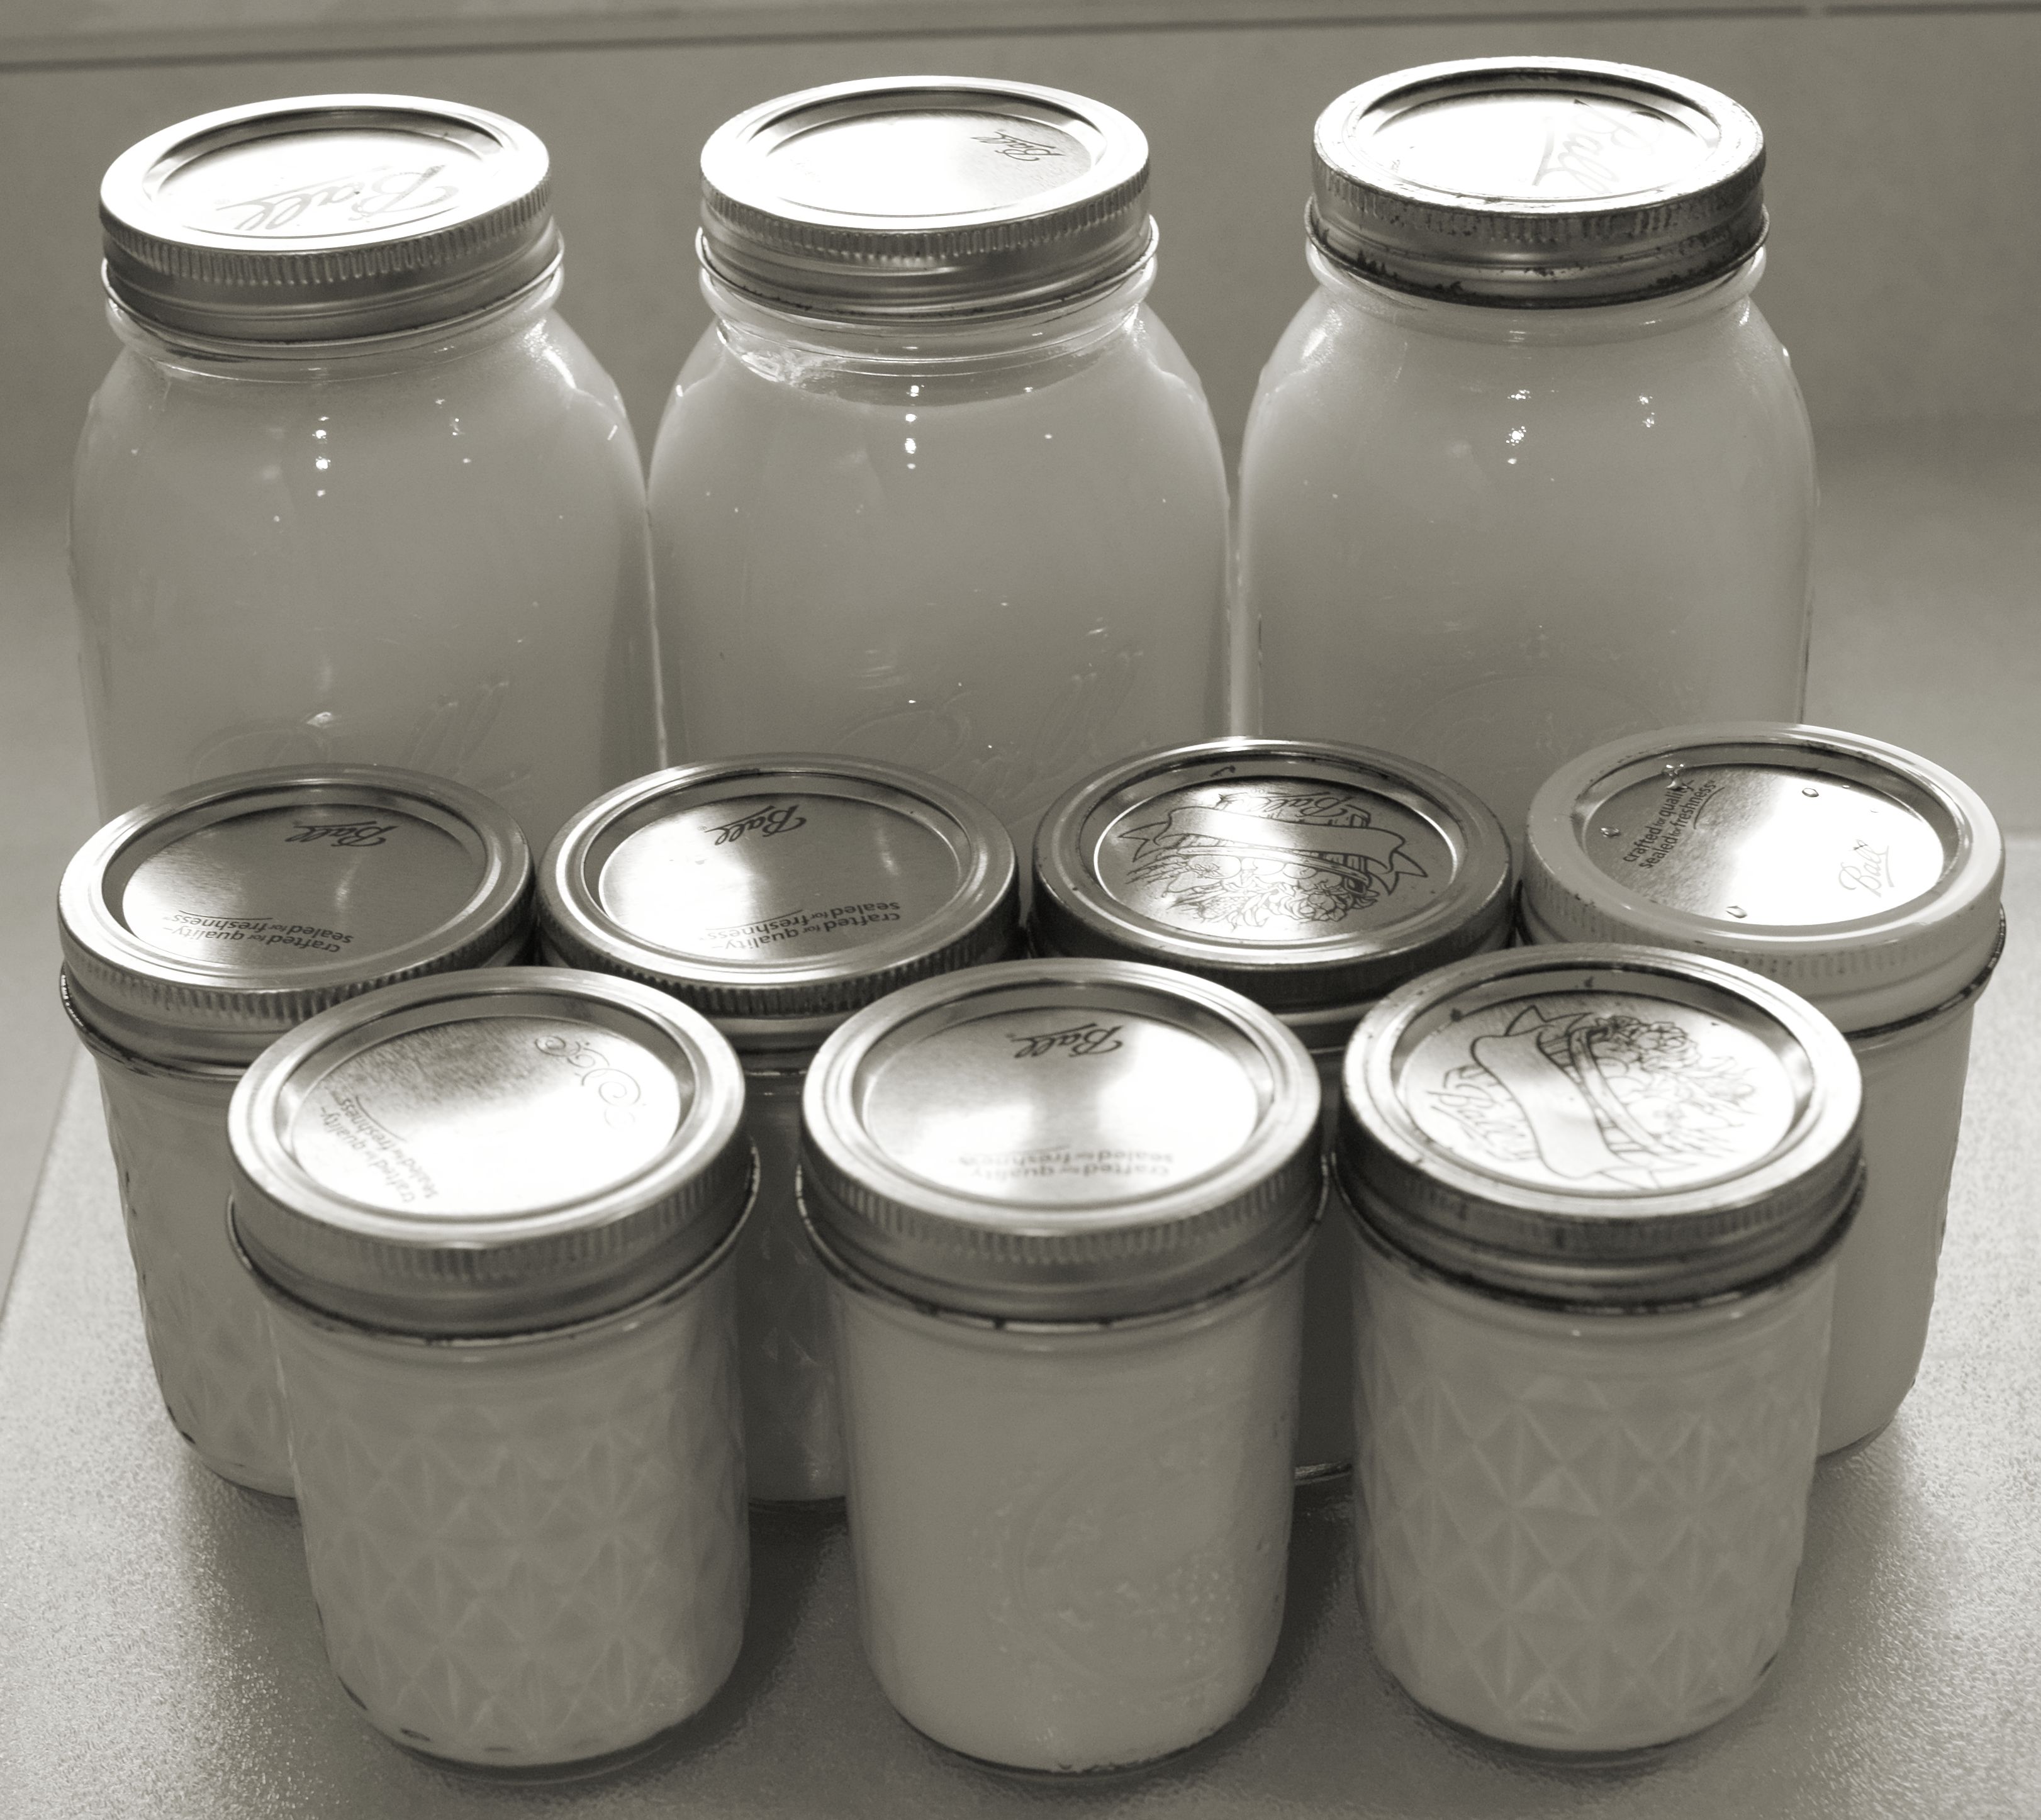
Immediately remove from heat and transfer to a storage container.

SONY DSC

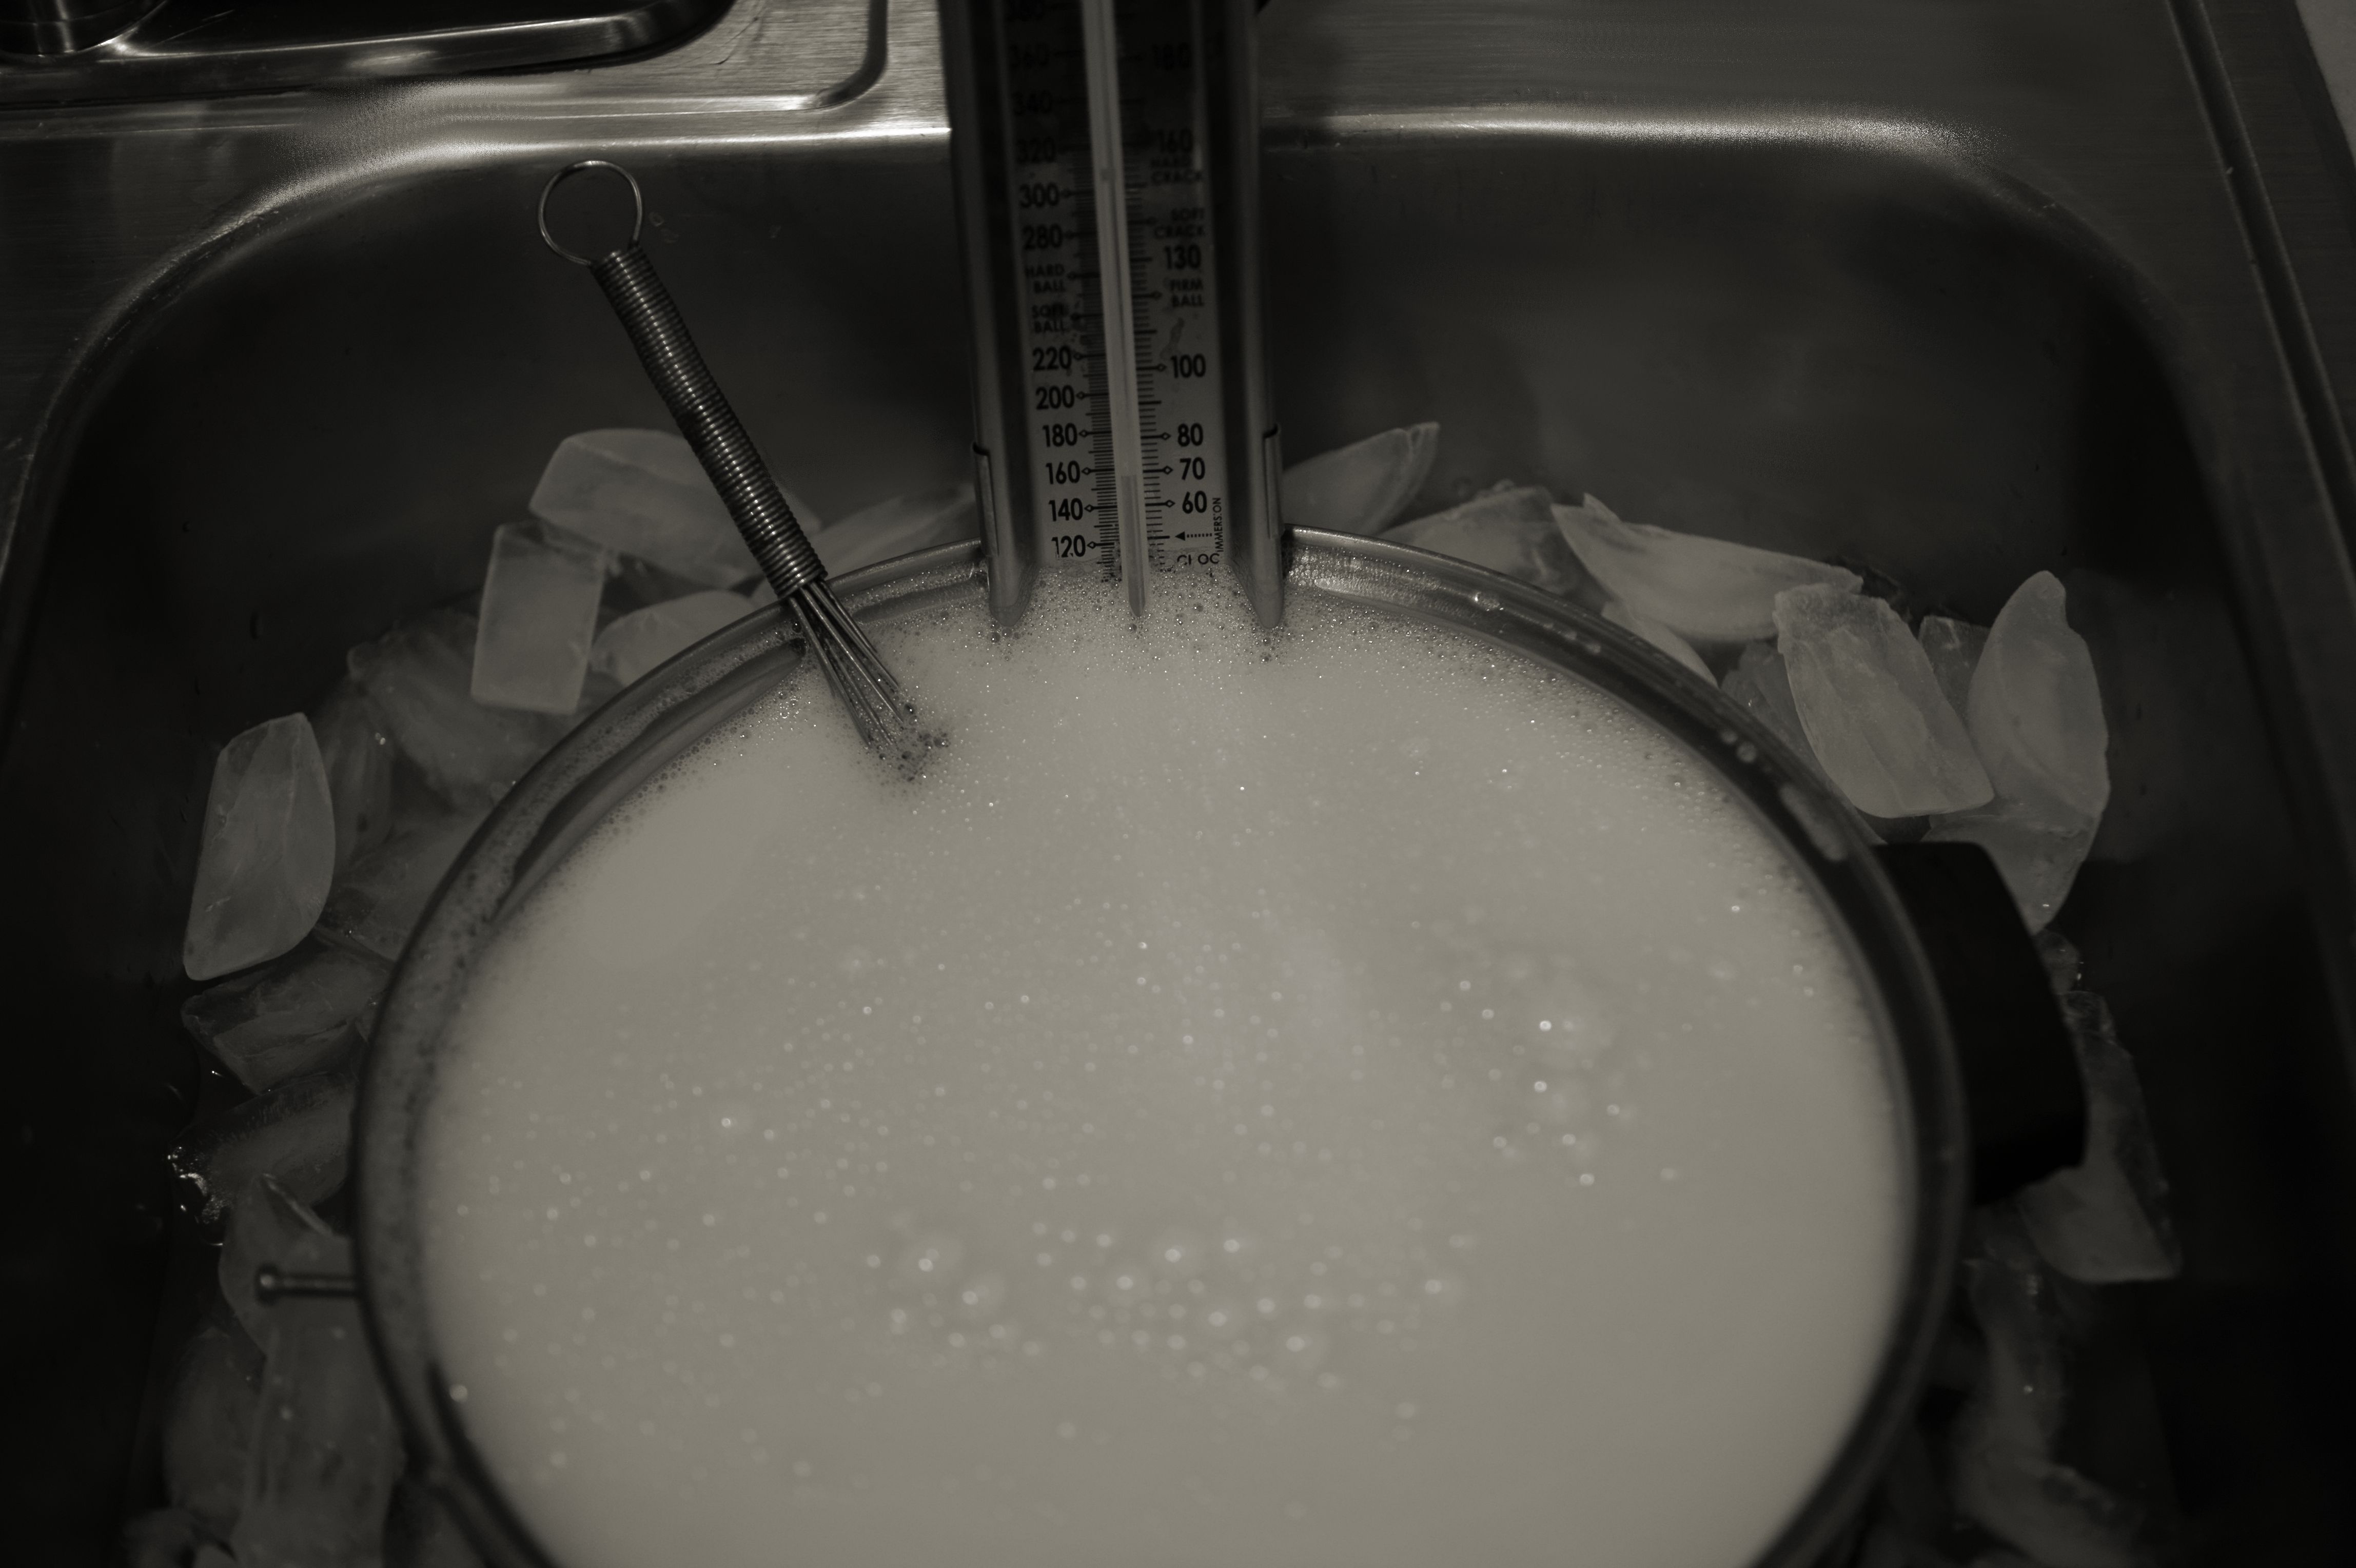
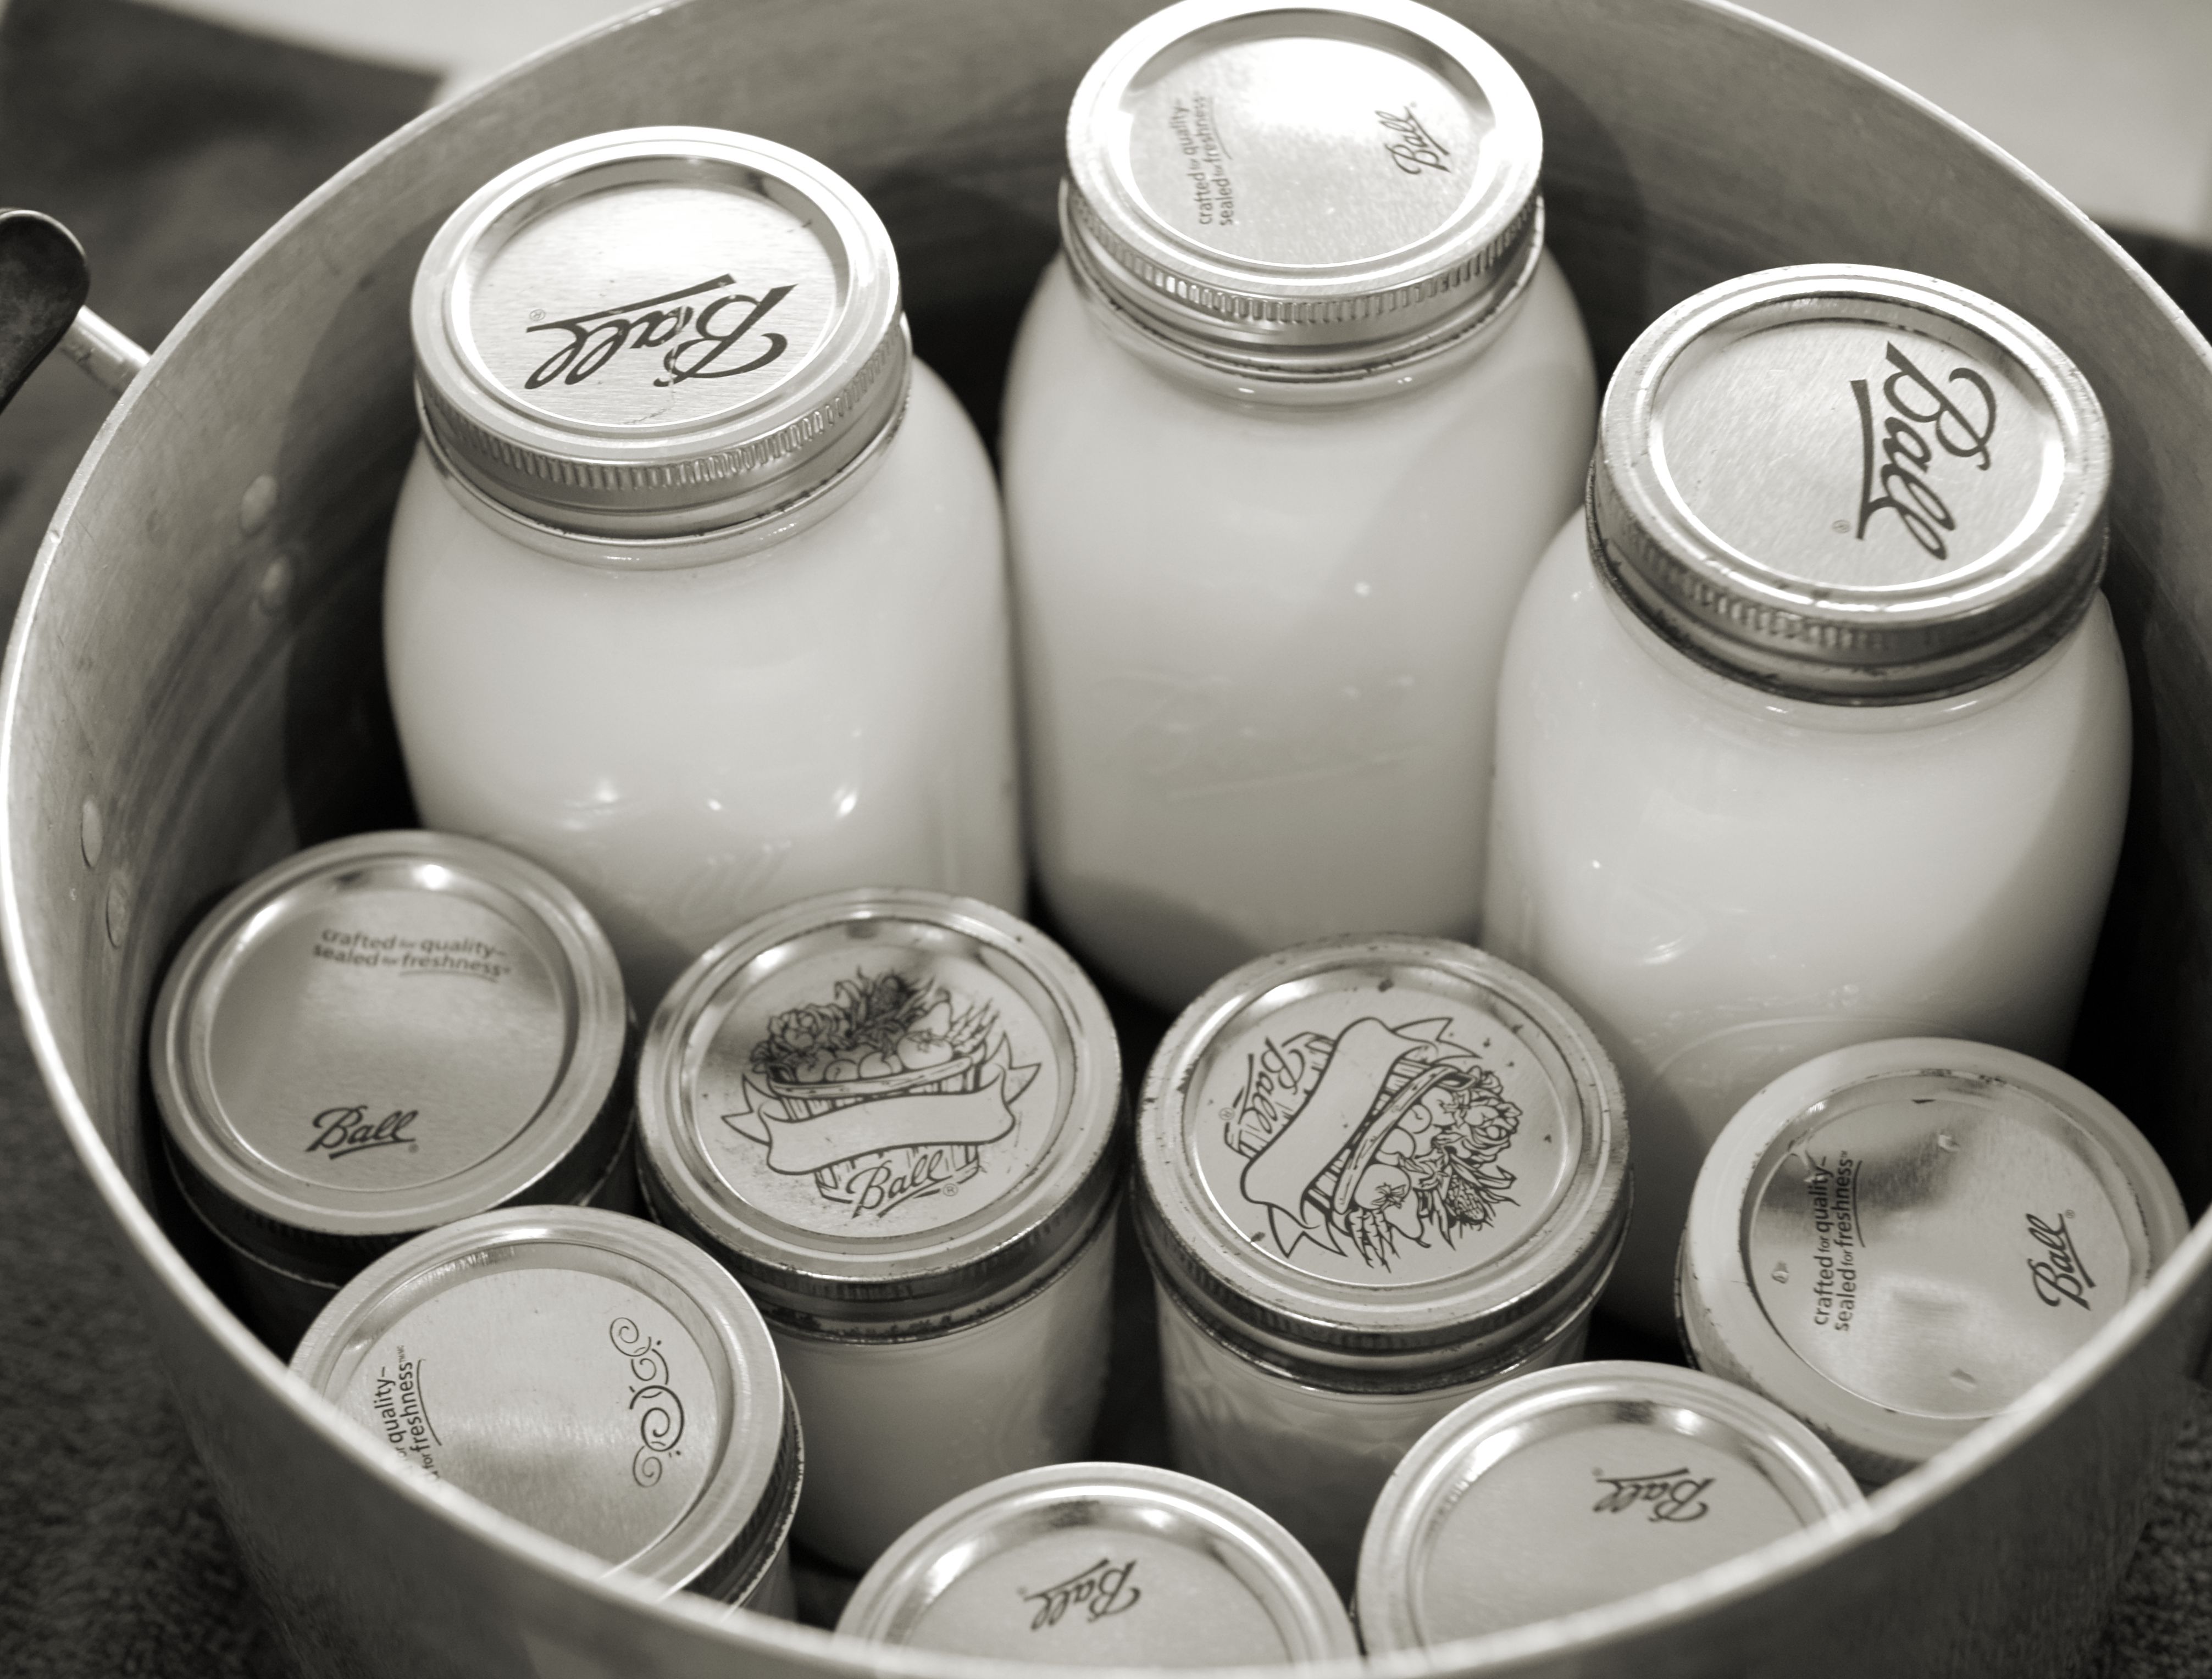
Place a paper towel over the top of the container and then loosely place the lid on top. Cool to room temperature. Remove paper towel and secure lid on top, then refrigerate.

SONY DSC

This is a must try!

Let me hear from you. What do you think? Best ever, or what?

Homemade Yogurt. It’s Easier Than You Think!

I’ve been making my own yogurt since the dark ages. It’s an easy process and doesn’t require a special “yogurt maker.” I have experimented with a number of “yogurt makers” for one reason or another and have always returned to the original format I learned from a traditional maker of yogurt and now share with you.

I’ve captured each step of the process in platinum black and white photos. I felt the look was appropriate for the age of this recipe.

I make a gallon of yogurt at a time. You can make smaller batches by reducing the ingredients equally. The time it takes to turn into yogurt will remain the same.

Materials needed are:

  • A double boiler pan (I use a large steamer/soup stock pan and a smaller stock pan set inside it)
  • Cooking thermometer
  • Assorted canning jars
  • Whisk
  • Ladle
  • Wide mouth funnel for canning

Ingredients needed are:

SONY DSC

  • Gallon of milk (I use non-fat. I find it sets firmer)
  • One cup of real organic yogurt (Once you get the process started you can use your own. Occasionally, you’ll need to “refresh” your batch by adding some store bought organic yogurt. Again, I use non-fat.)

The process is:

  1. Fill up the steamer pan with enough water that it will go half way up the side of the smaller pan when it is set in side it.SONY DSC
  2. Sit the steamer on the stove top and place the smaller pan in the water bath.SONY DSC
  3. Add the milk.SONY DSC
  4. Heat using a medium heat setting on the range.SONY DSC
  5. Place the lid on the pan holding the milk.SONY DSC
  6. Occasionally check the temperature and whisk the milk.SONY DSC
  7. When the temperature reaches 185 degrees Fahrenheit, cover and remove from heat.SONY DSC
  8. Immediately place inner pan with milk in an ice bath.SONY DSC
  9. Remove lid and whisk occasionally until the temperature drops between 118 to 110 degrees Fahrenheit.SONY DSC
  10. Remove from ice bath and whisk in yogurt starter. It should be completely blended into the milk.SONY DSC
  11. Ladle mixture into canning jars (sizes of your choice).SONY DSC
  12. Place lids and rings on jars.SONY DSC
  13. Empty the hot water out of the larger steamer pot and remove the steamer stand and place the filled canning jars in the pan.SONY DSC
  14. Place the lid on the pan.SONY DSC
  15. Wrap the pan in a fluffy towel or blanket for insulation and leave it alone on your kitchen counter for 6 to eight hours. SONY DSC
  16. Check to see if the yogurt has set (around 6 hours) by tilting one of the jars to the side slightly. If it is firm, it is set.SONY DSC

Our indoor temperature hovers around 76 degrees Fahrenheit and 50 percent humidity. I’d suggest wrapping in a nice and thick blanket if your indoor temperature runs a lot cooler.

Q: Why did I choose to share the yogurt recipe with you first?

A: It’s a beginning and it is used for other recipes that will follow, such as  strained Greek yogurt and Yo-cheese.

It’s your turn to make some yogurt. Go ahead, it’s pretty easy!

Share with me your yogurt making stories. Successes or failures. Past experiences or how it went when you followed my process. Can’t wait to hear from you!